My first attempt at building a workbench. It took many hours and lots of sweat and anger, but it was well worth the effort. I love my bench and have used it for many projects since completing it.
The design of the bench is a bit different, but I used this video series as a guide. The host is quite entertaining, informative, and easy to understand.
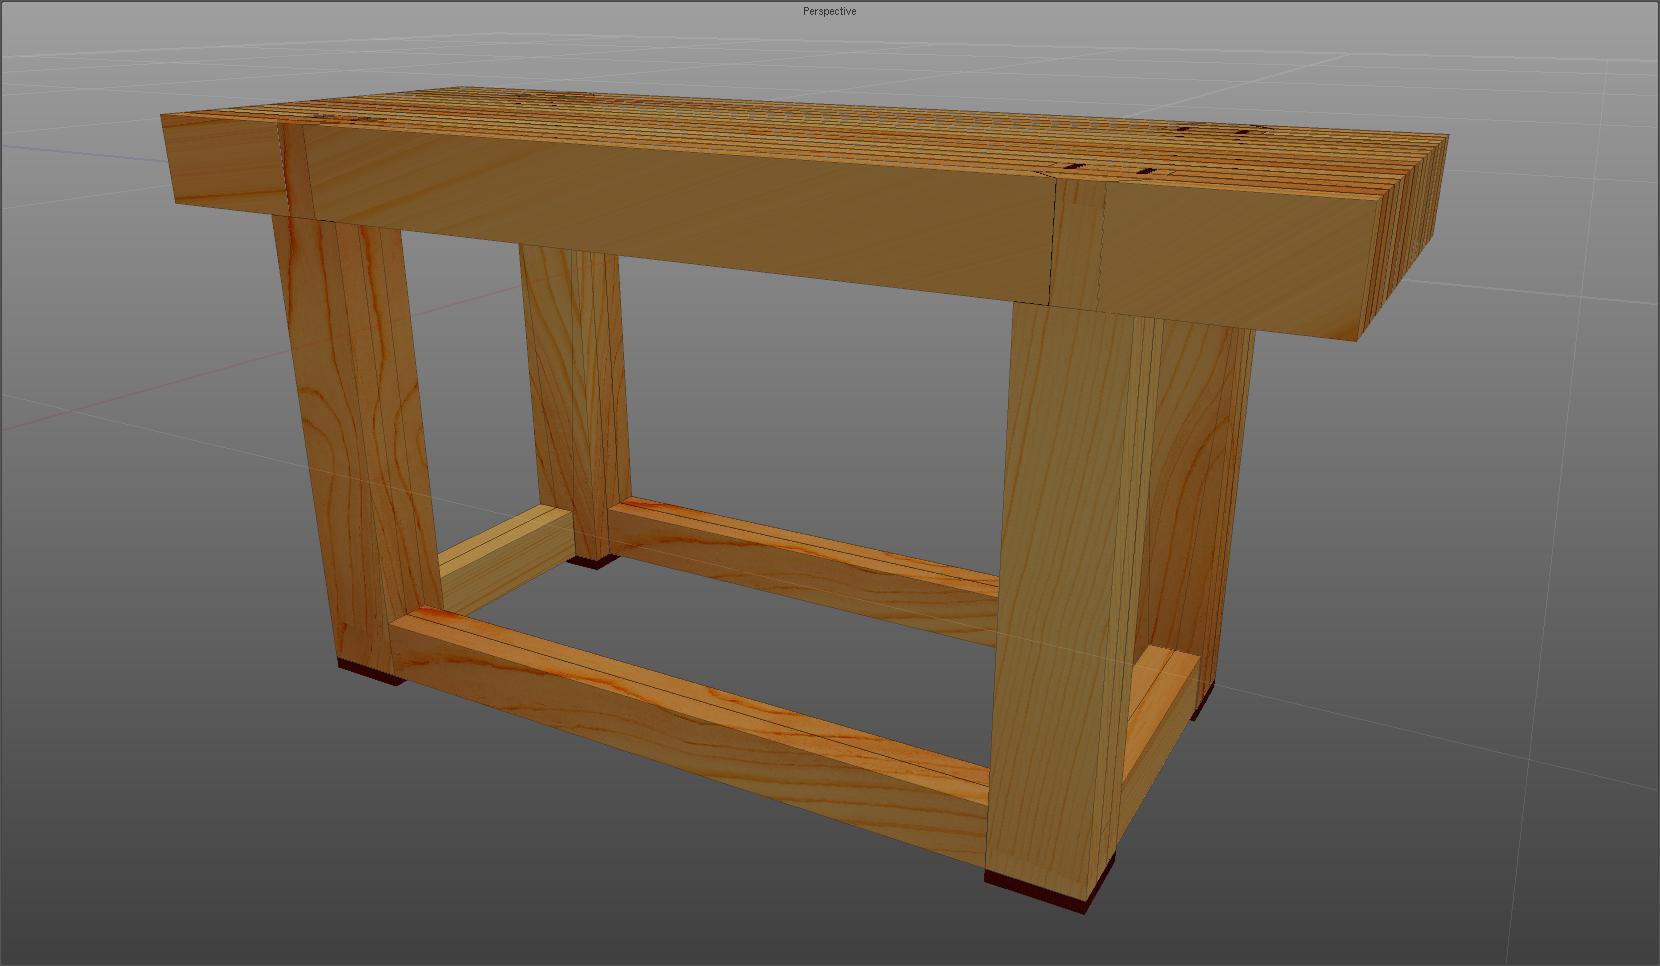
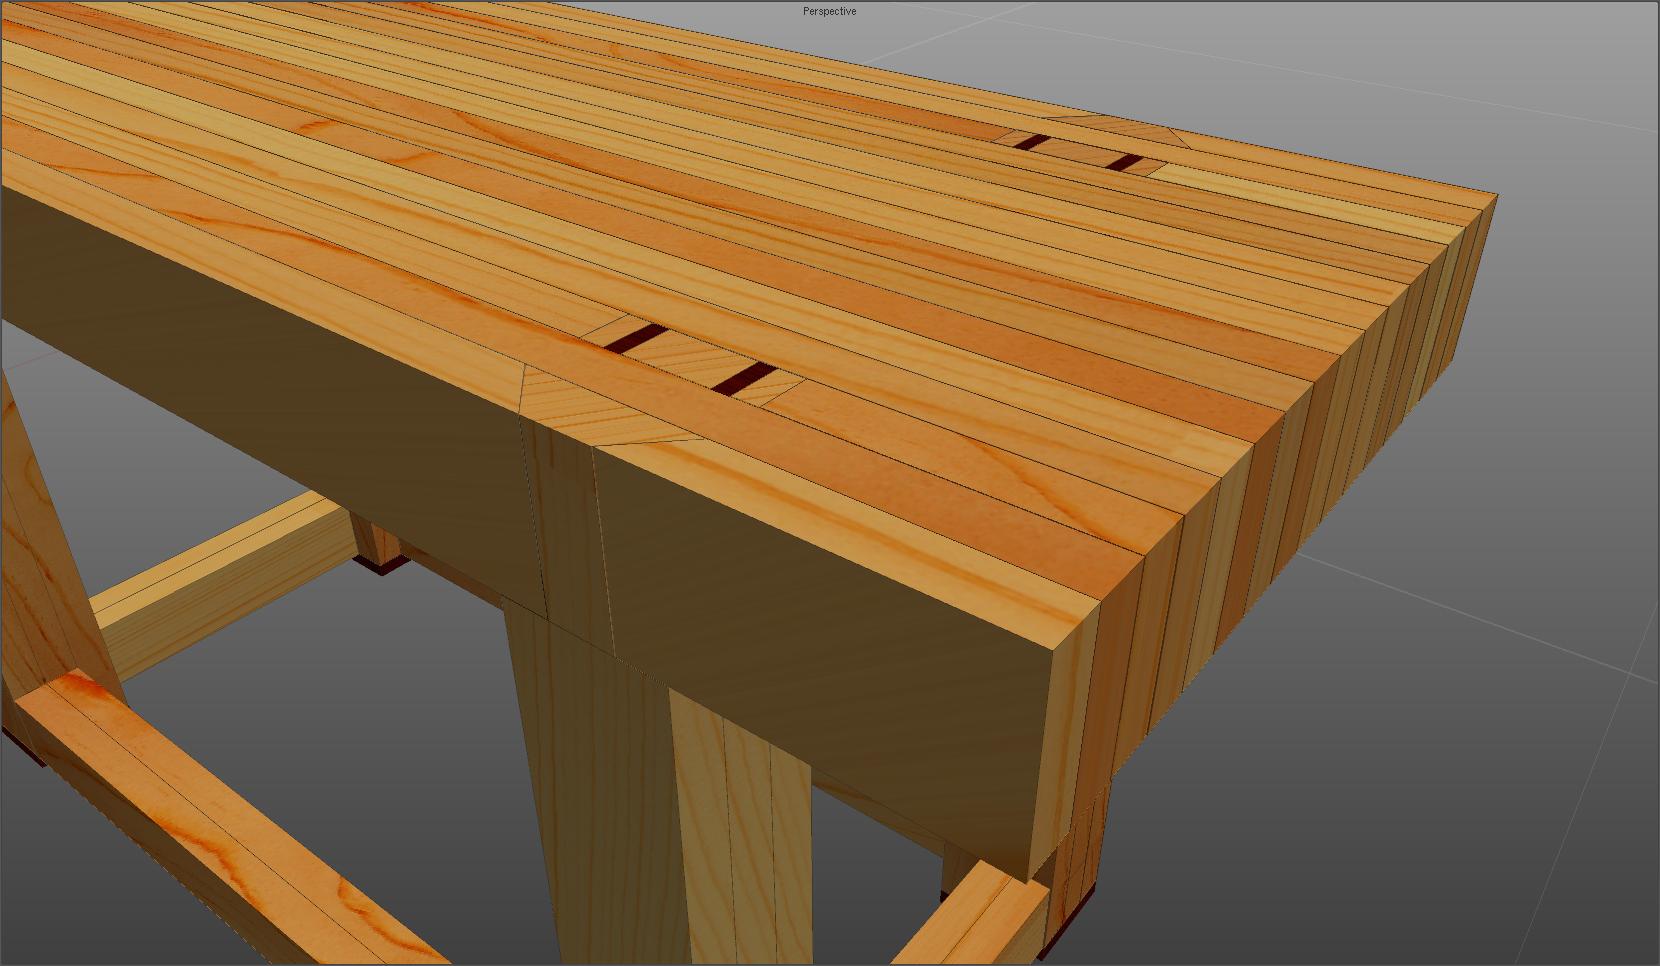
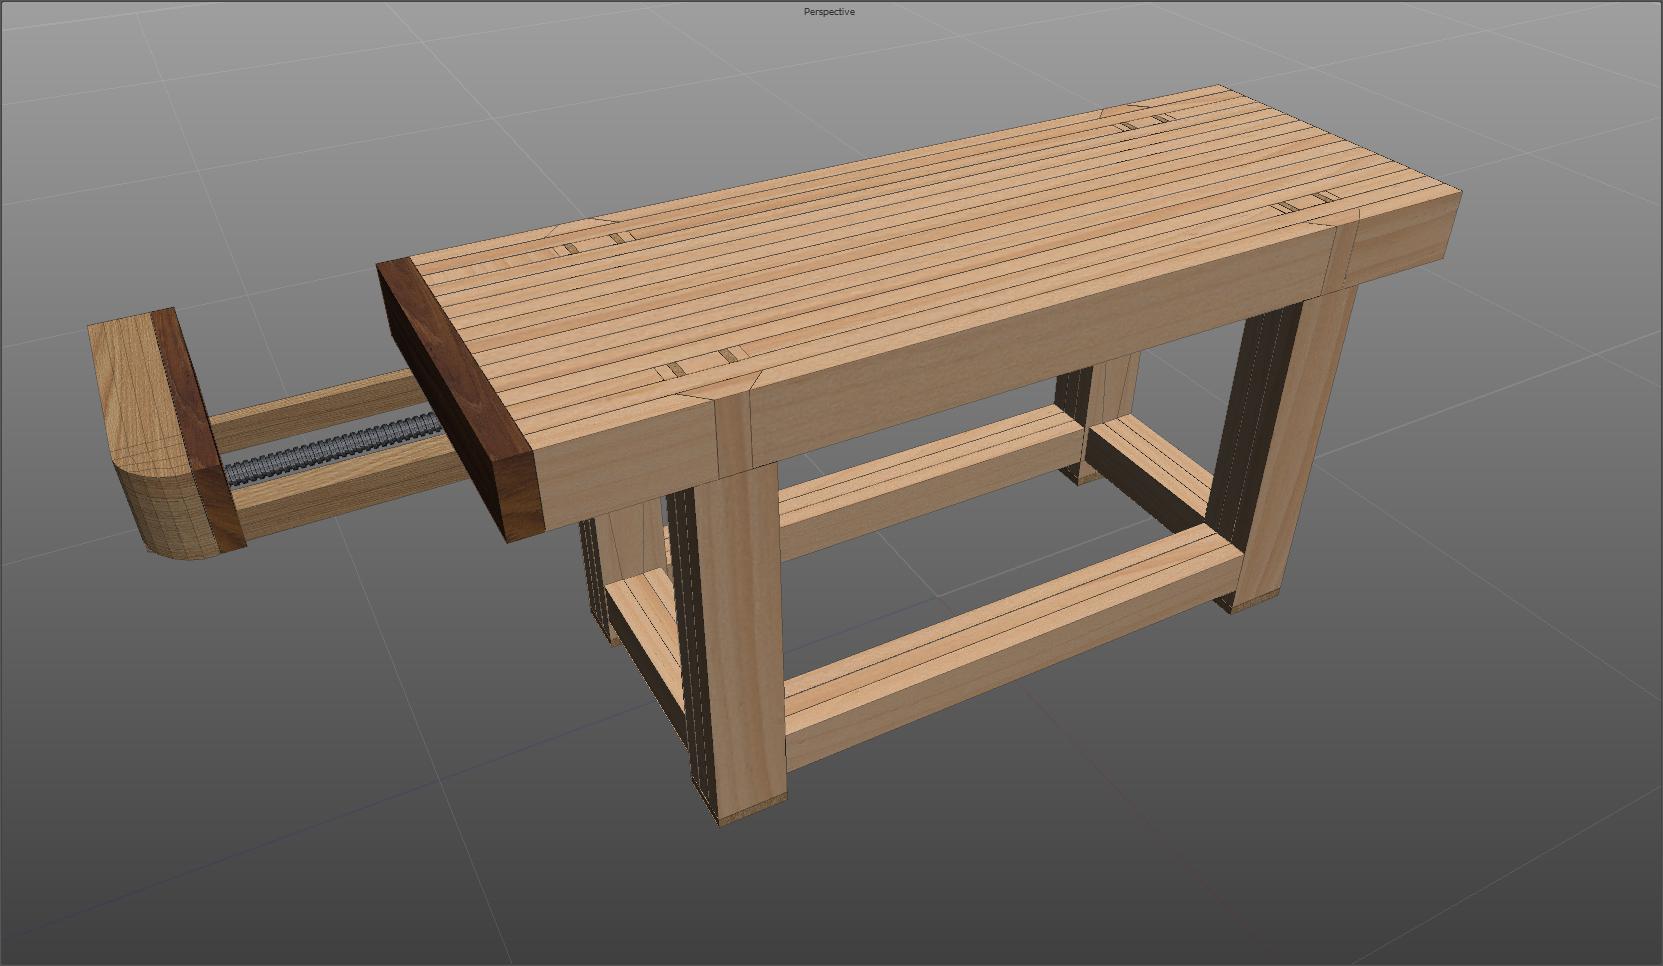
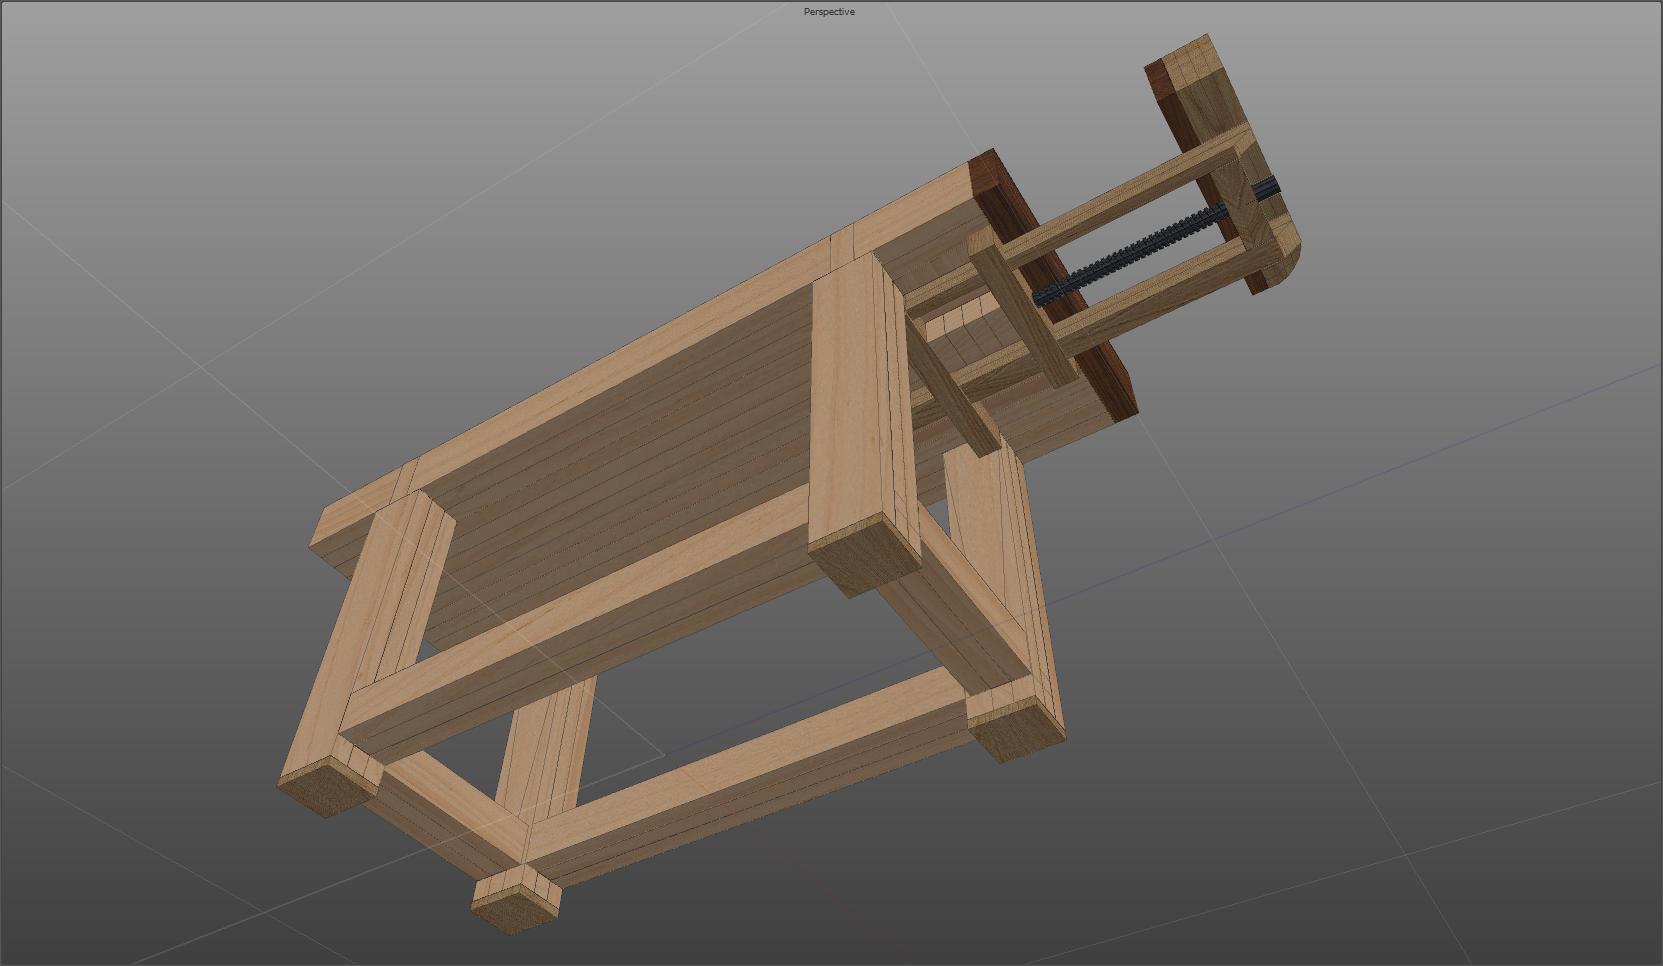
These are the initial plans I designed in Silo, a great little modeling program developed by Nevercenter. Link:
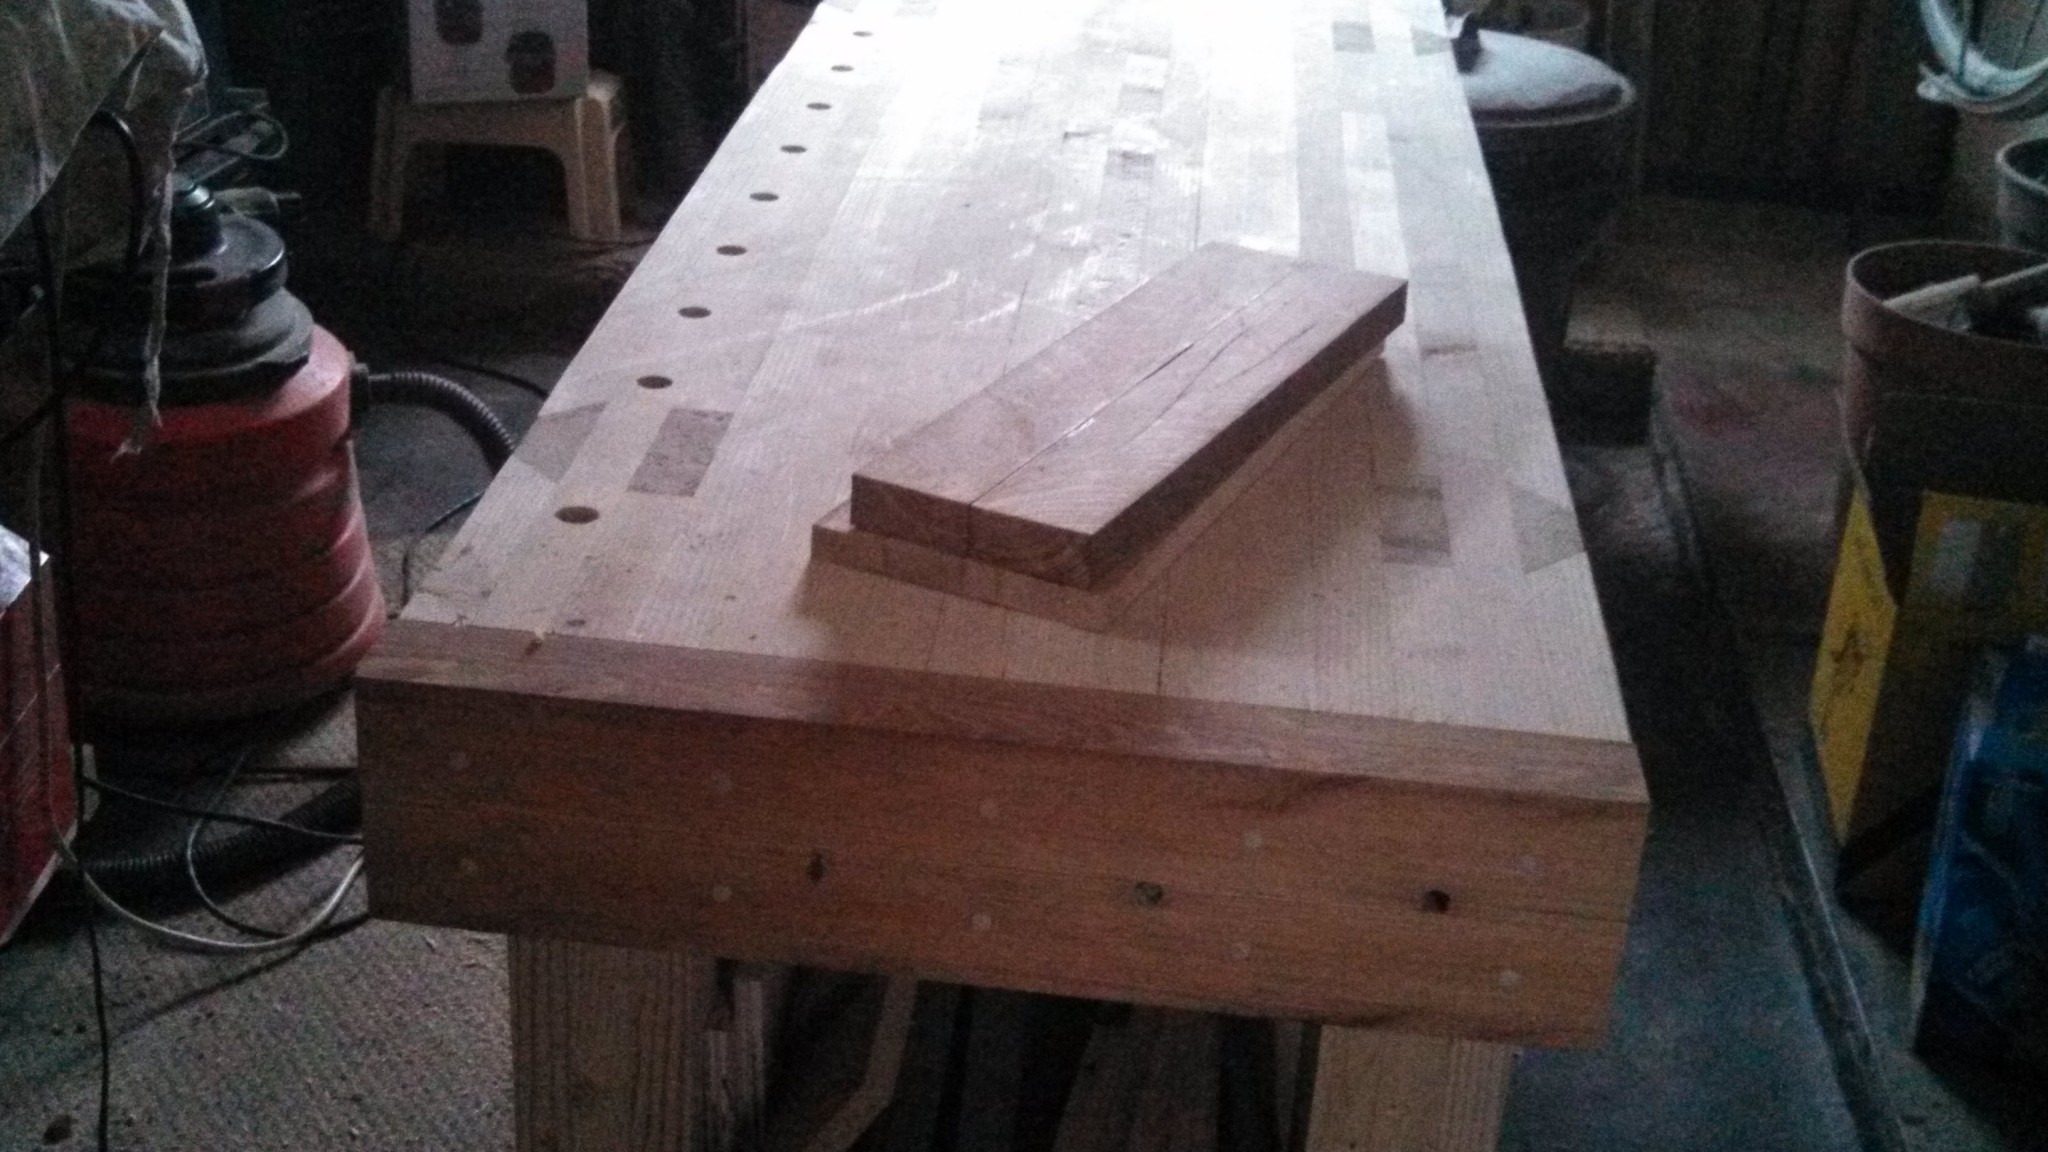
I went to Home Depot and purchased a bunch of 2″ x 6″ pine, ripped the rounded edges off(about 1/4″ per side), and started gluing. The bench top at this point was about 5″ thick.
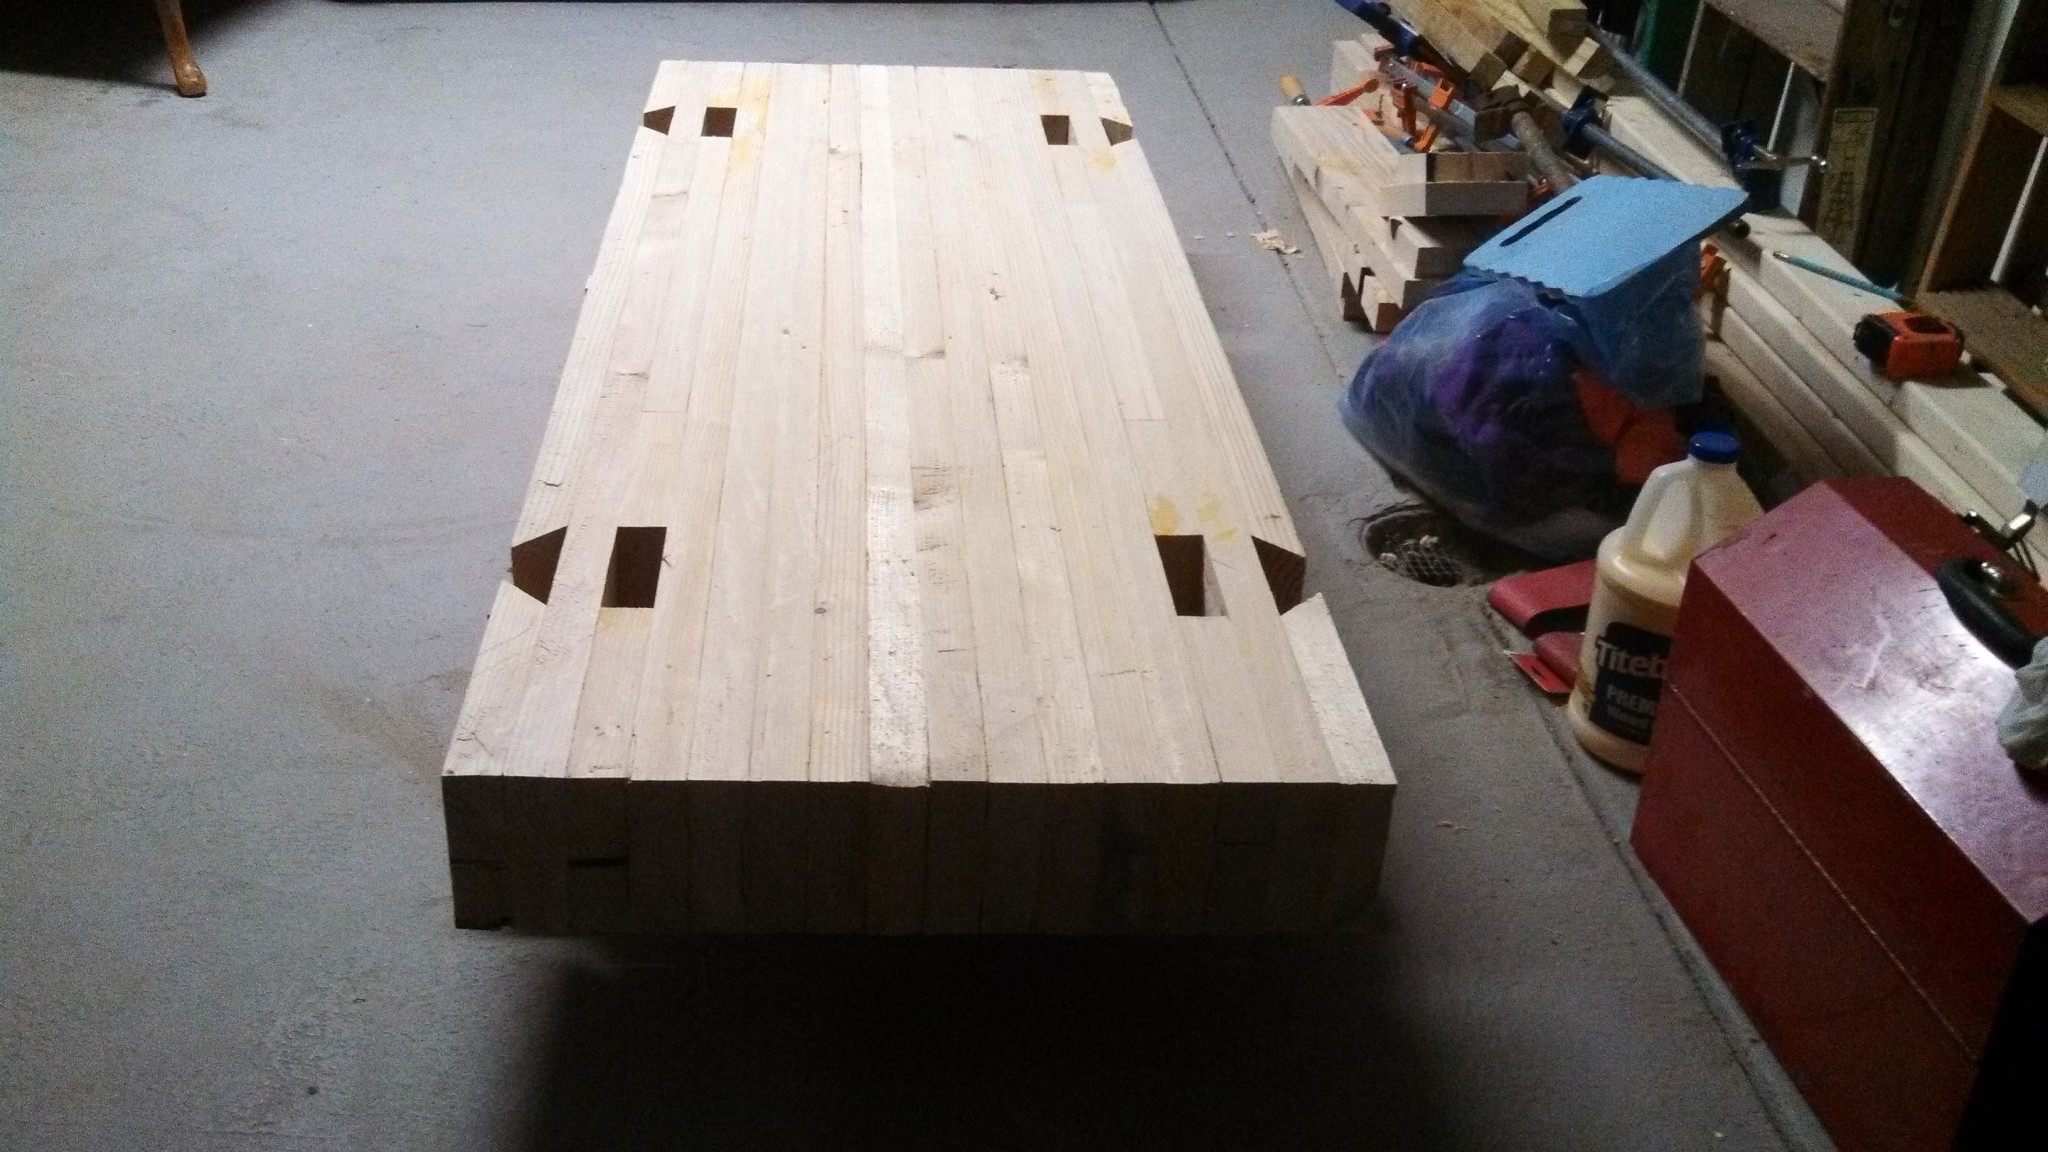
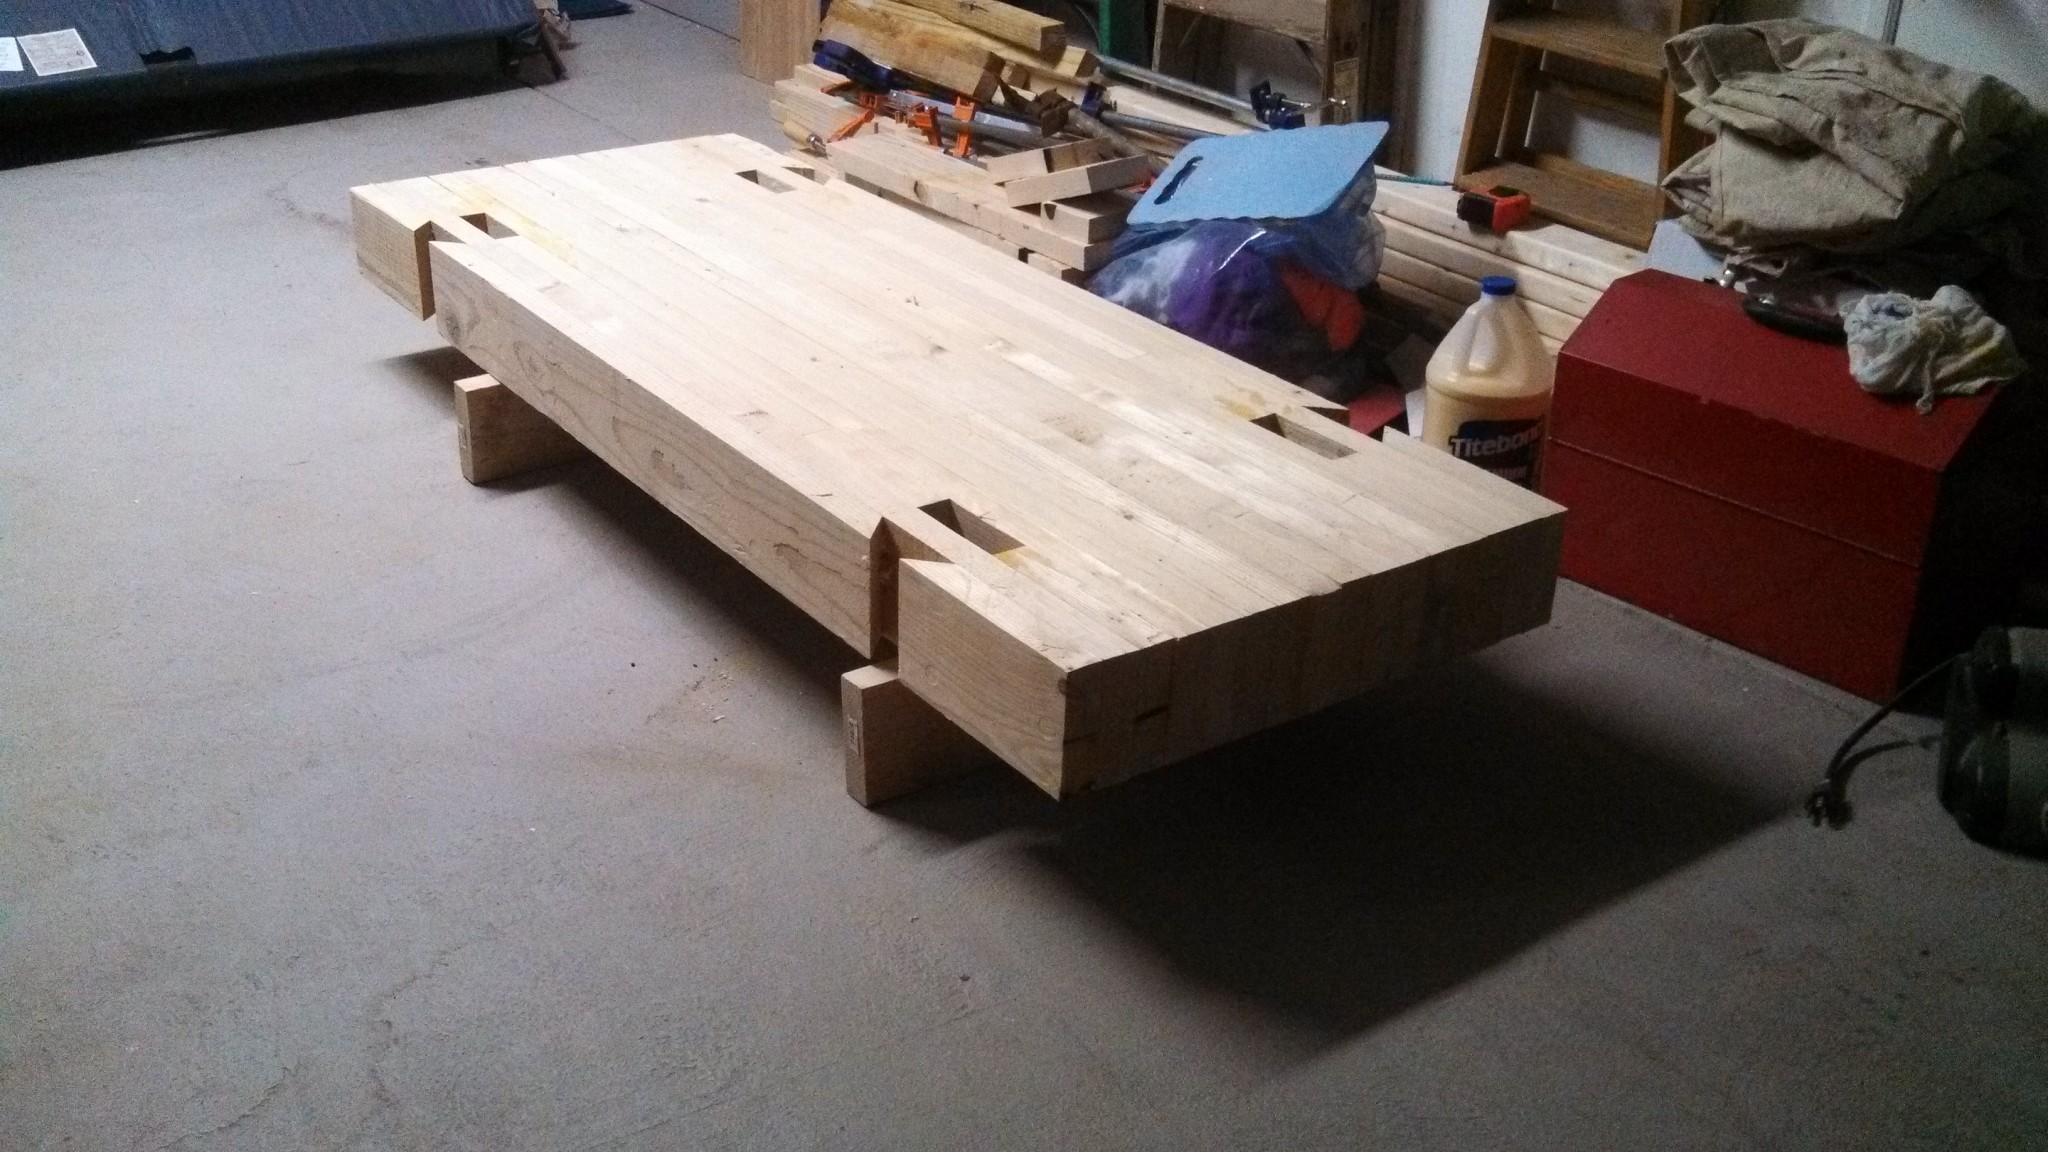
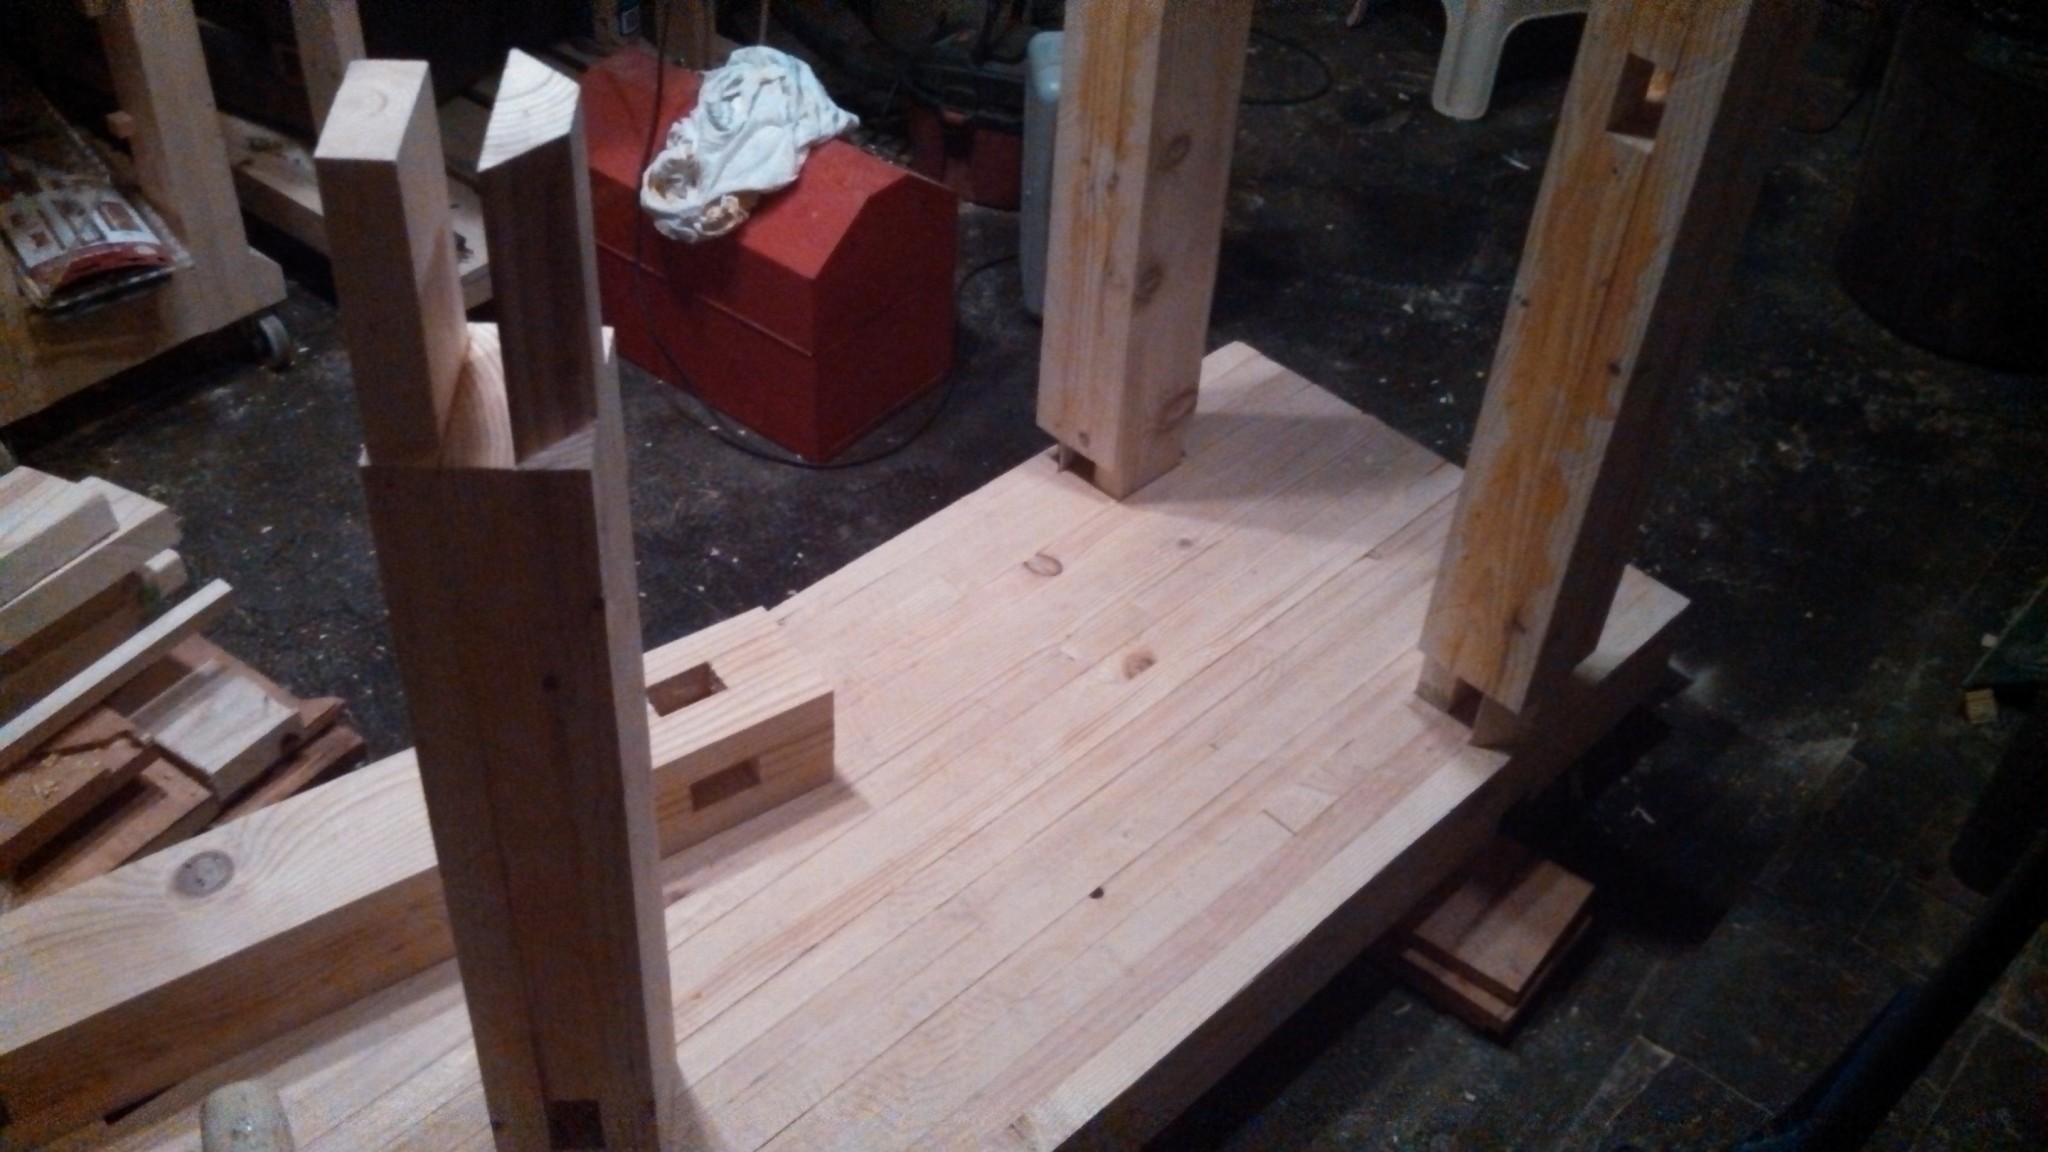
I “cheated” on the mortises by cutting two of the three edge pieces to fit the through tenons of the legs. It was sort of a pain to get the glue cleaned out of it, but still easier than cutting them out after the glue up.
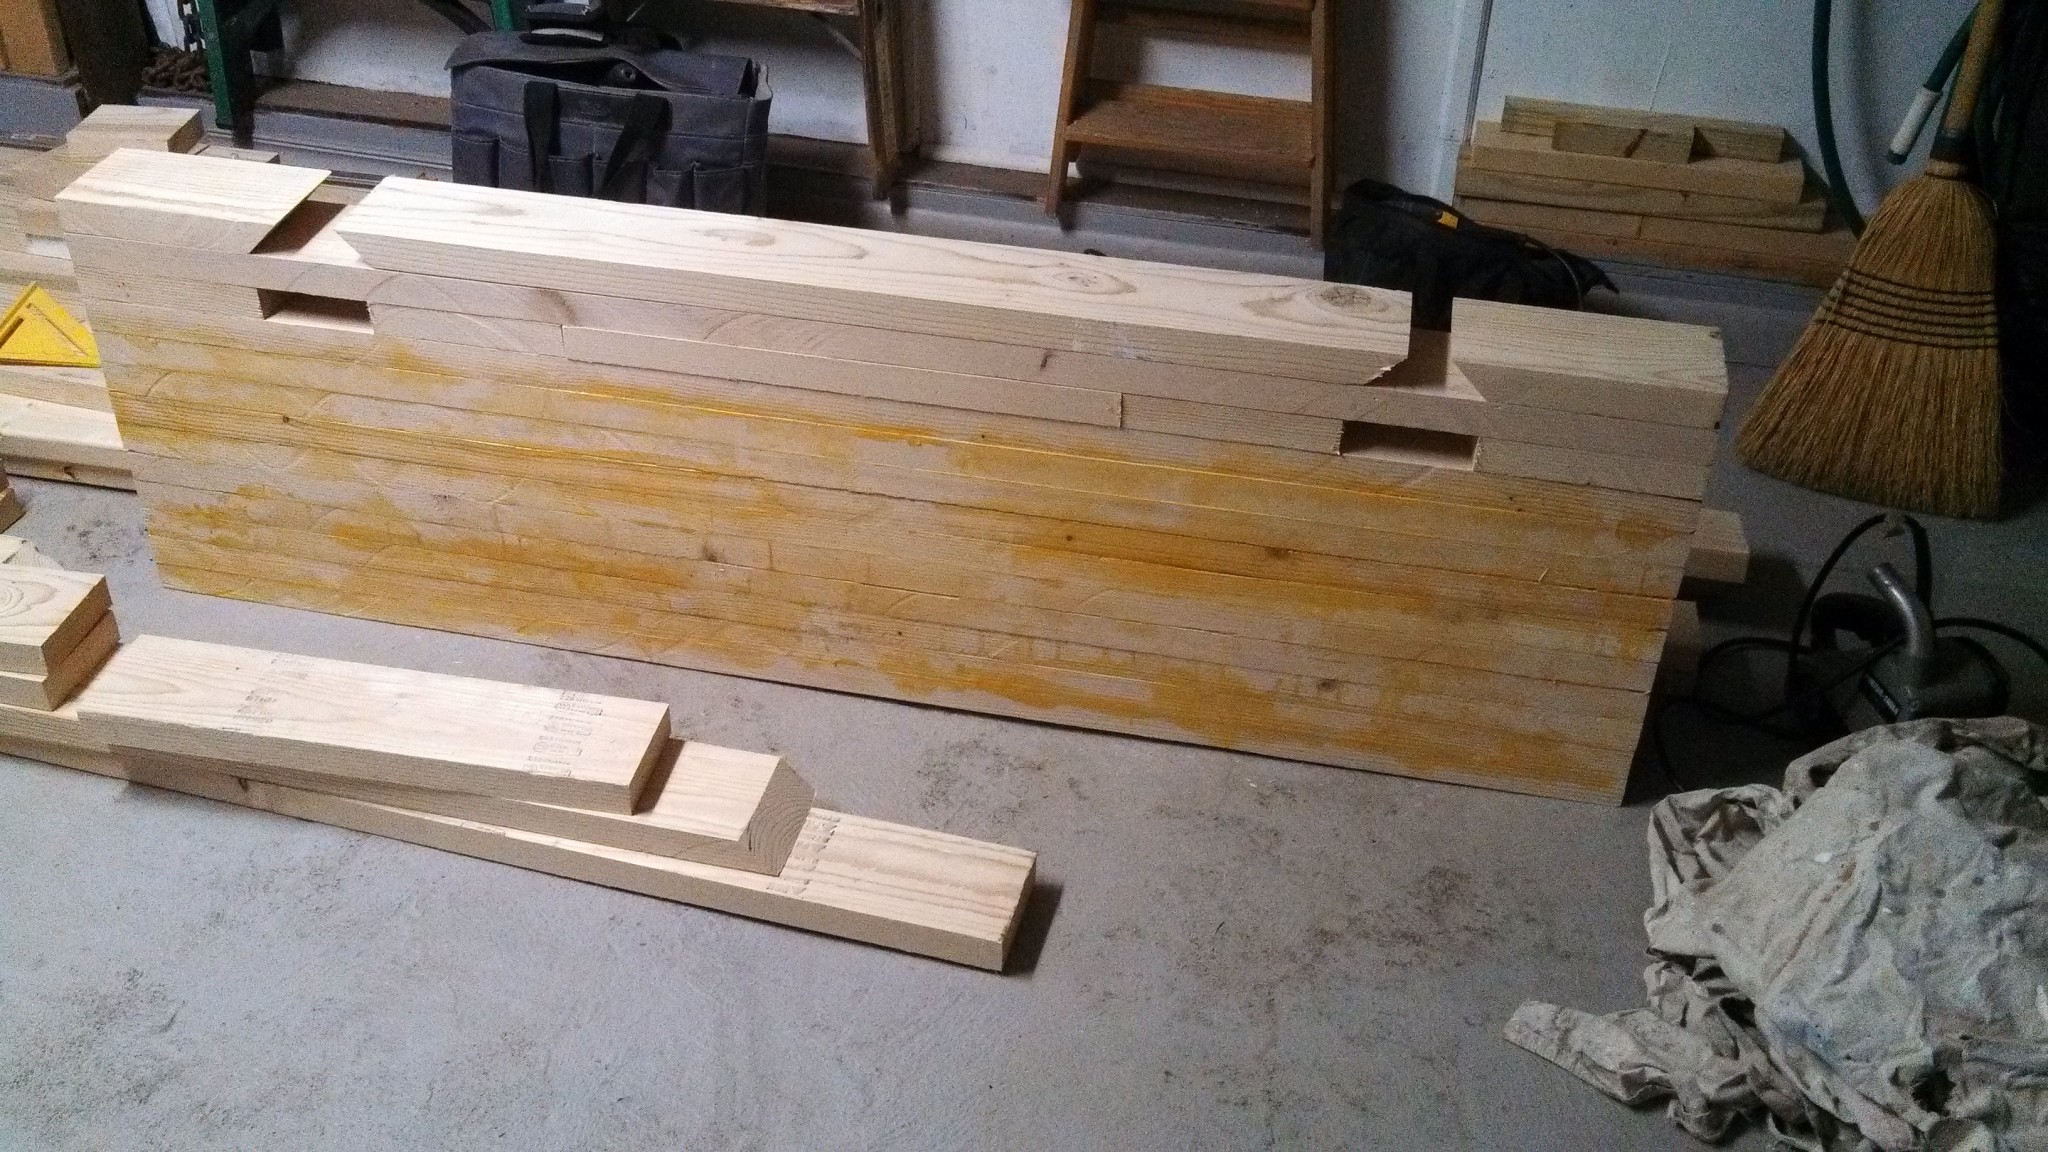
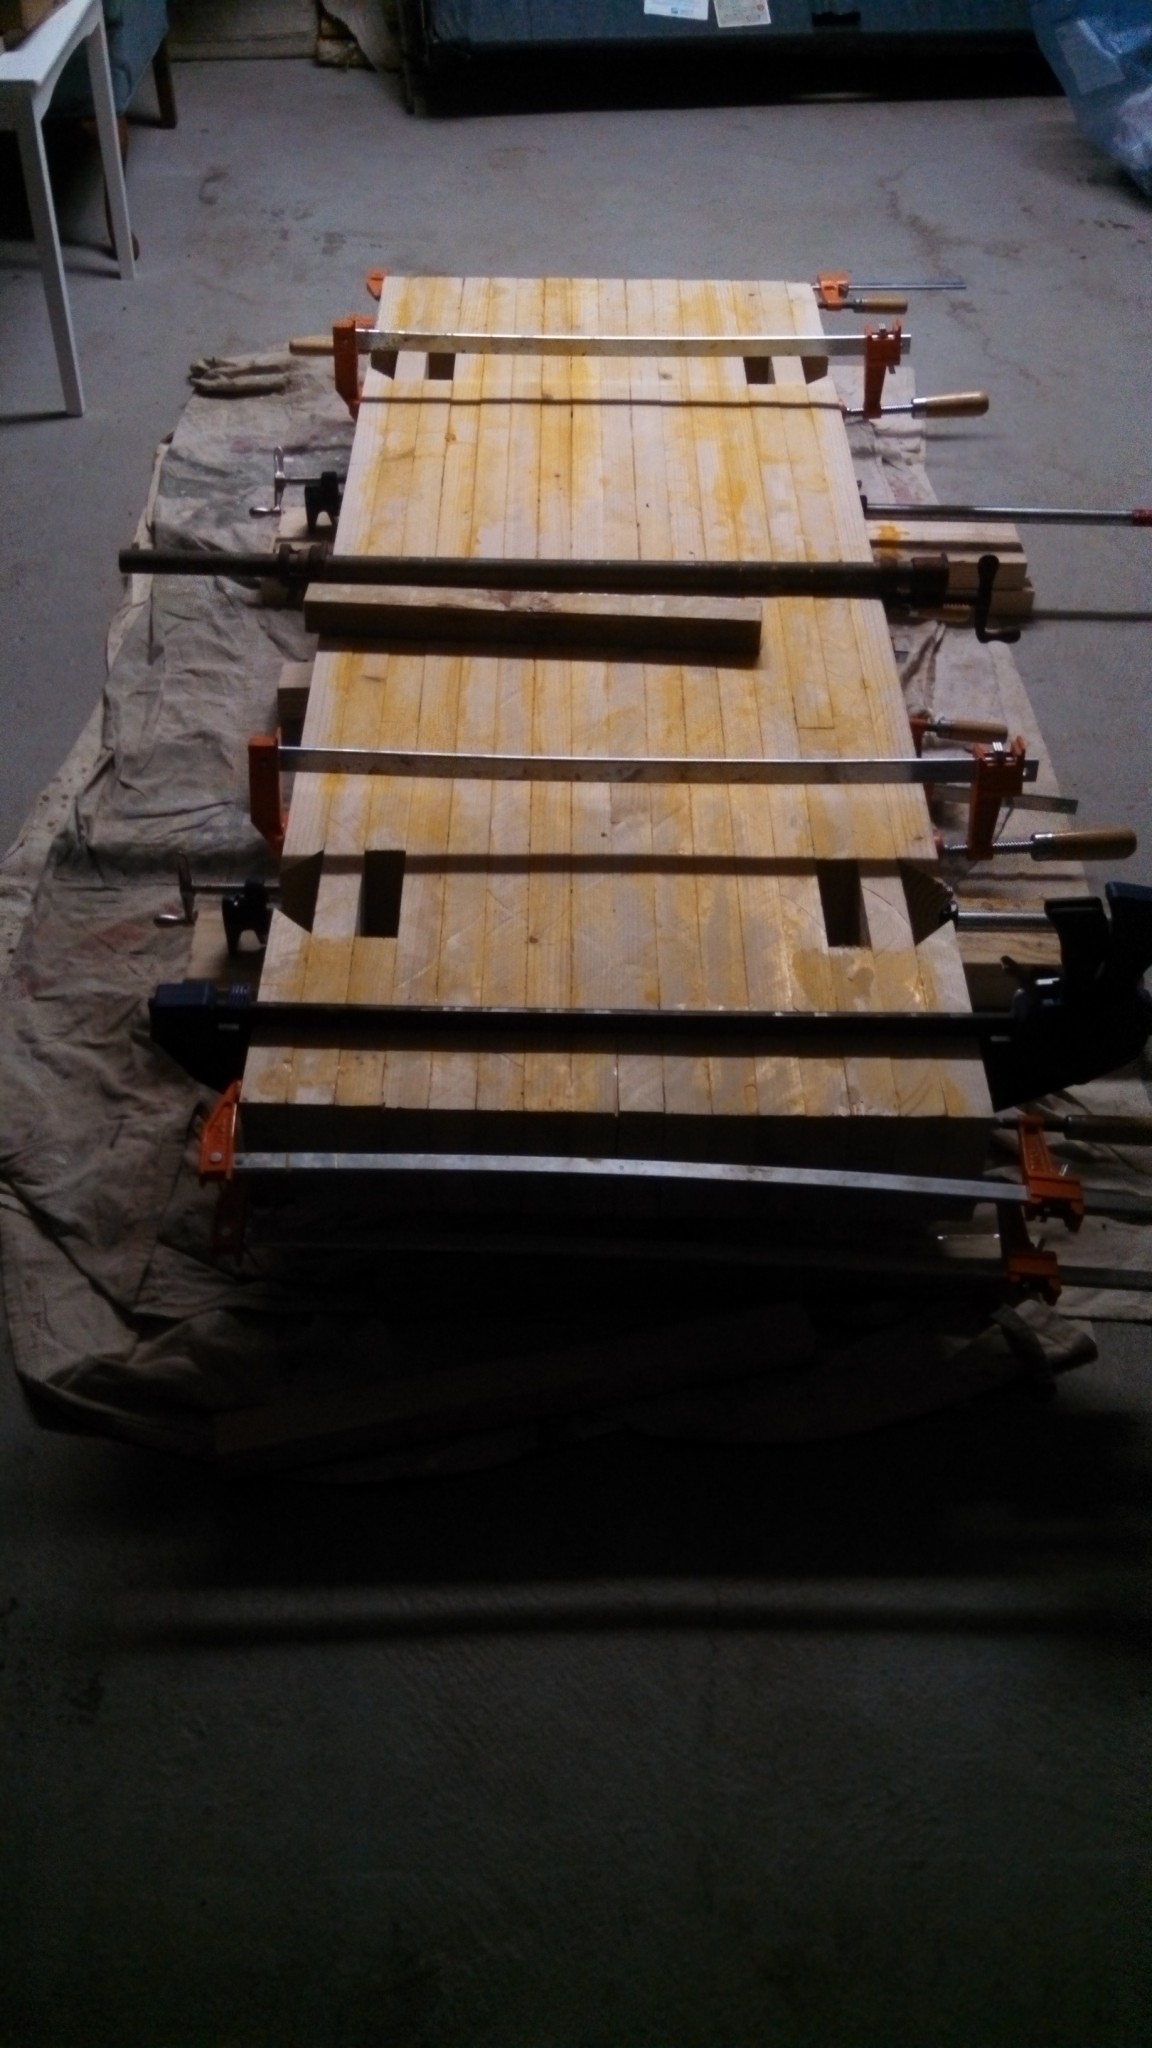
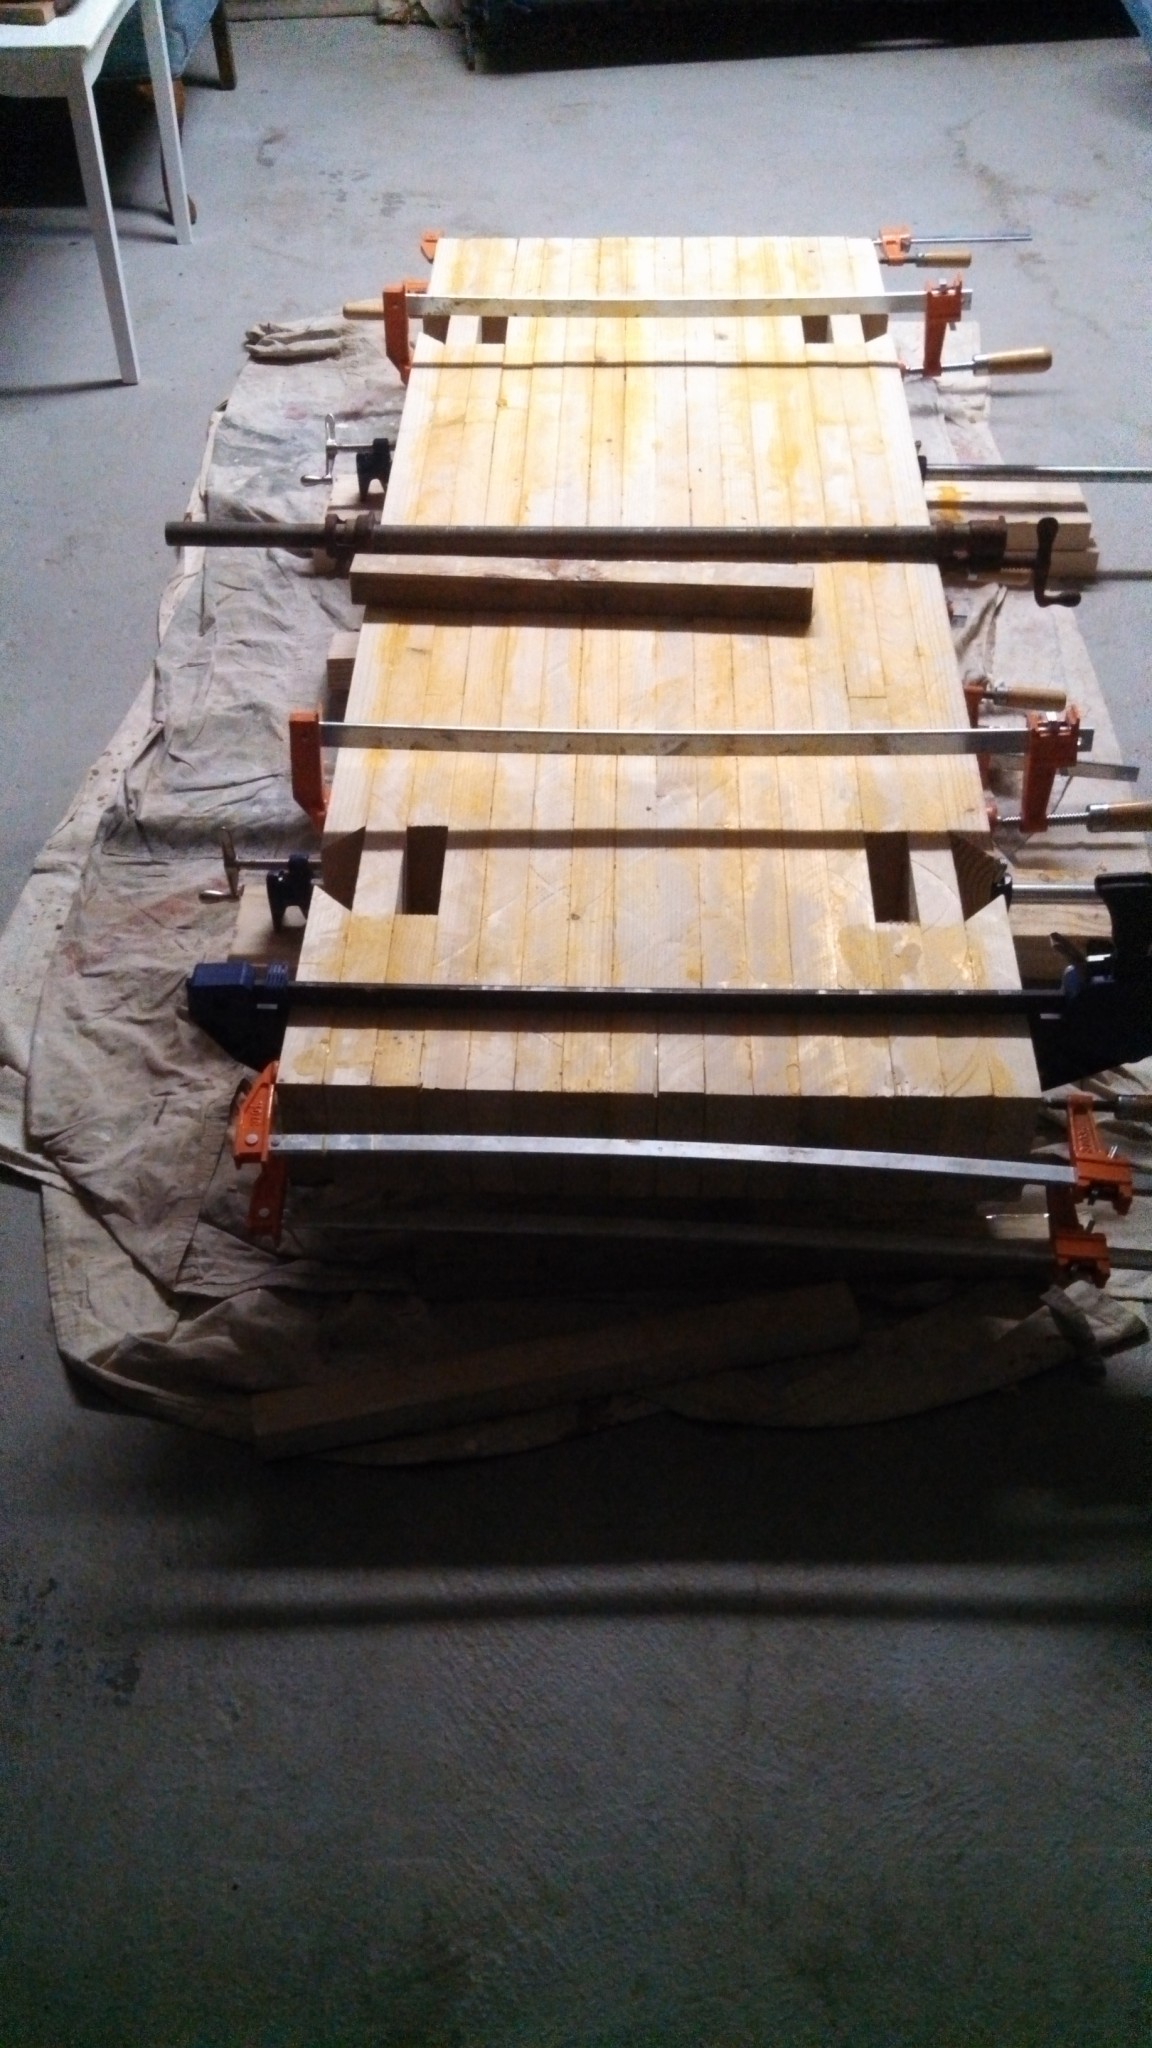
Different angles of the edge glue ups.
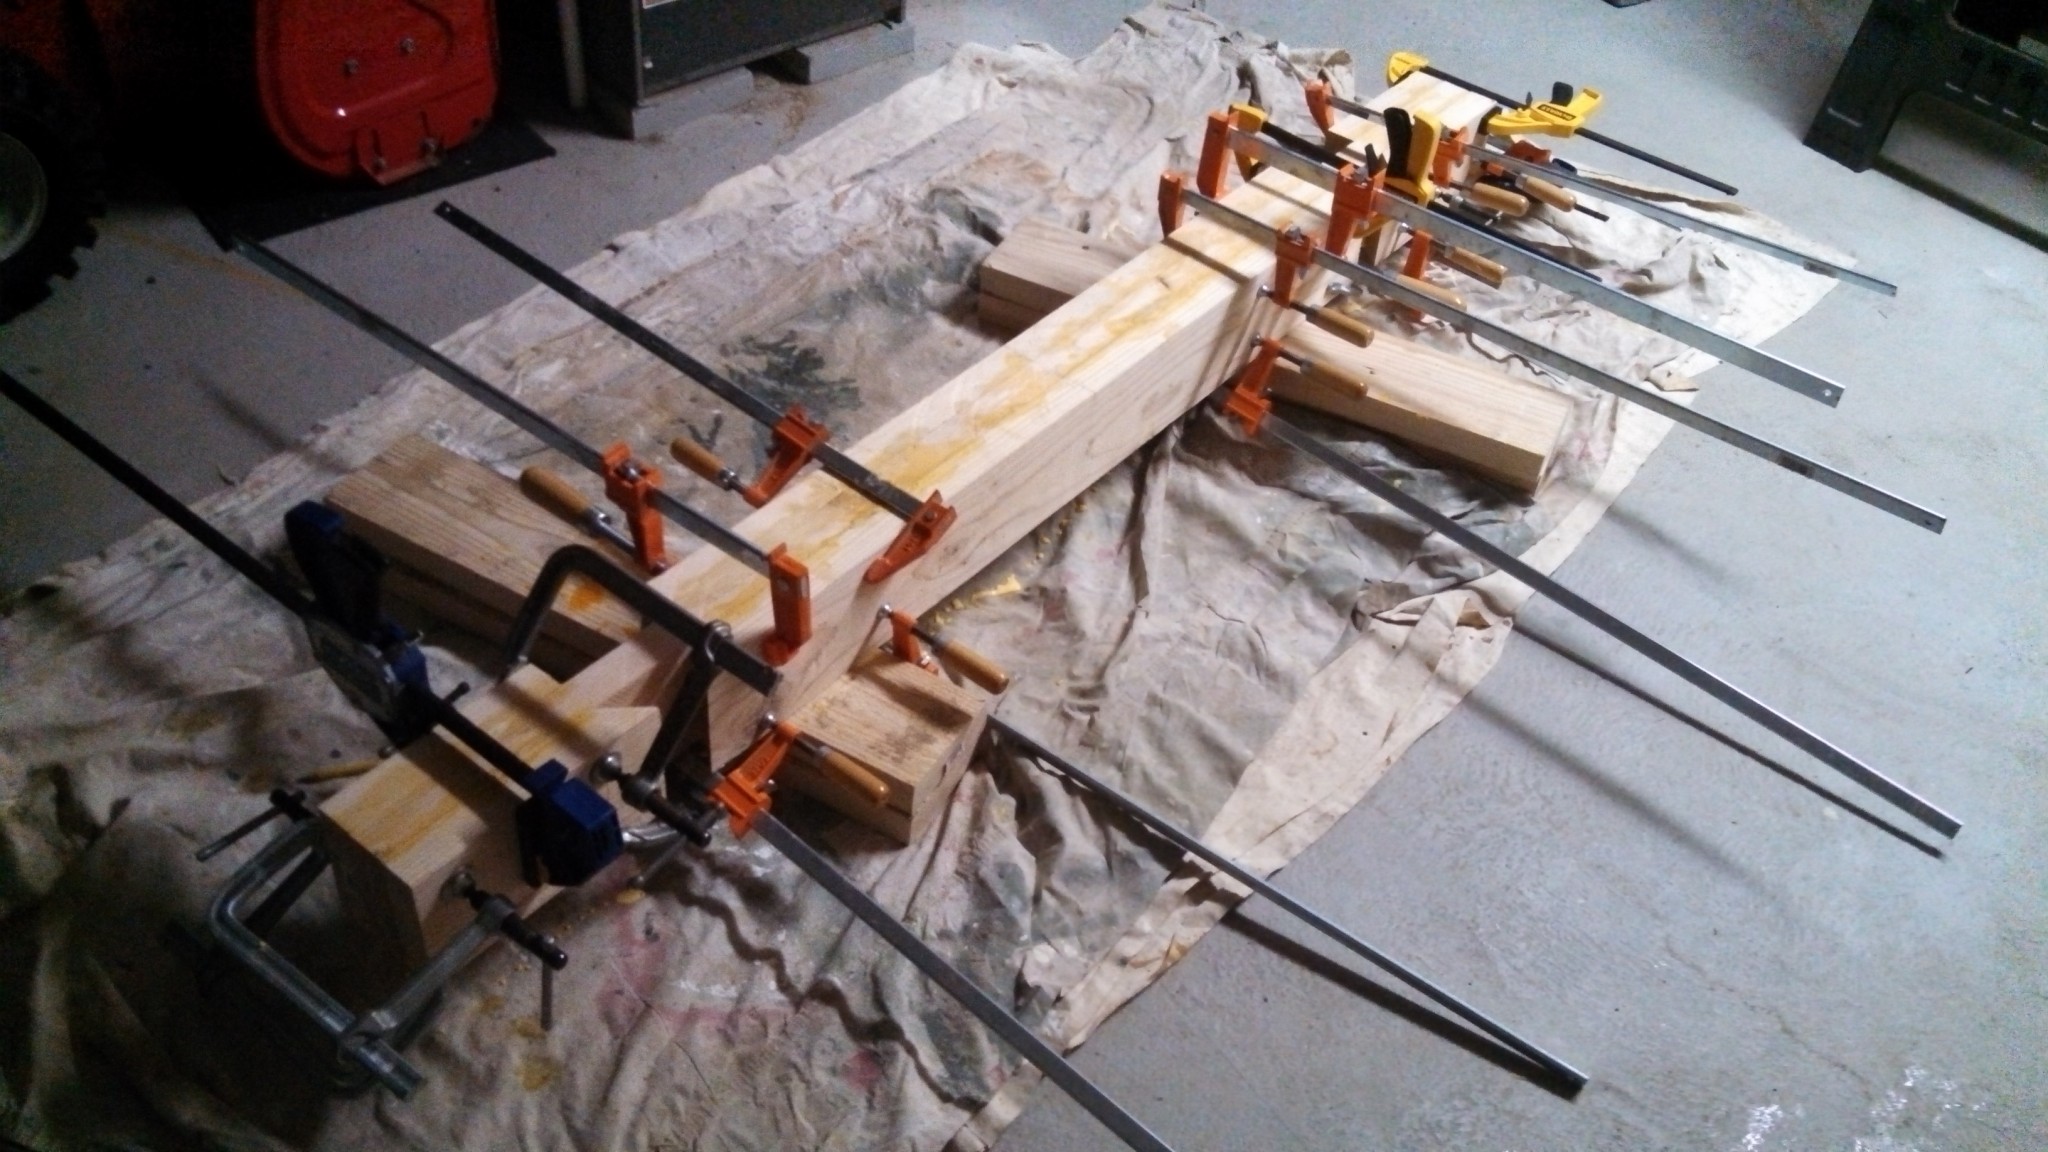
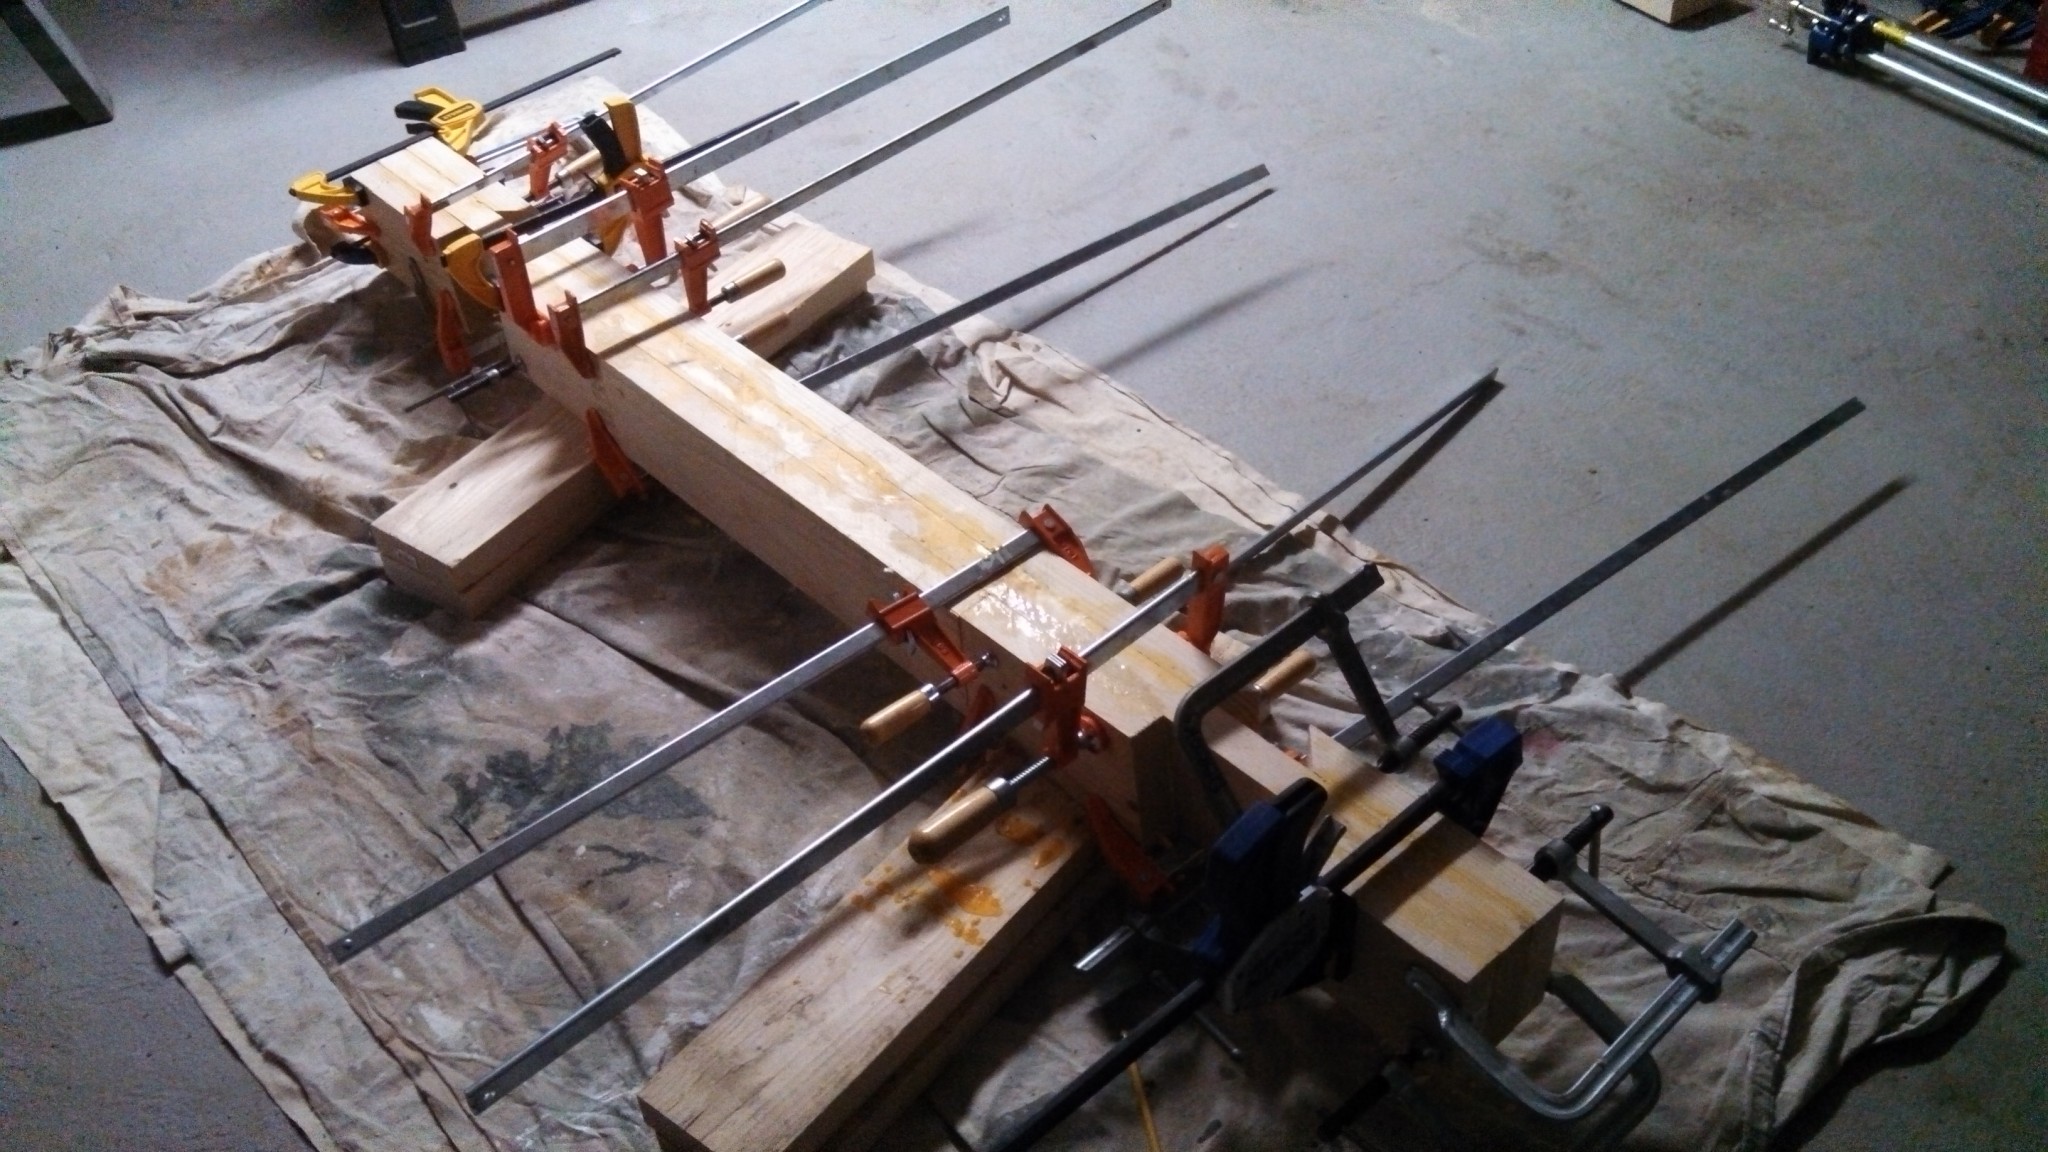
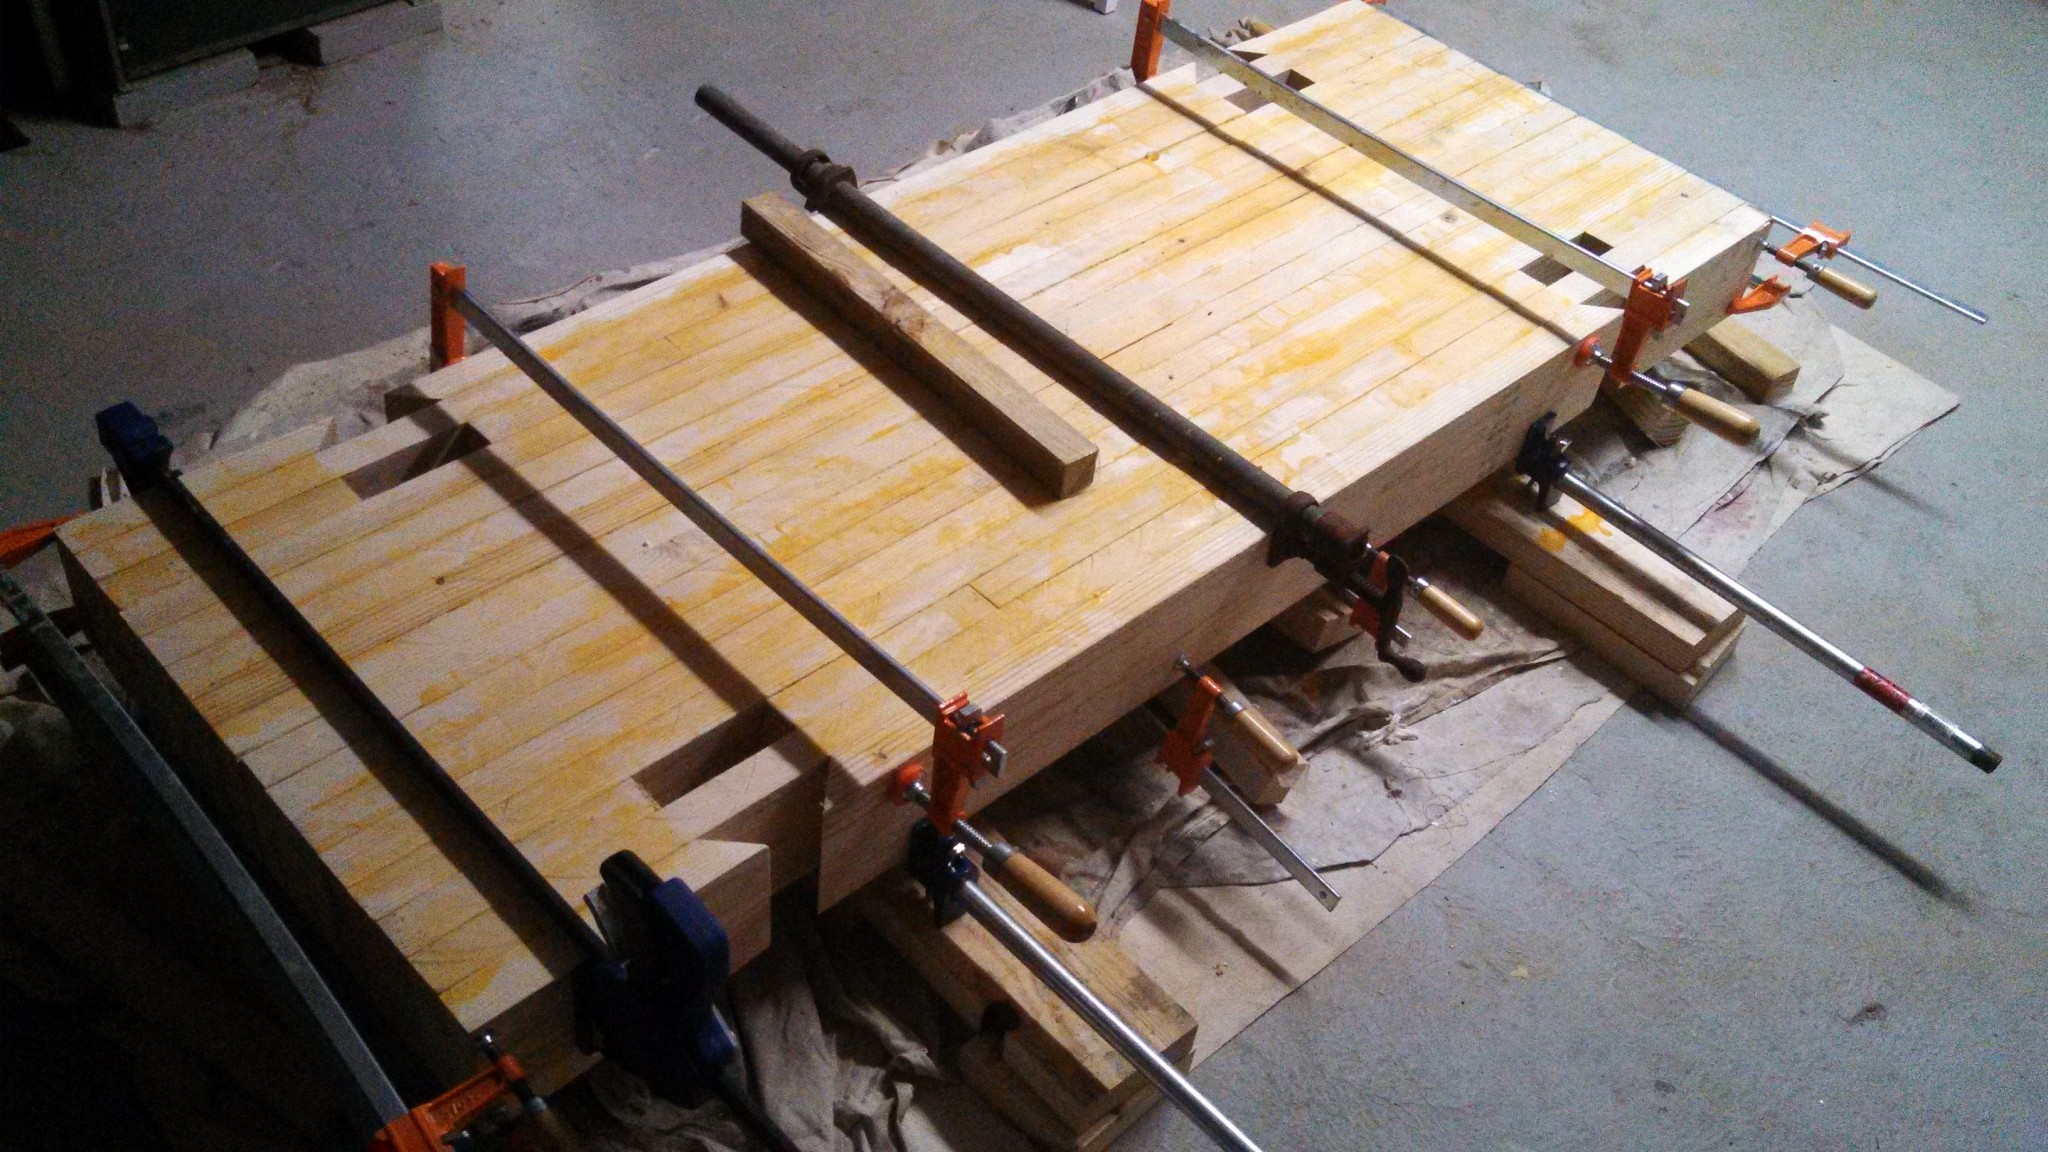
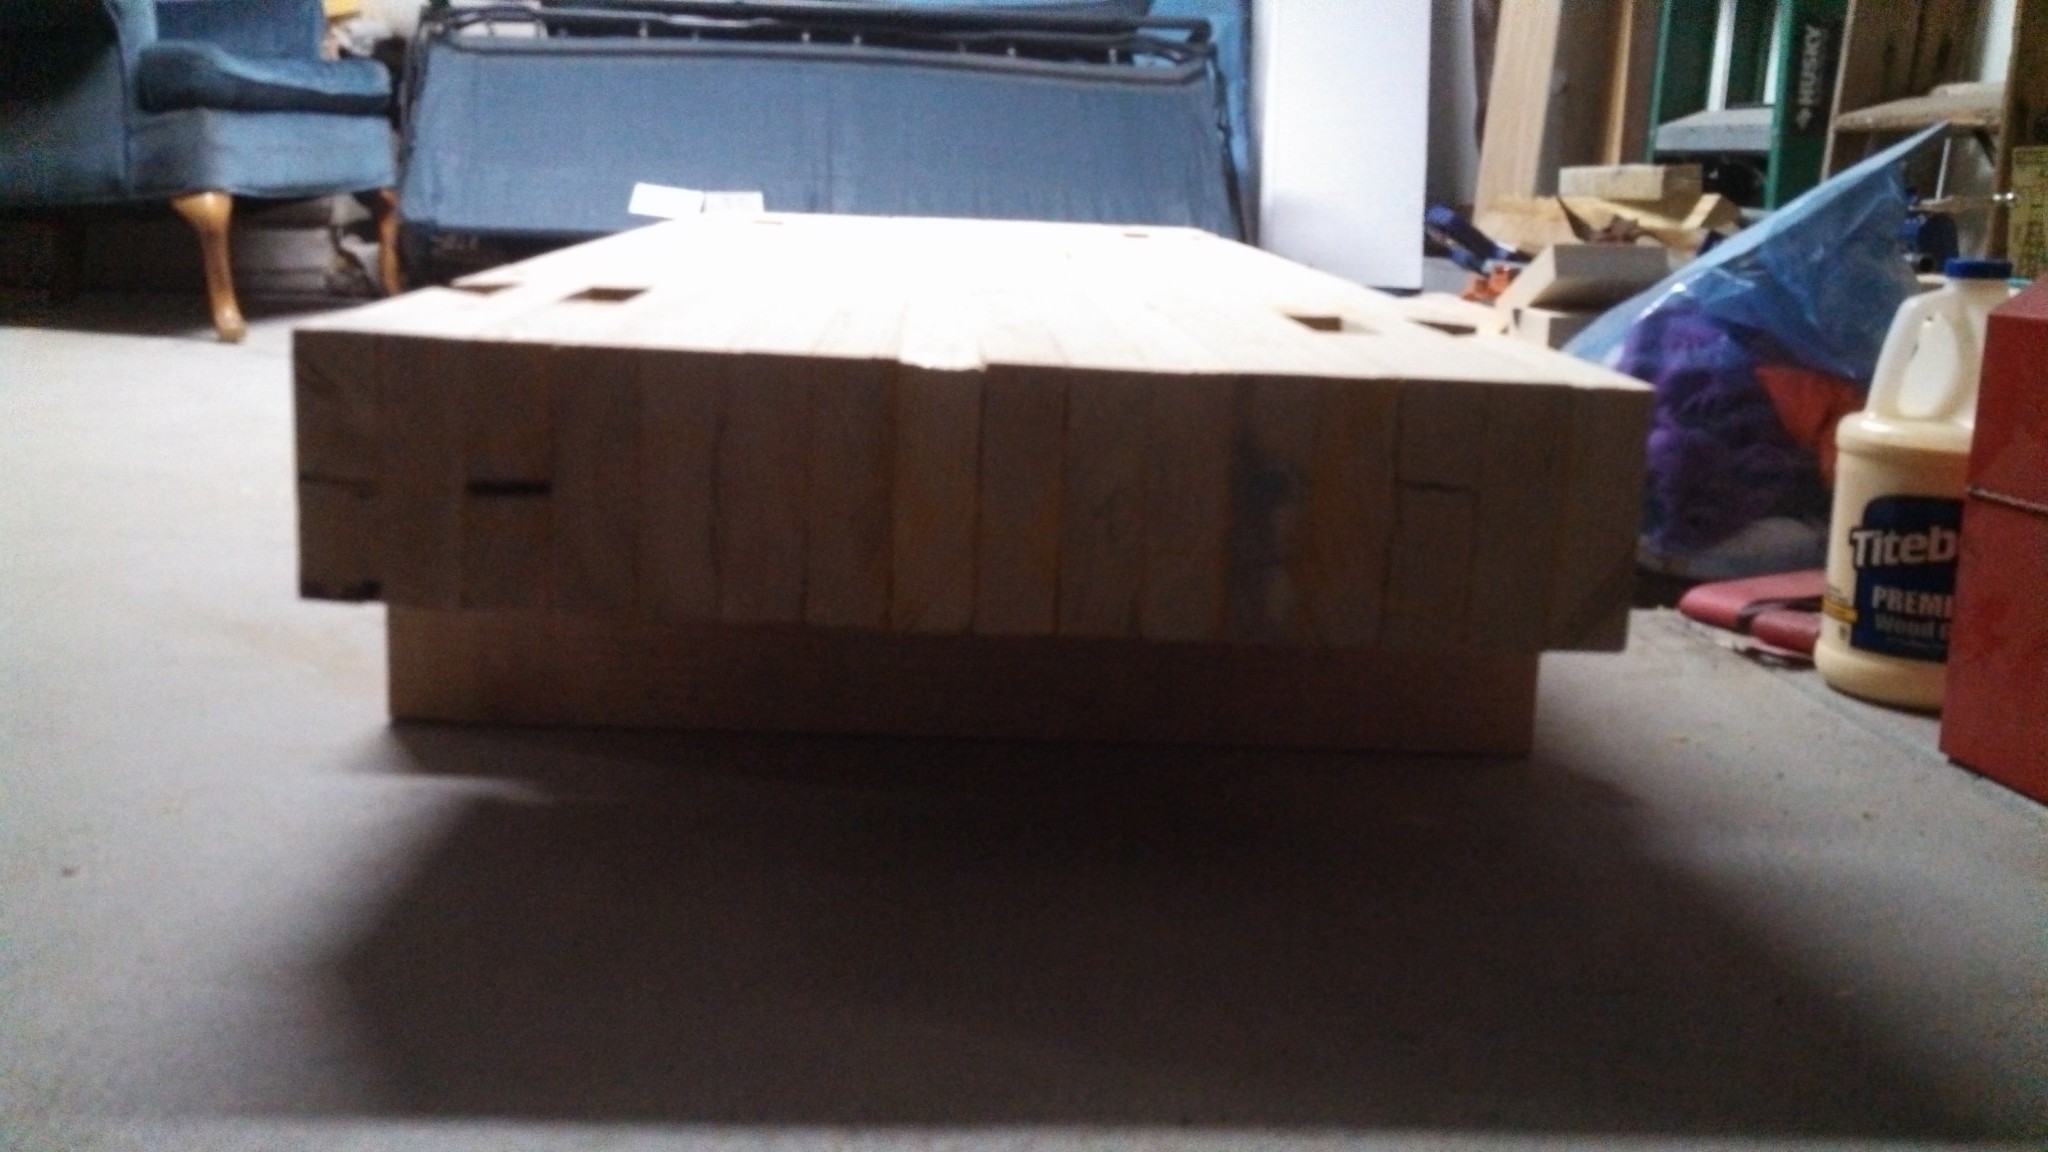
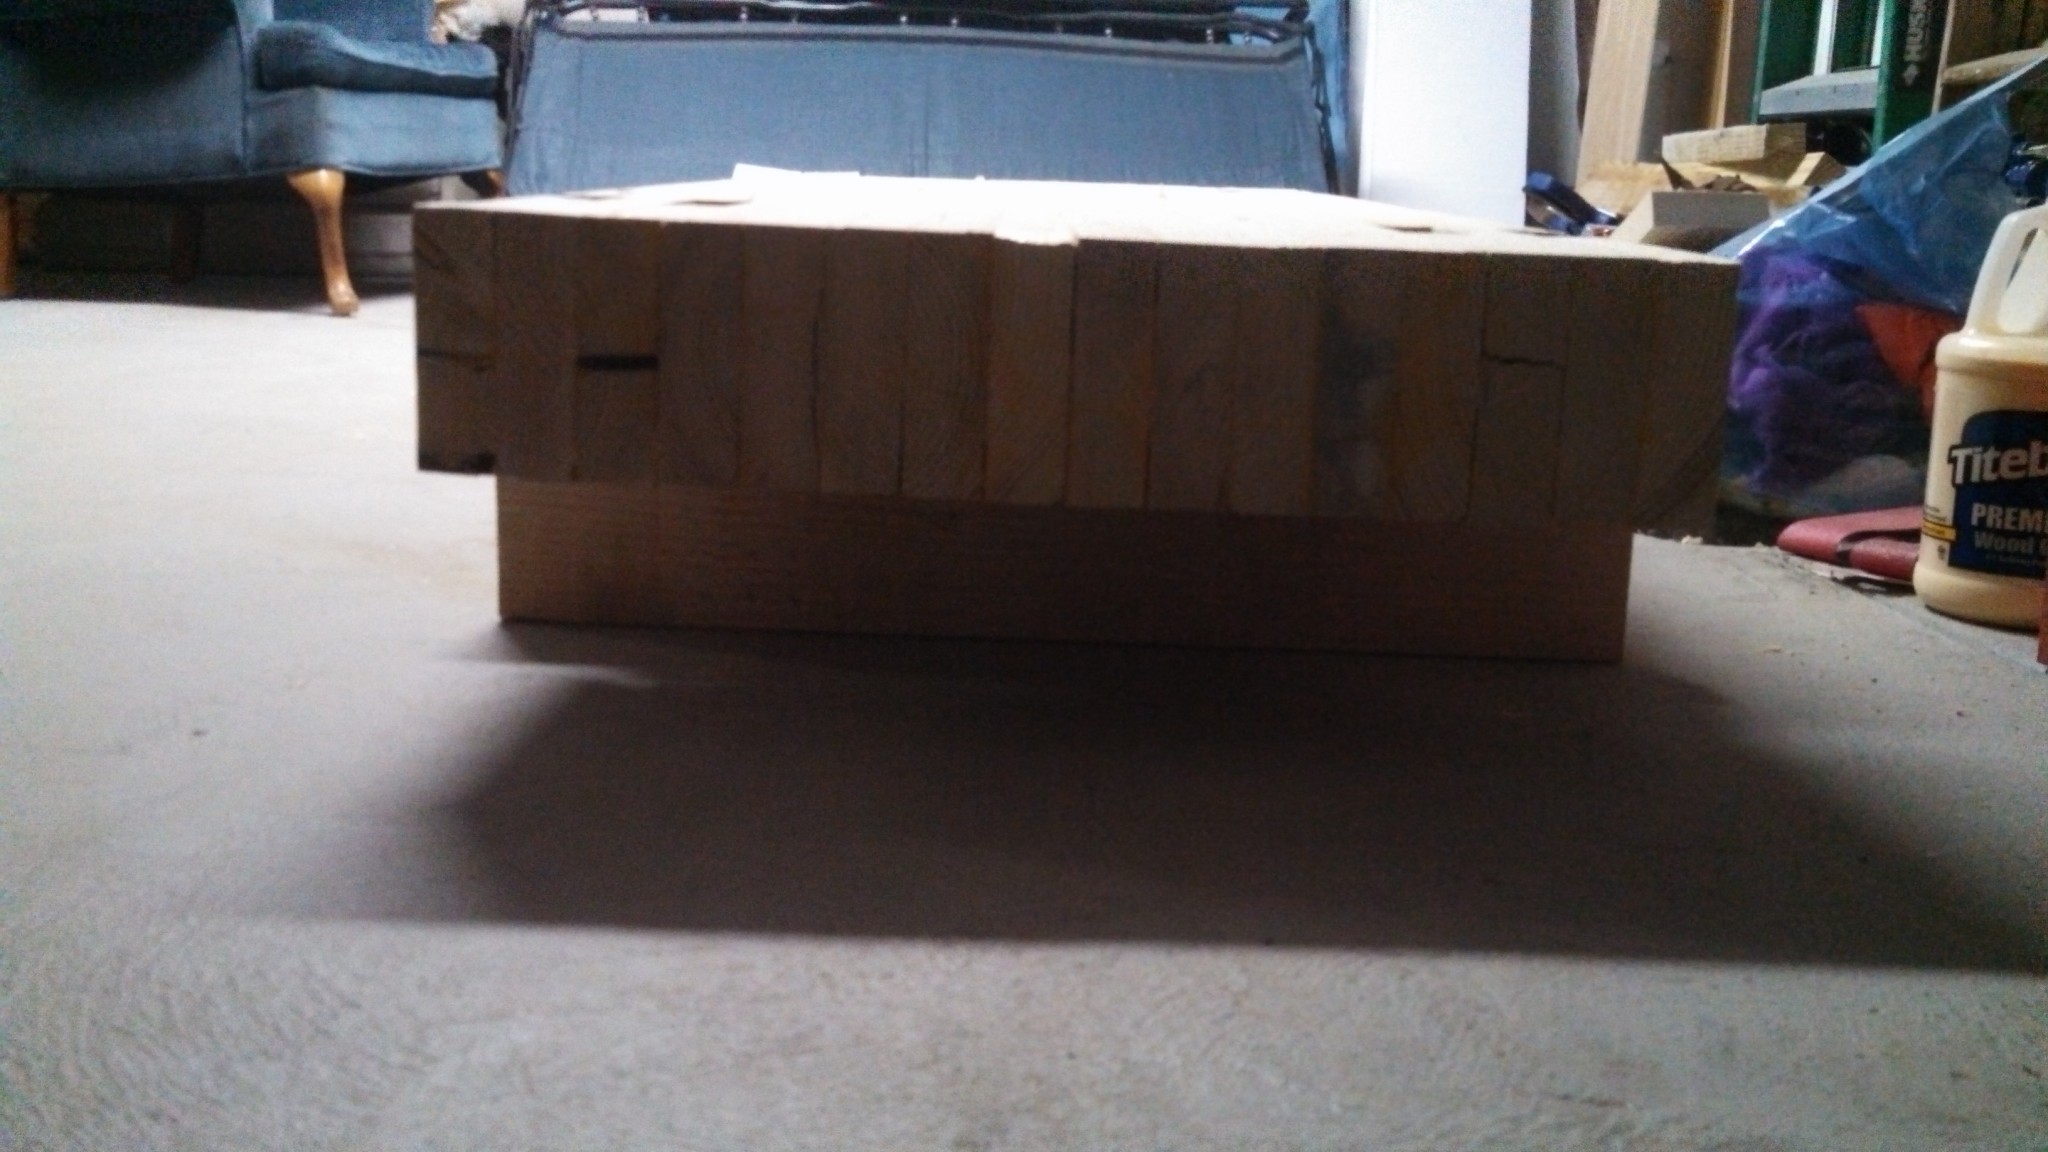
Edges glued to the center of the bench top. I went through 3 quarts of glue to get this far.

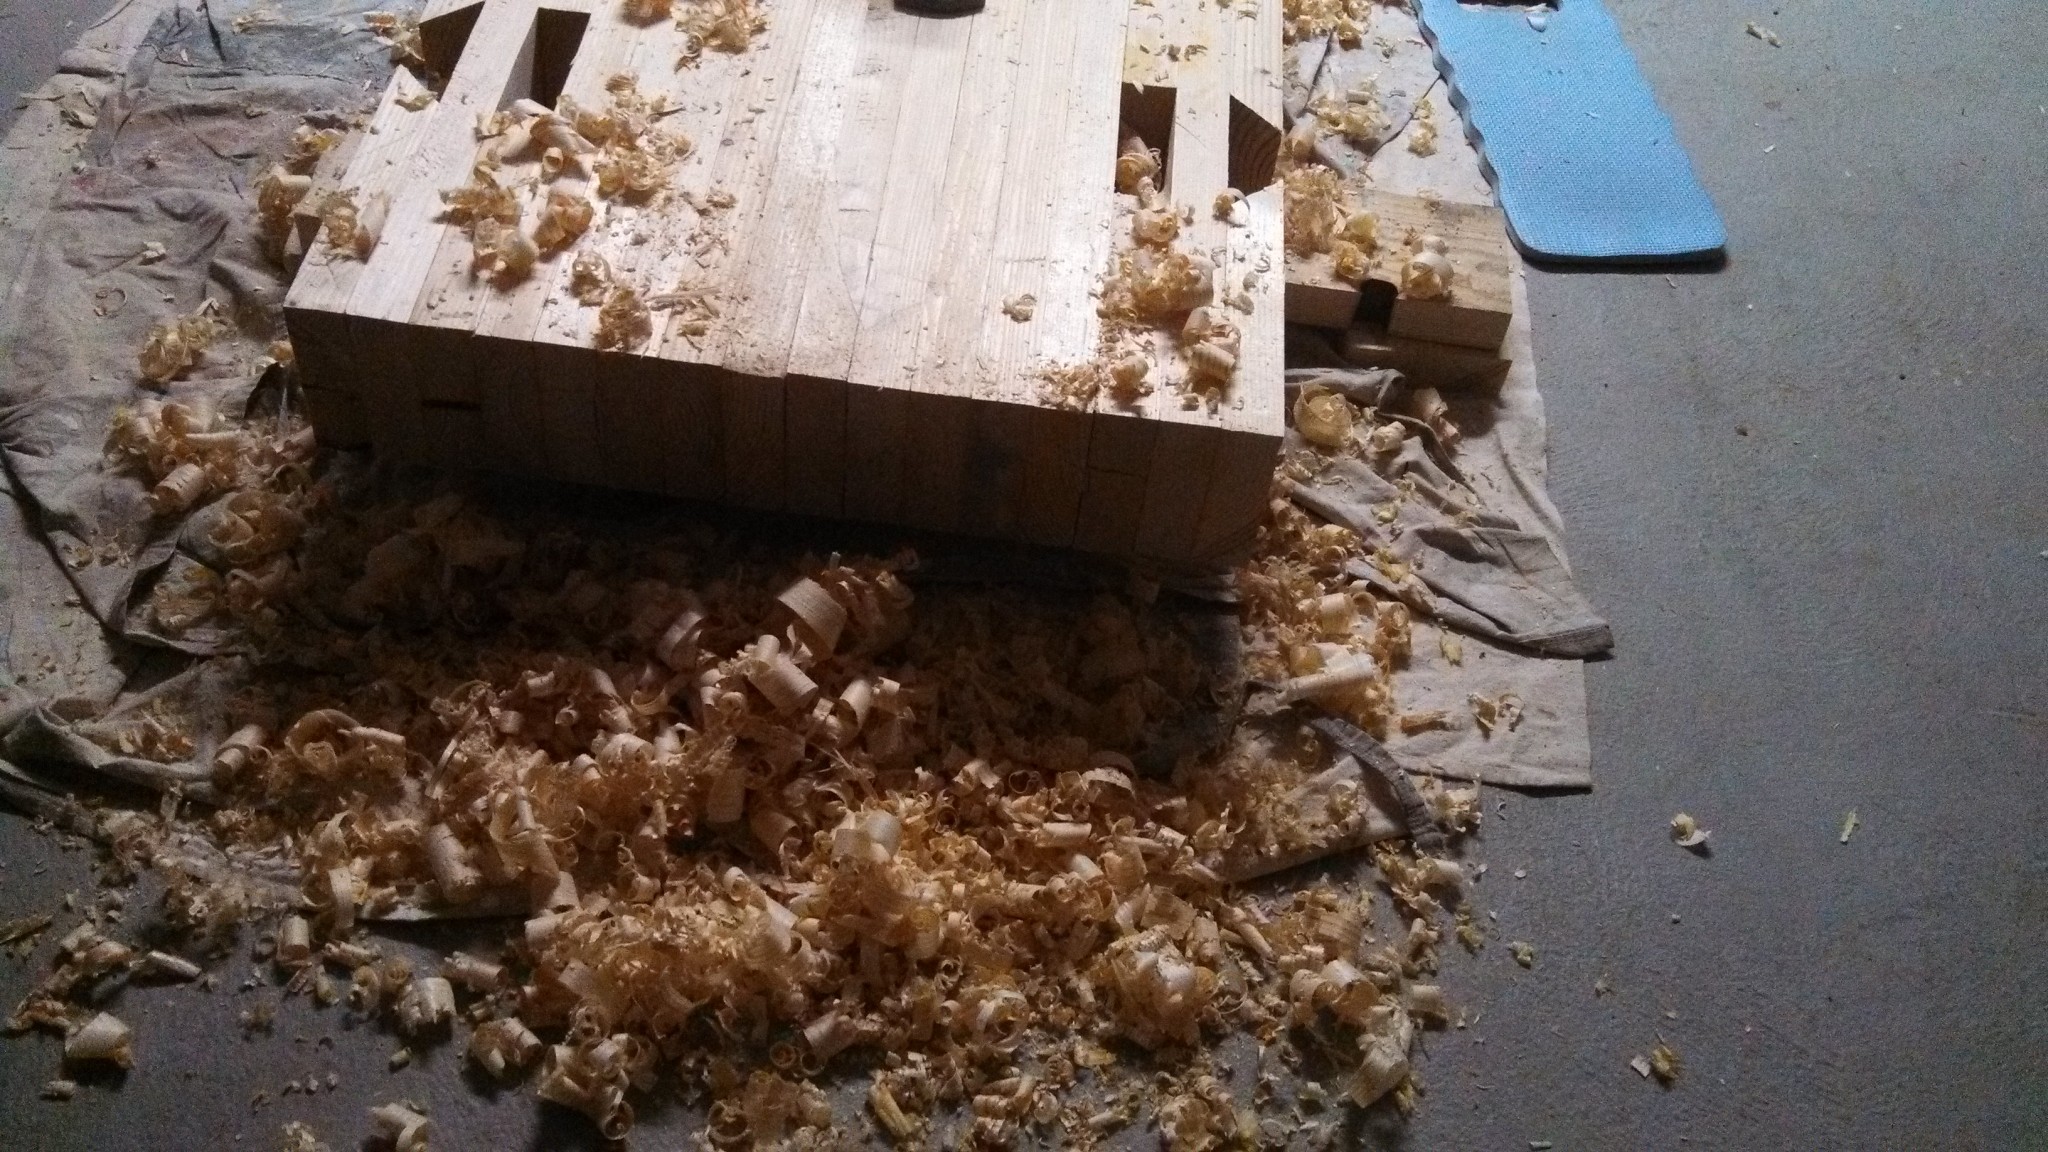
Rough flattening of the top with a hand planer. This took about two hours. Great exercise. Use knee pads!
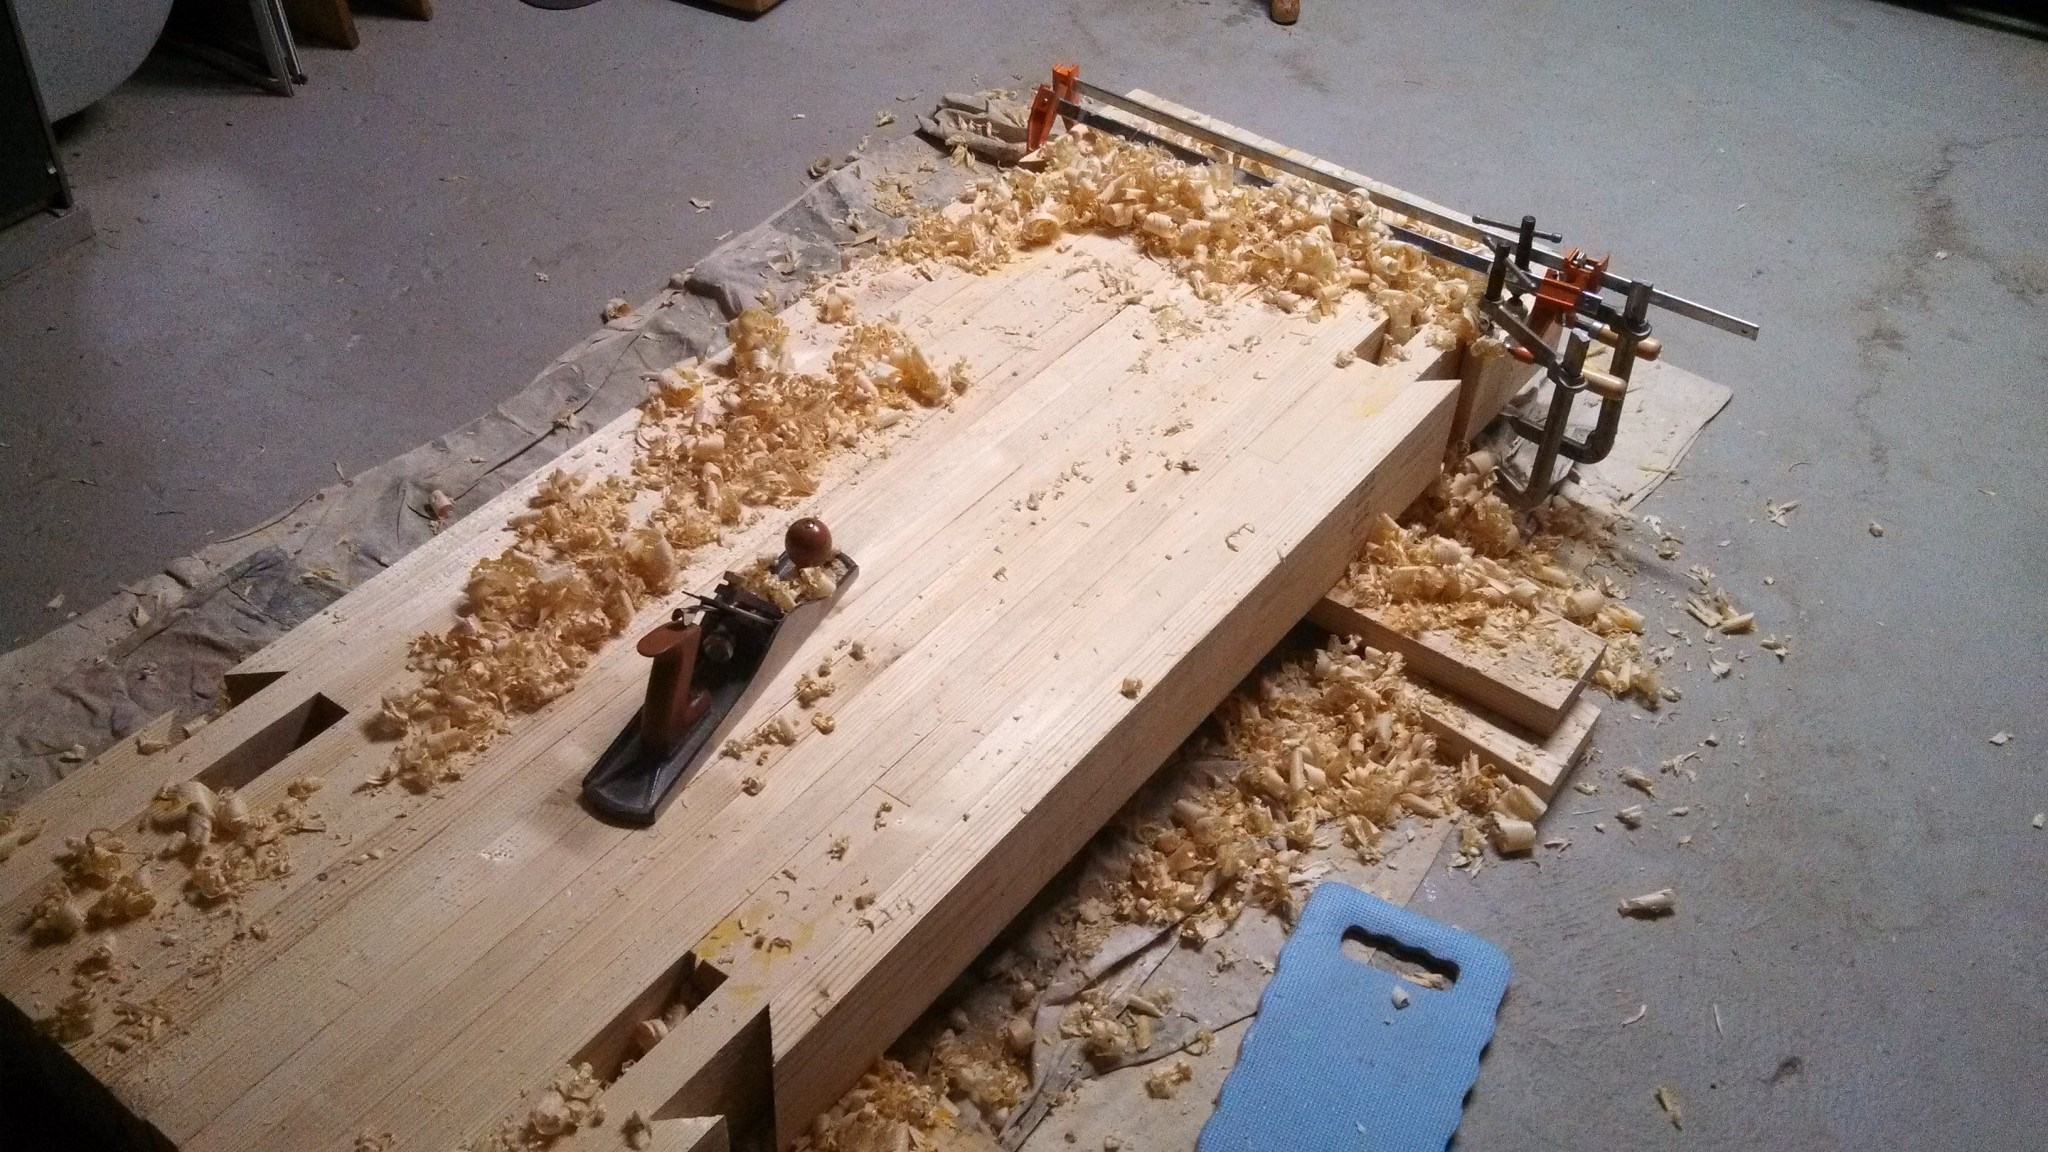

Check the front edge with the back edge. No twist. Nice and flat now.
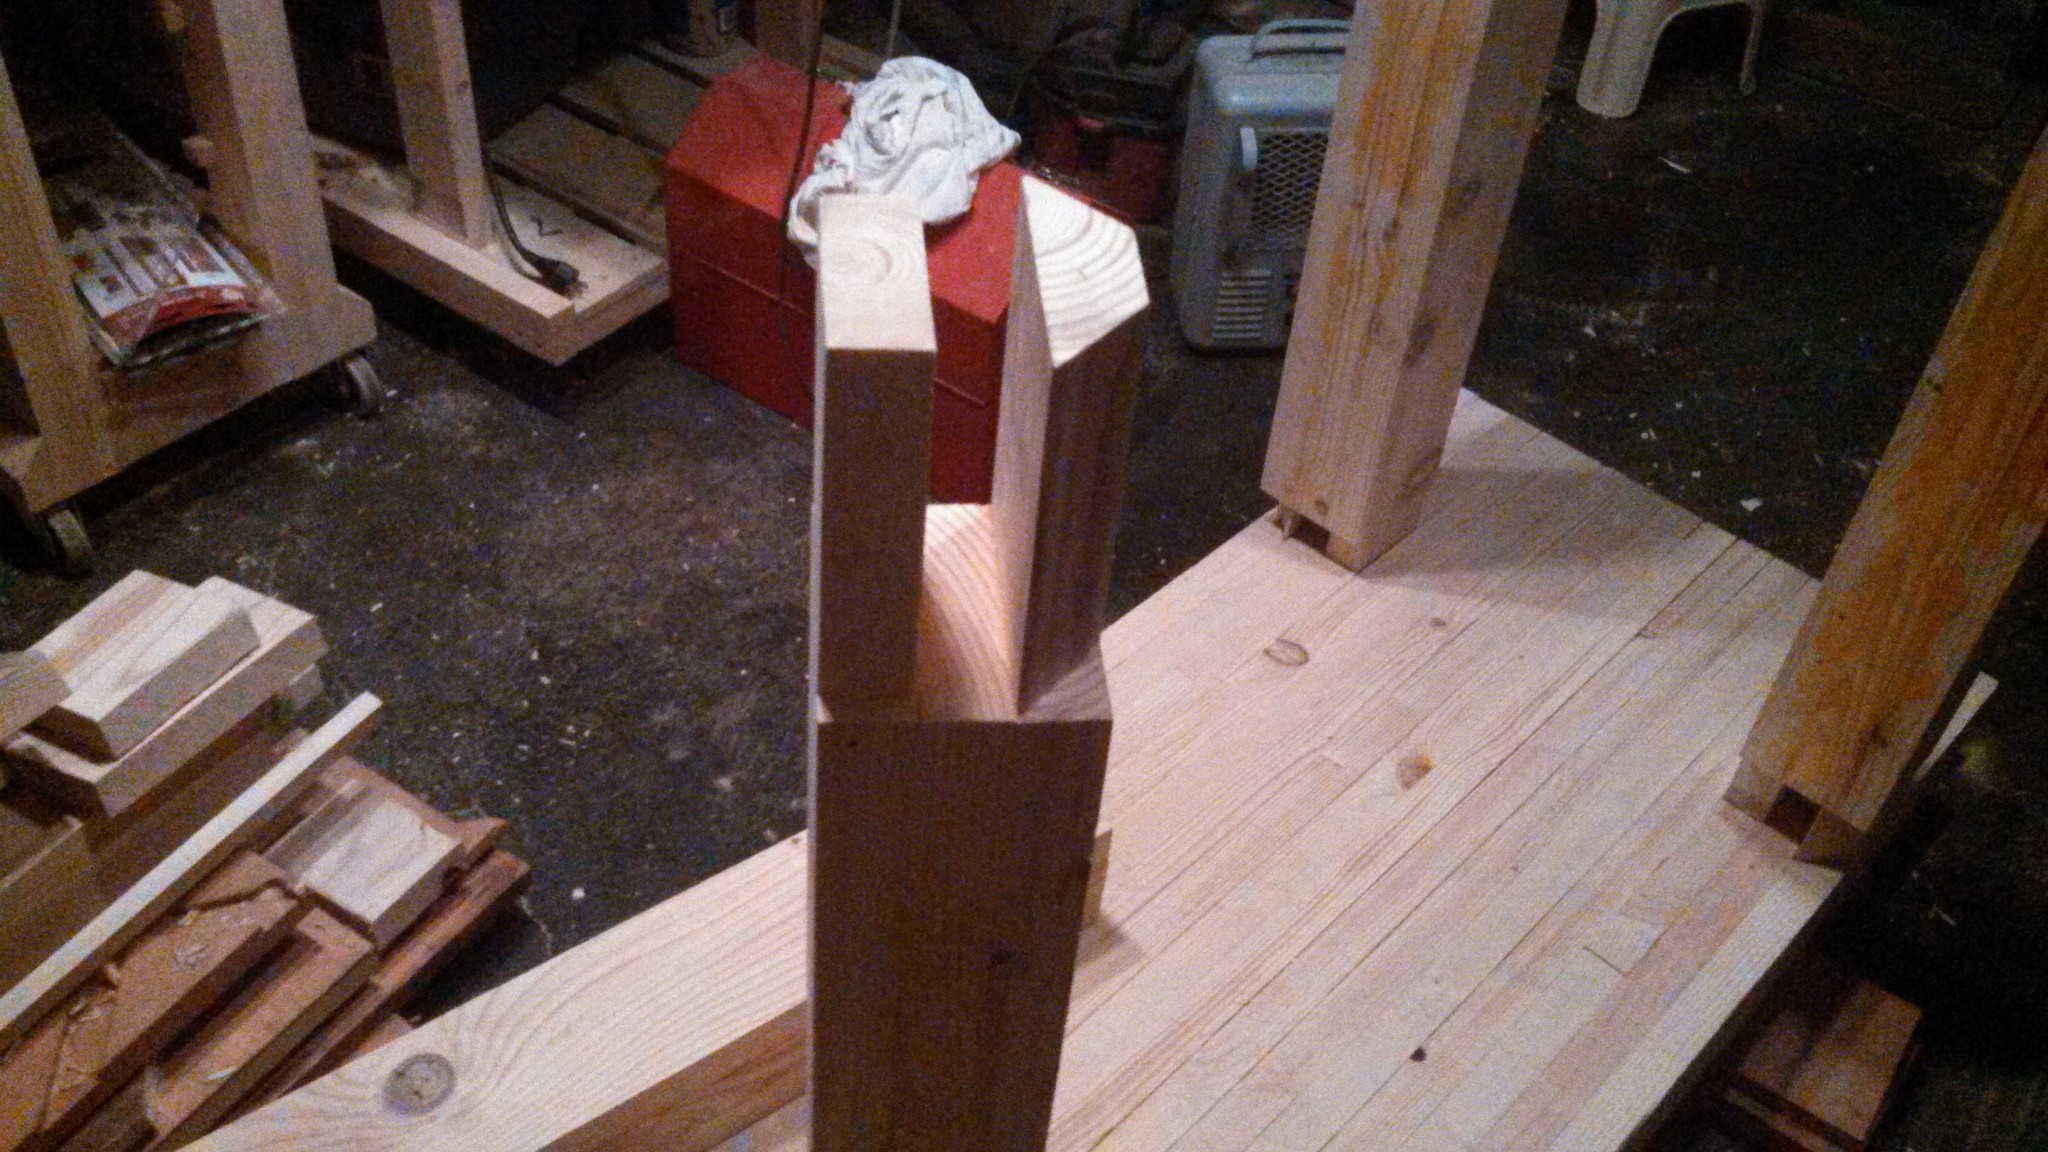
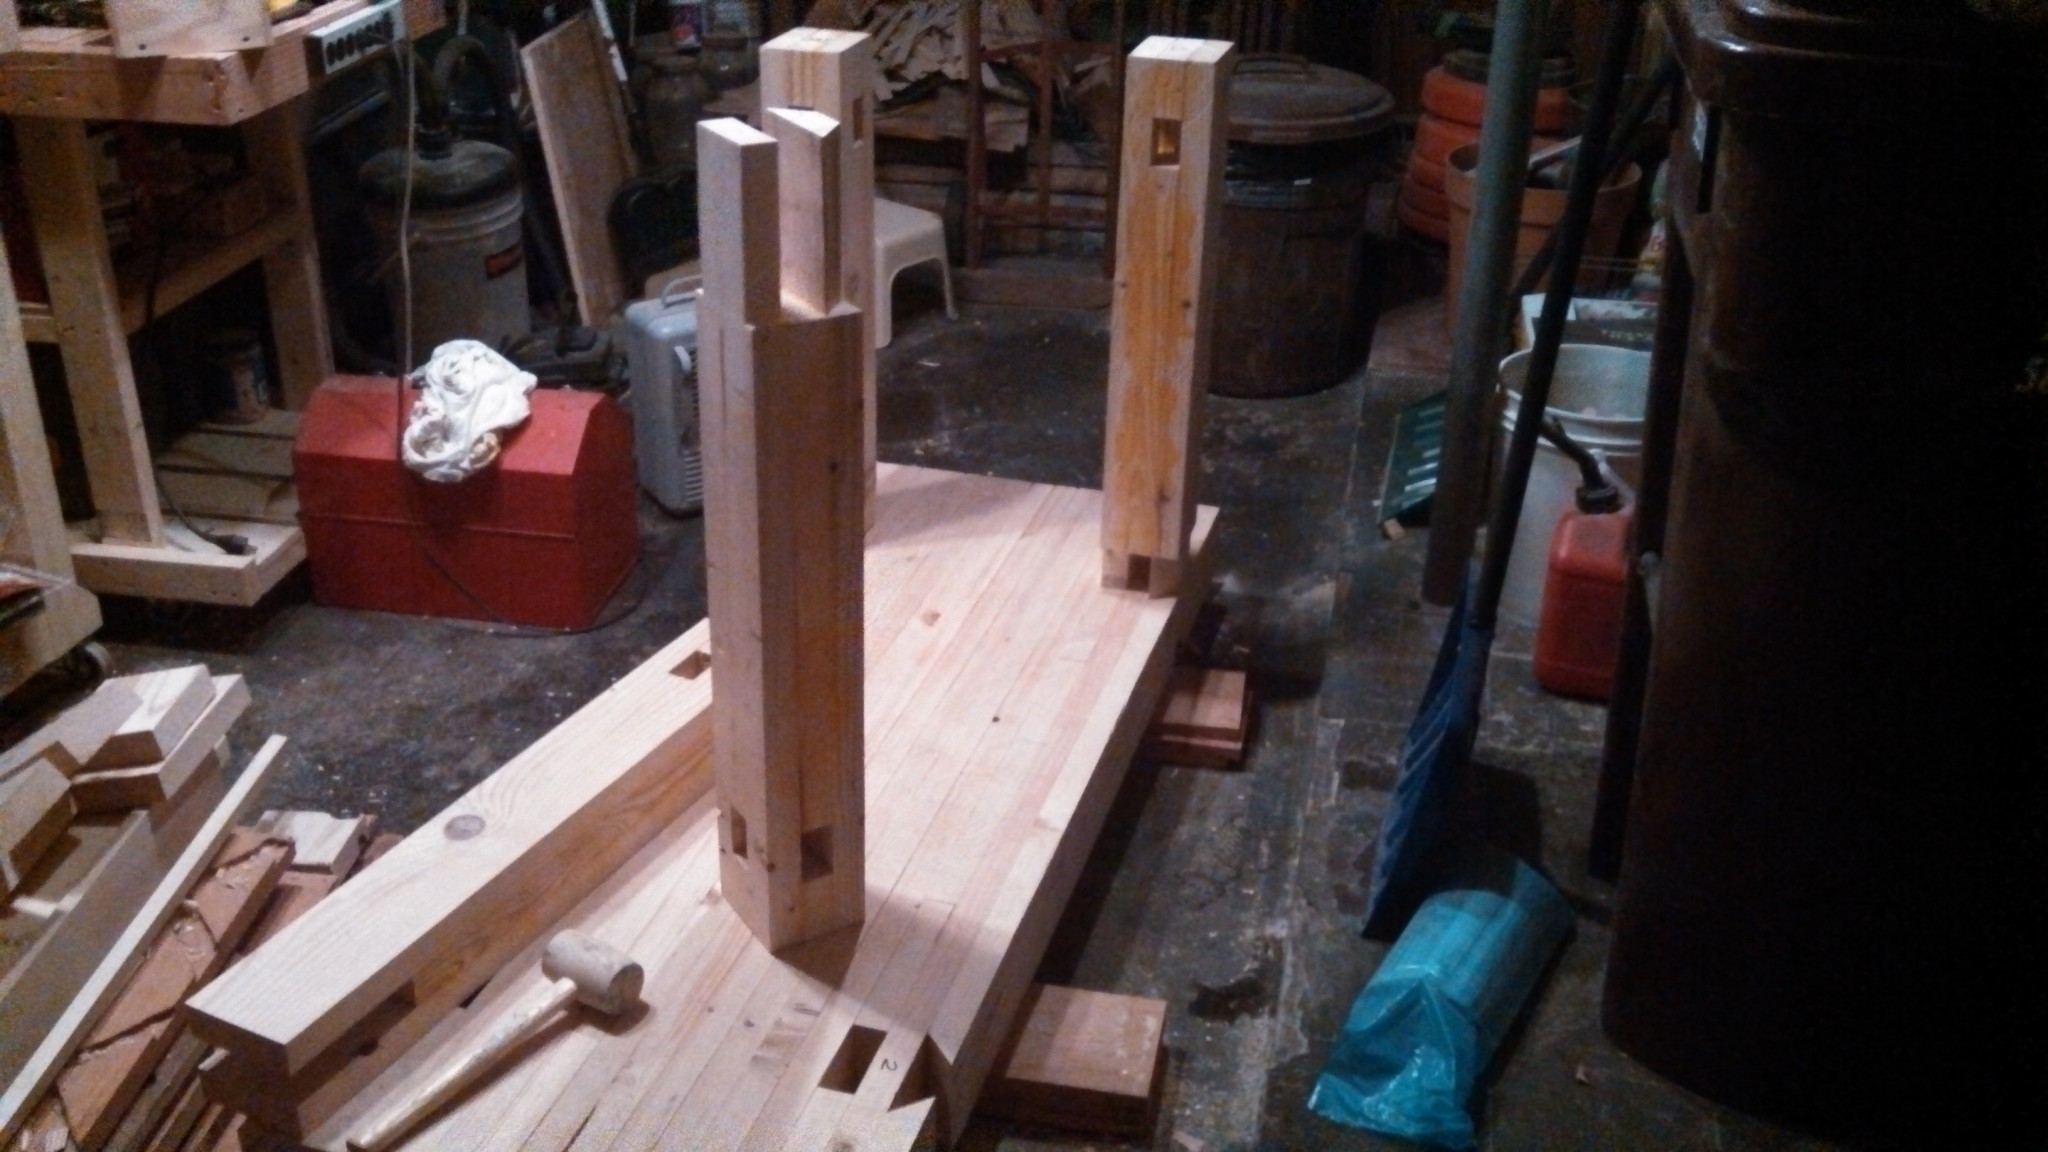
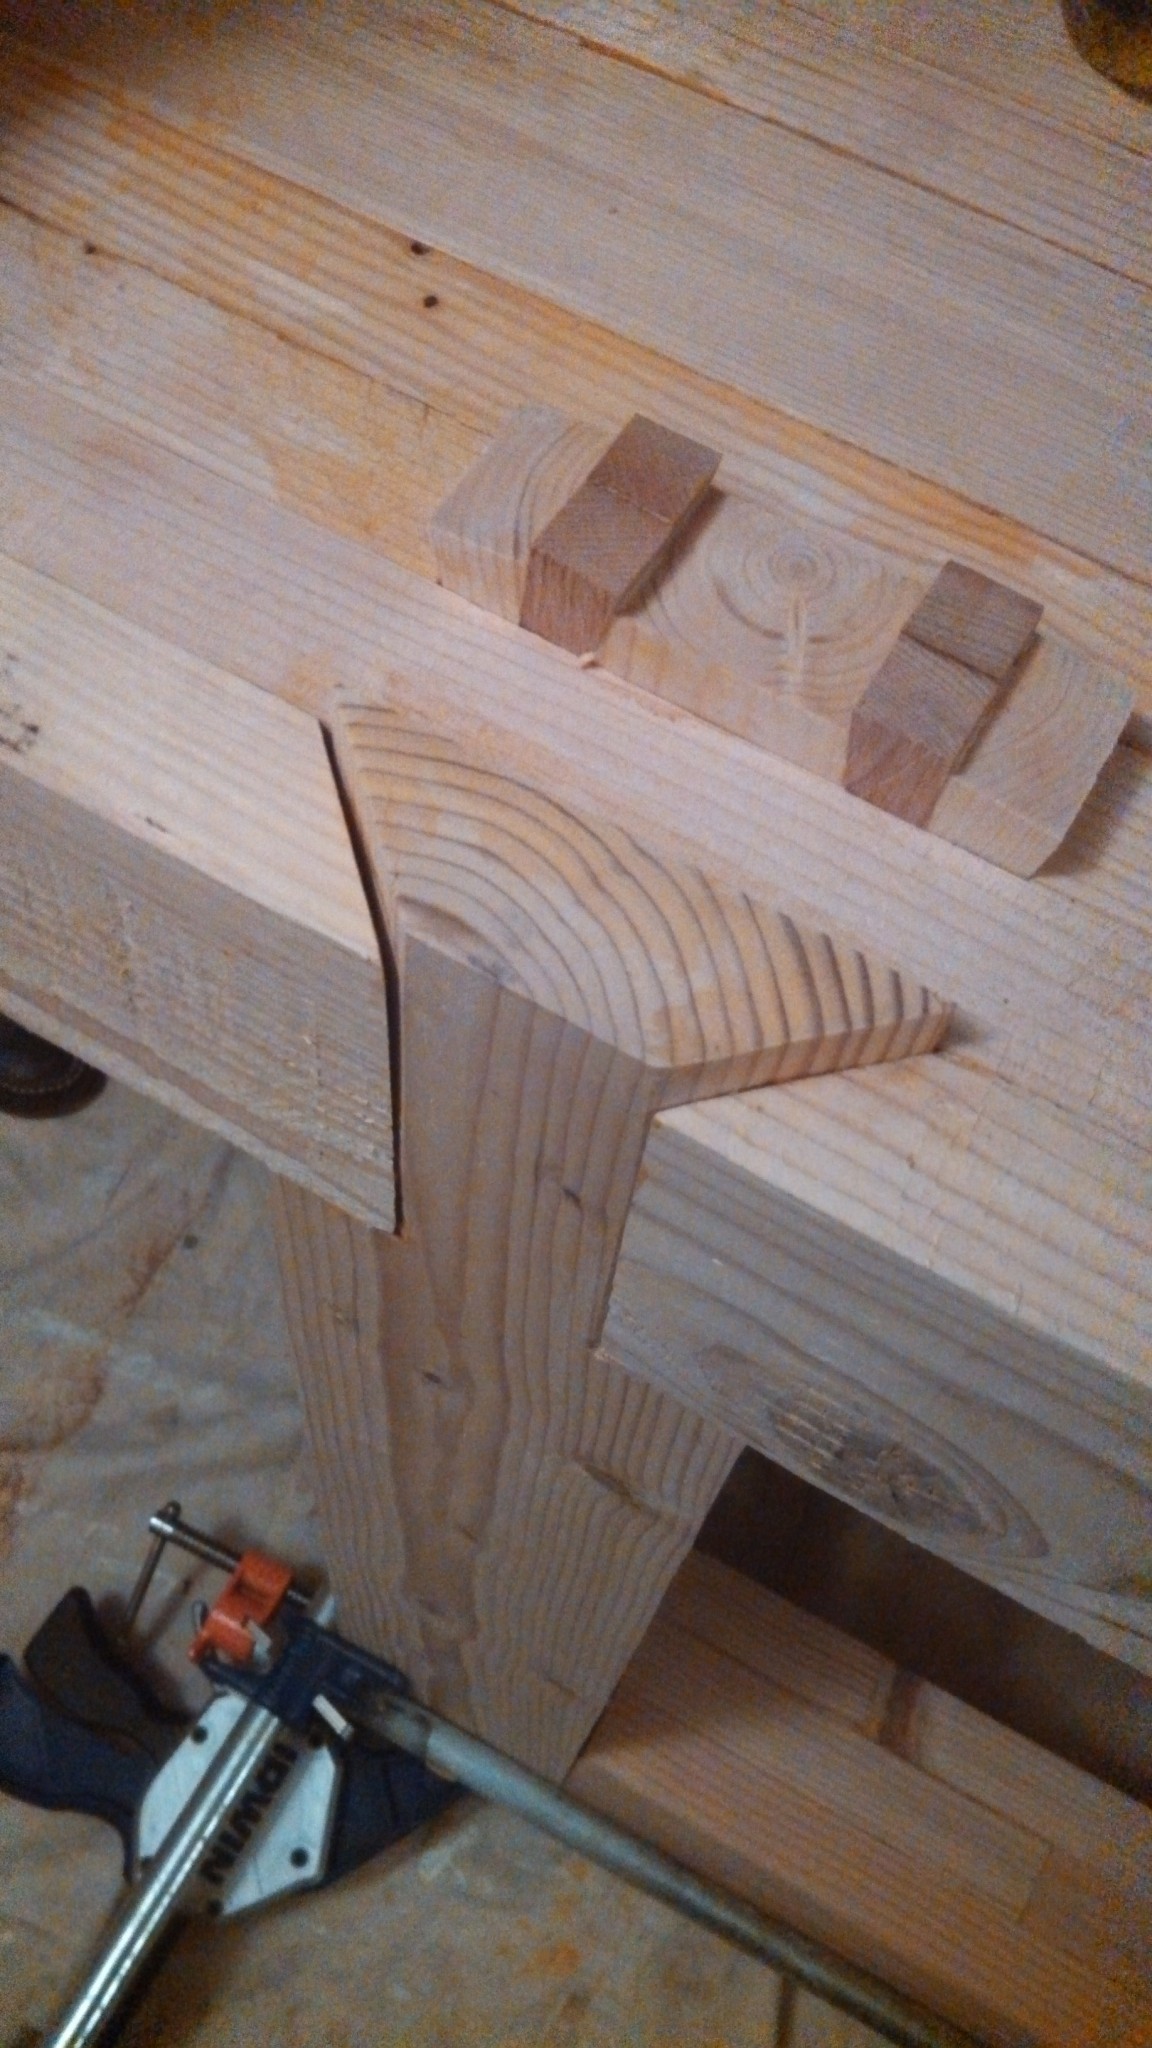
Also cheated with the legs – a little. I glued four pieces together (two in the middle to create the stretcher mortises), and chiseled the tops into through tenons. I then cut out the mortises for the short stretchers. The two legs in the background are being test fitted. Unfortunately, I forgot to take pictures of the stretchers while I was making them.
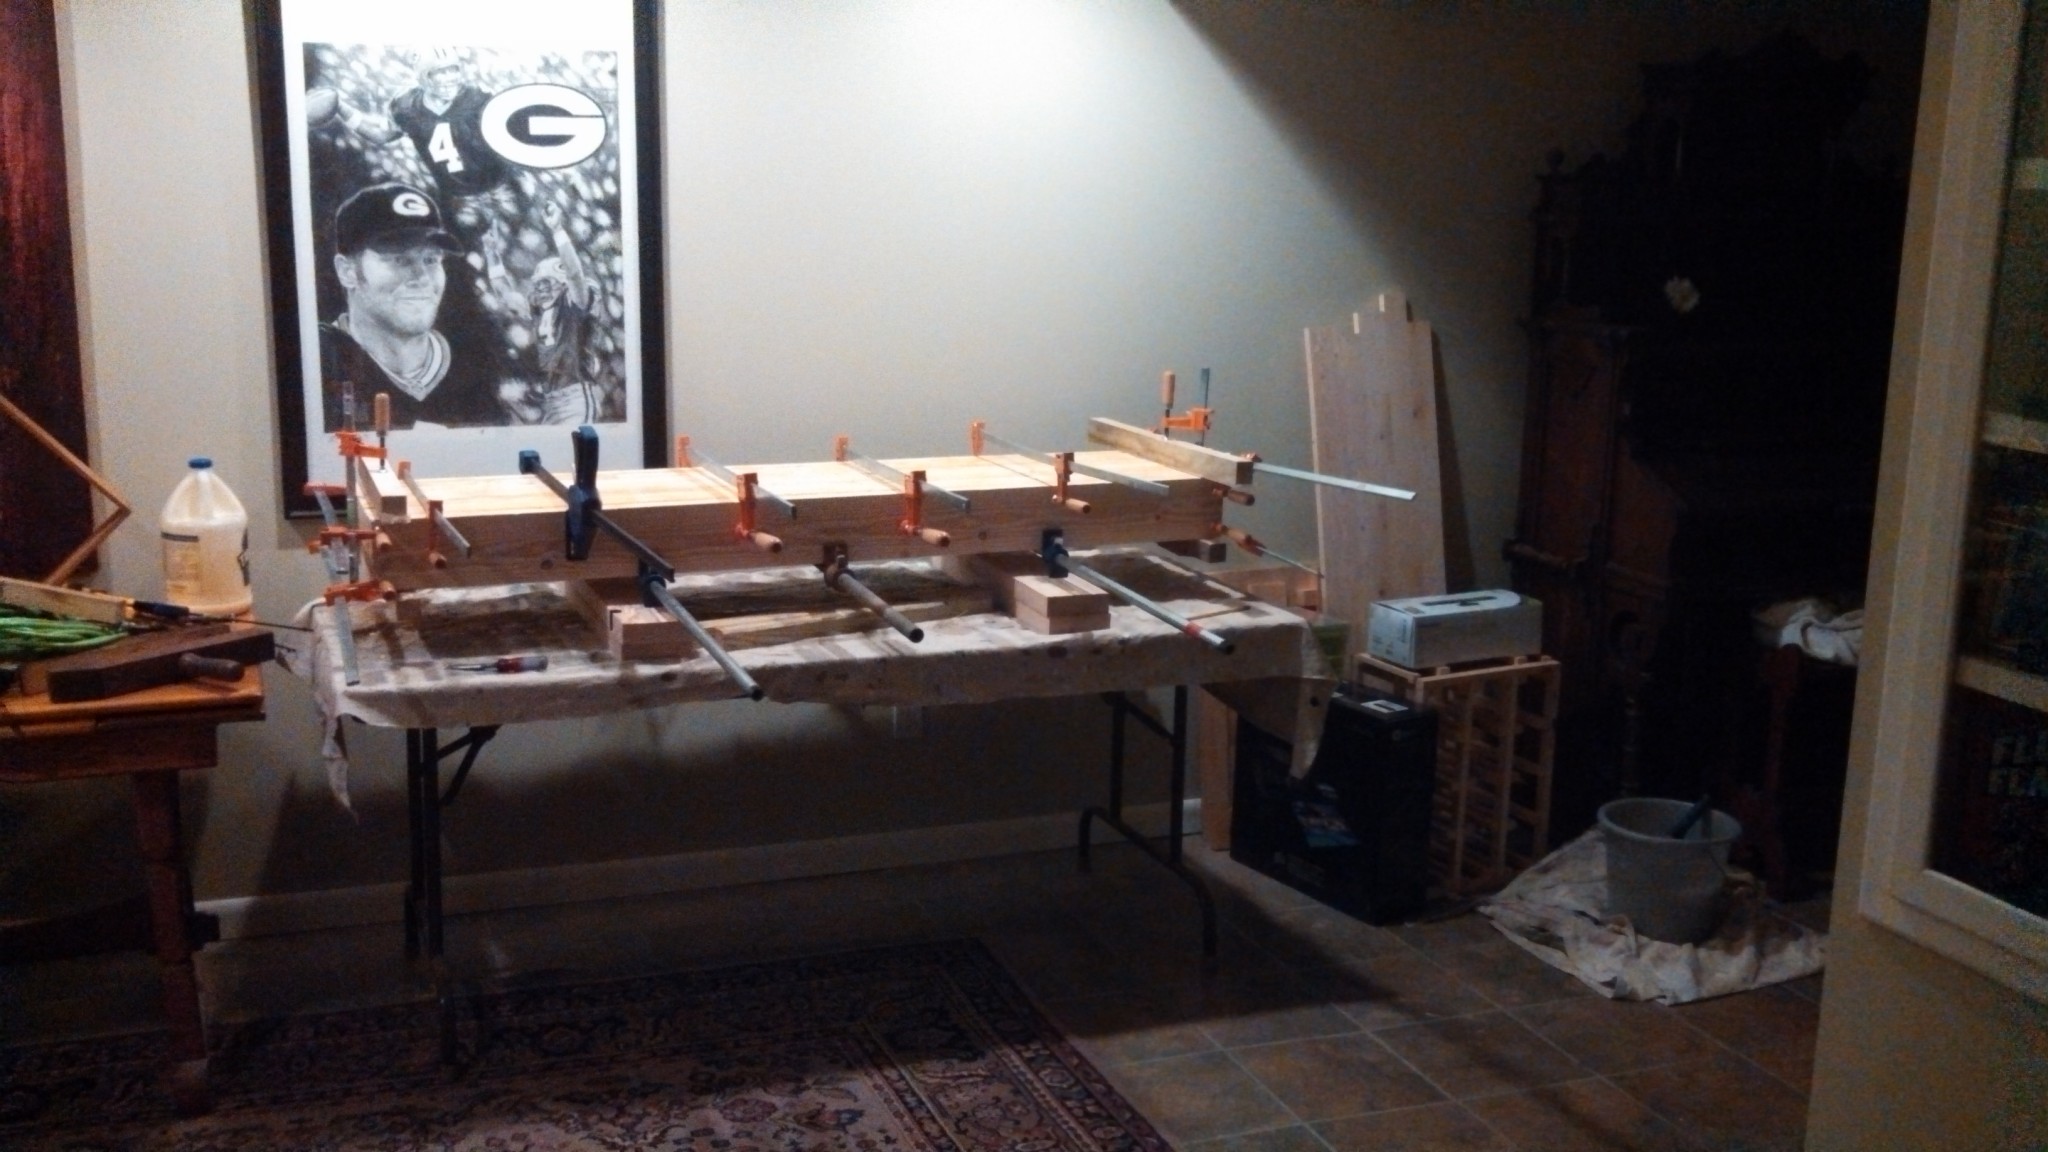
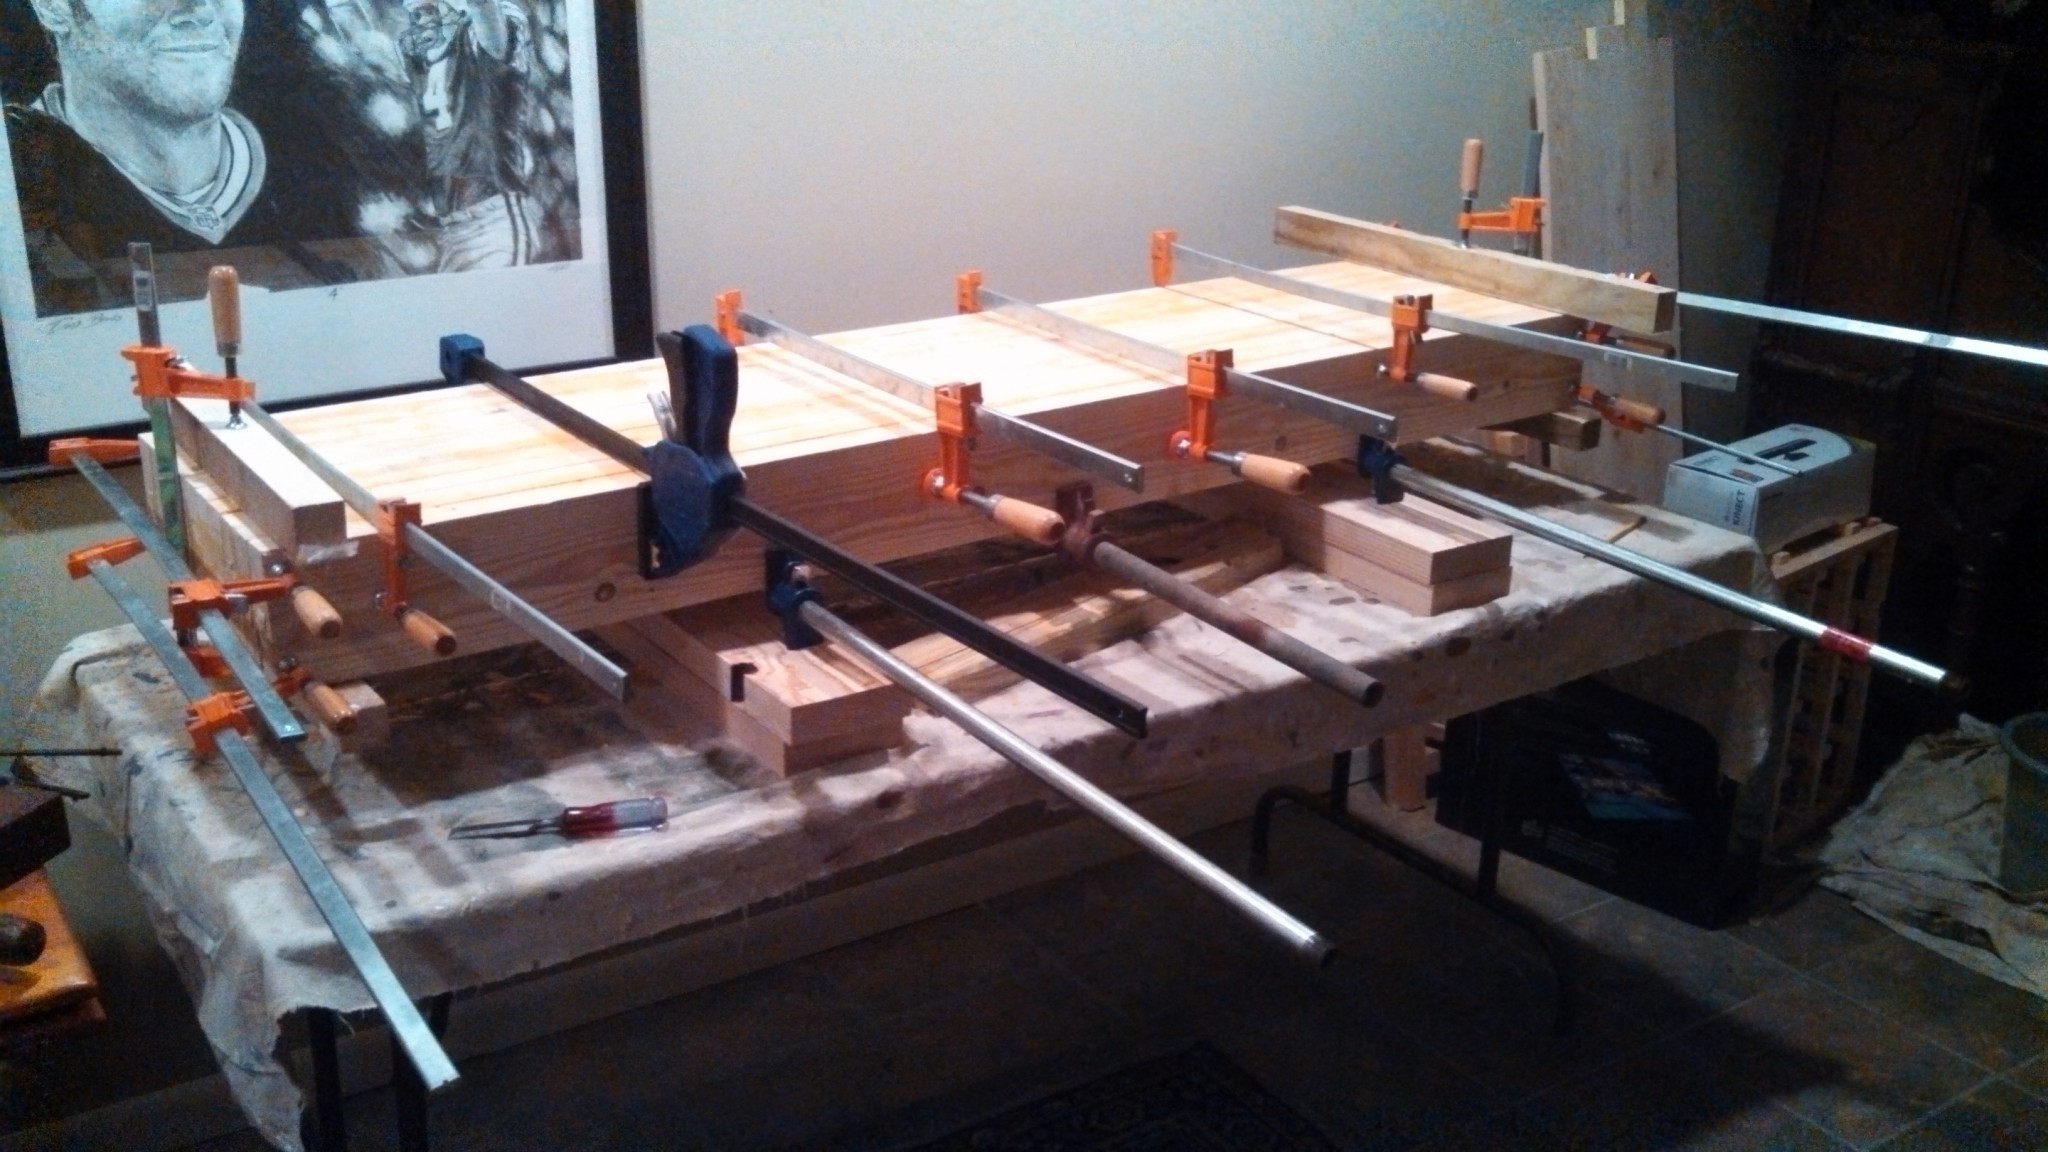
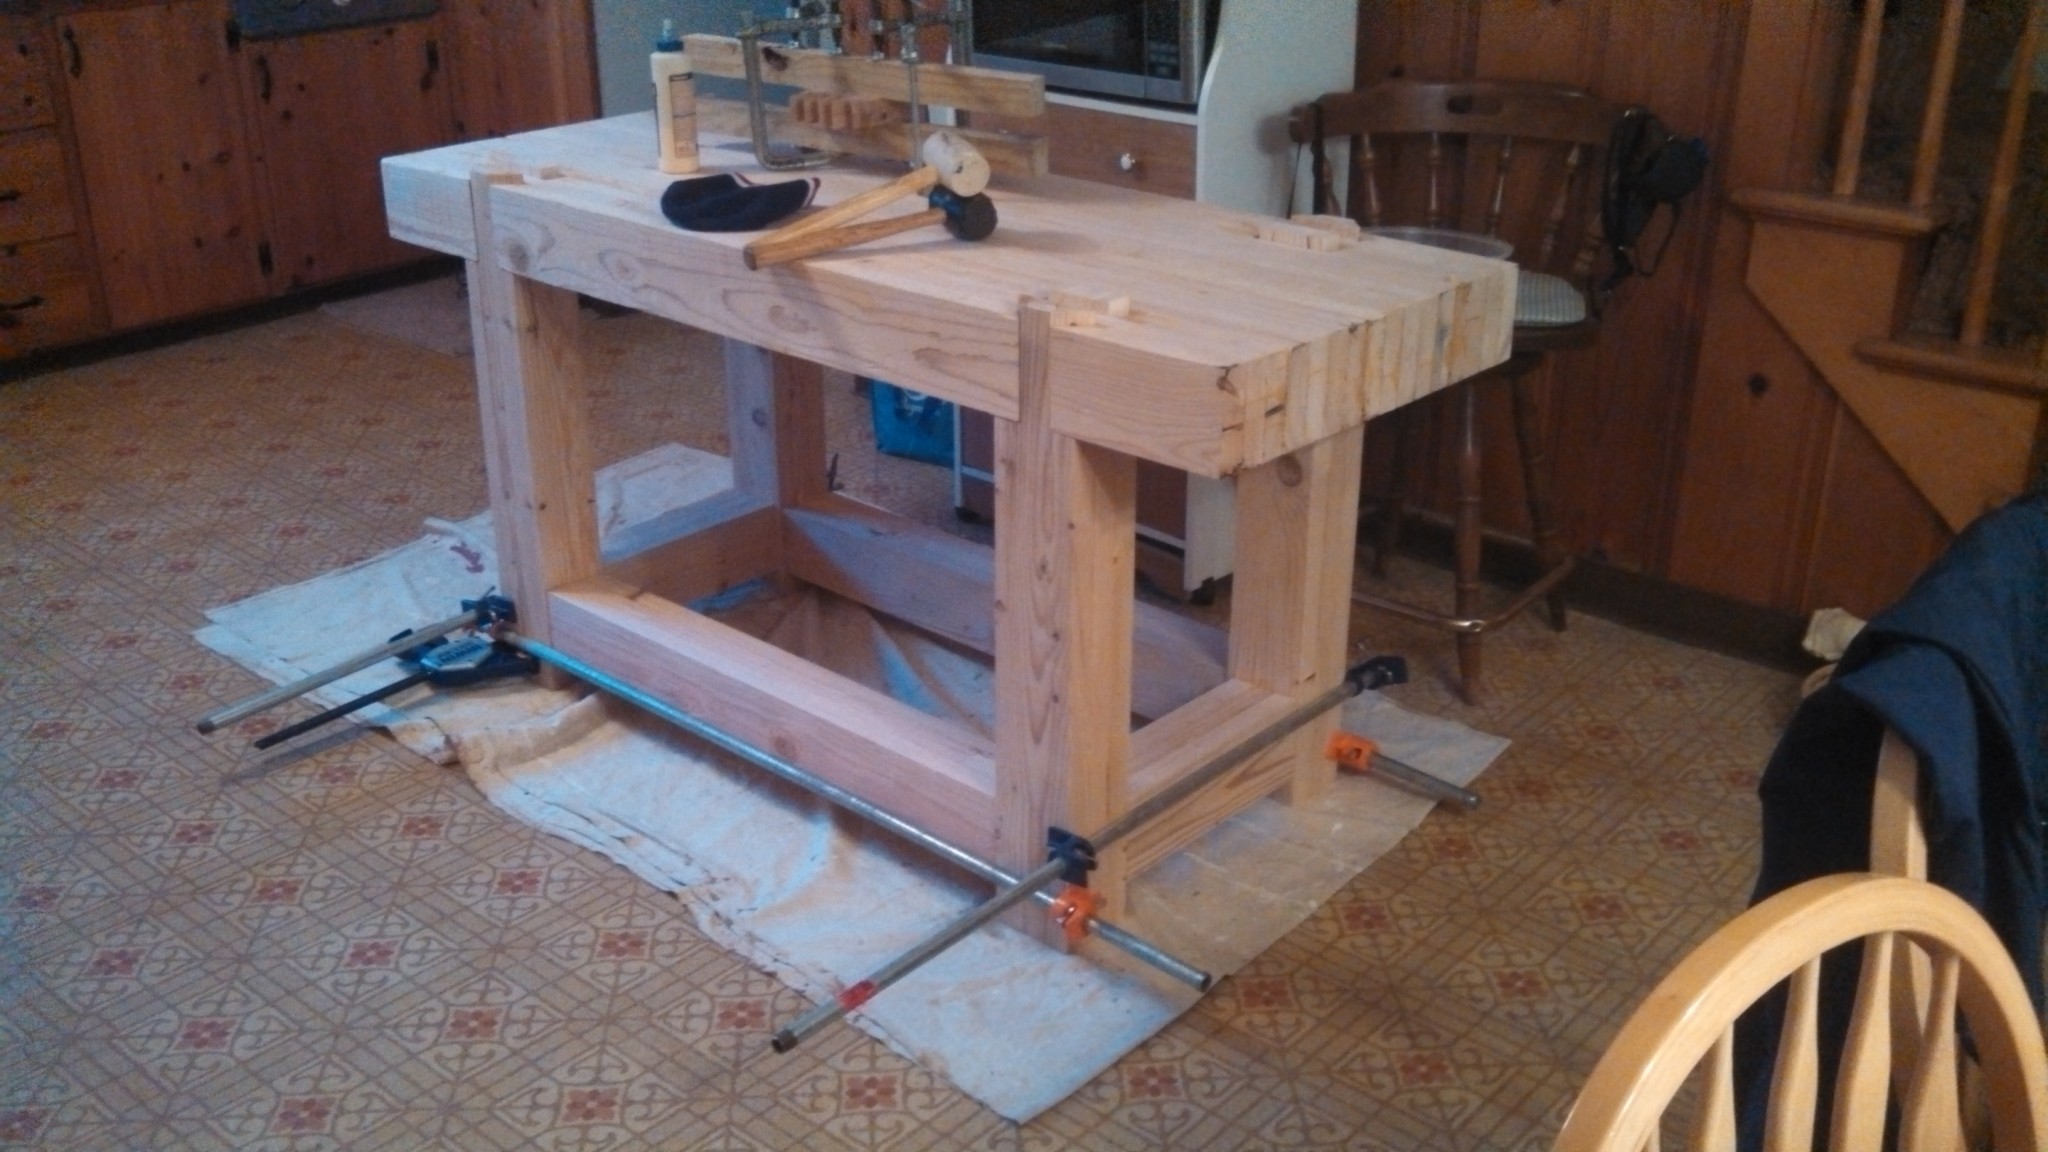
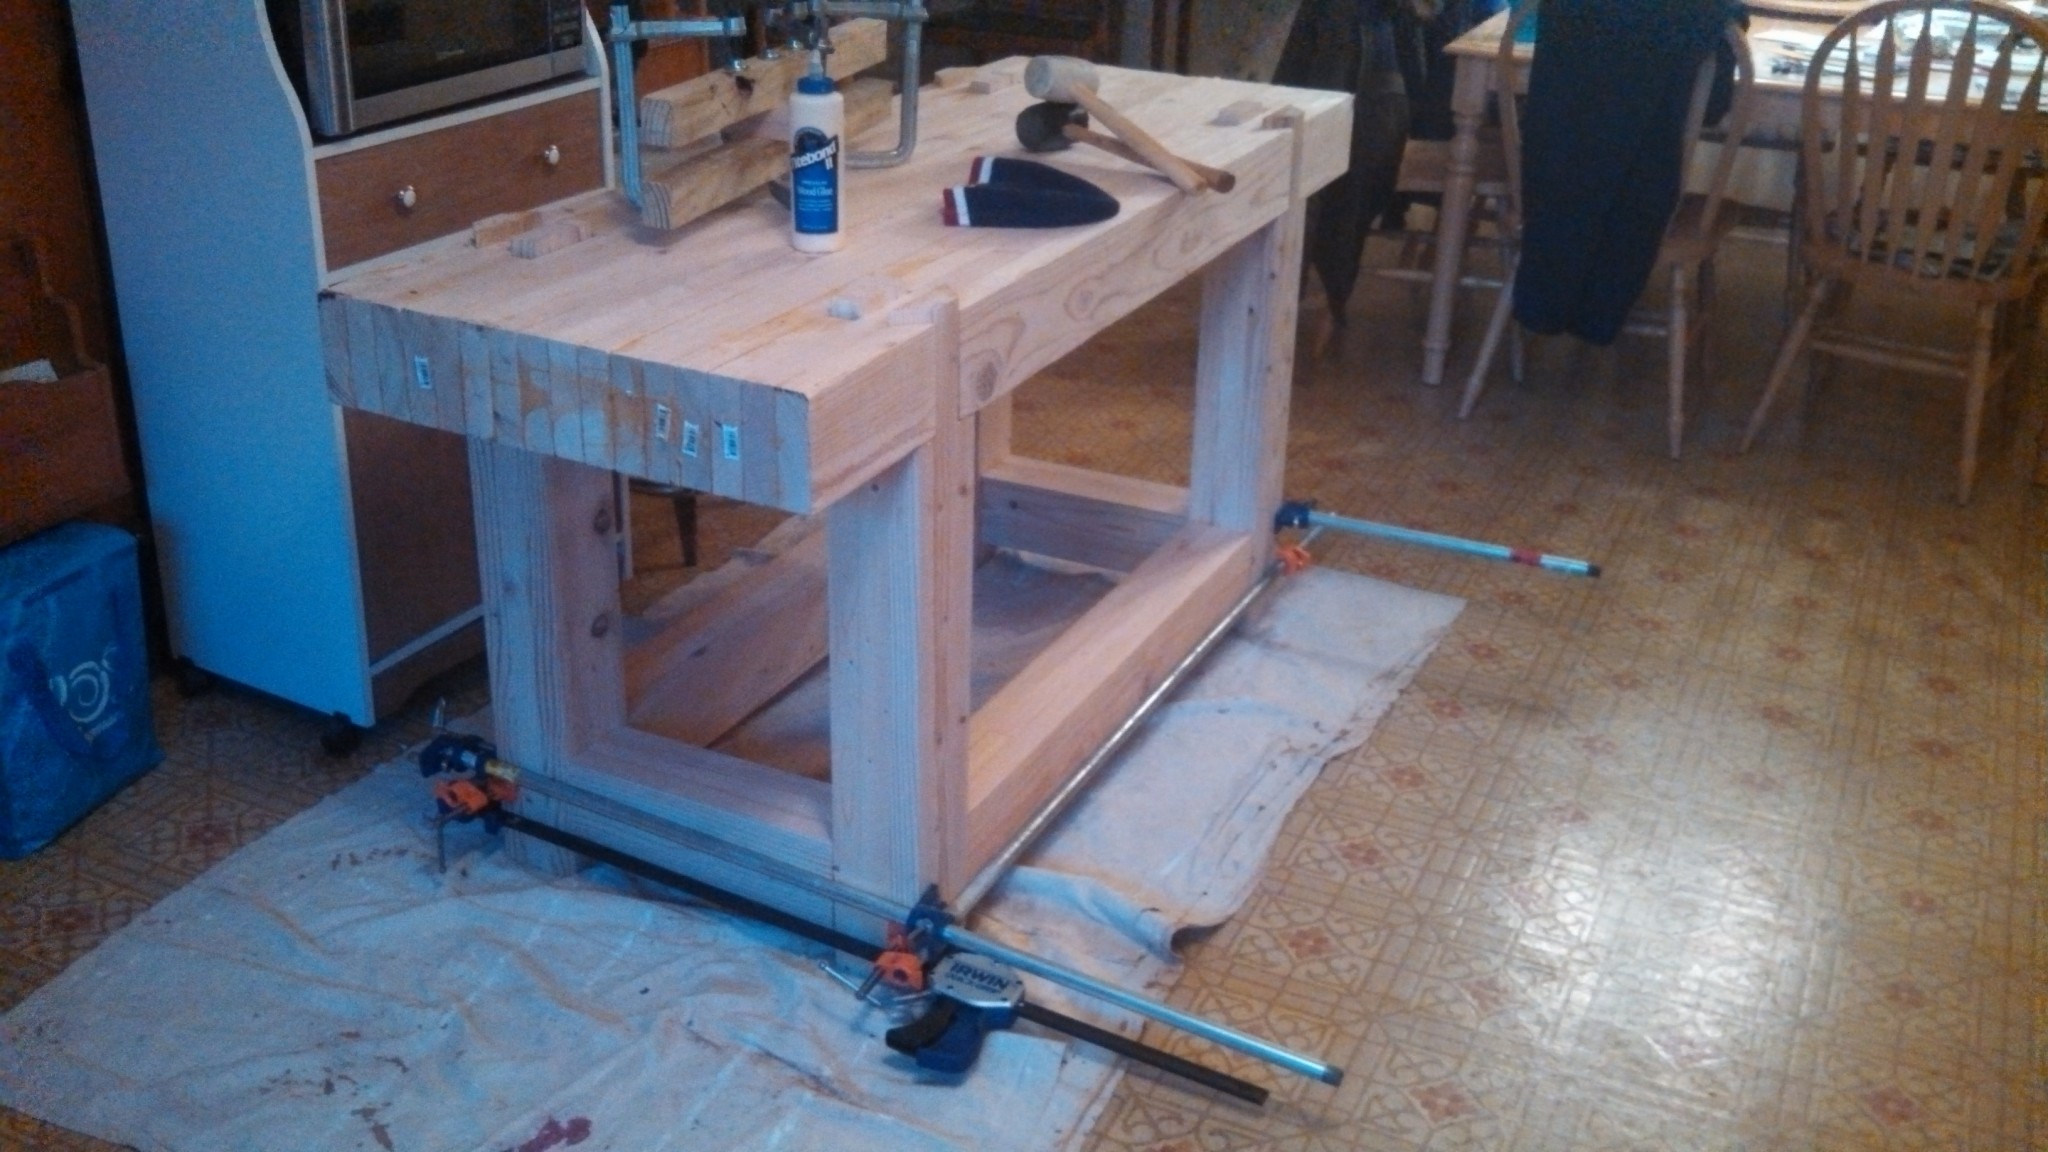
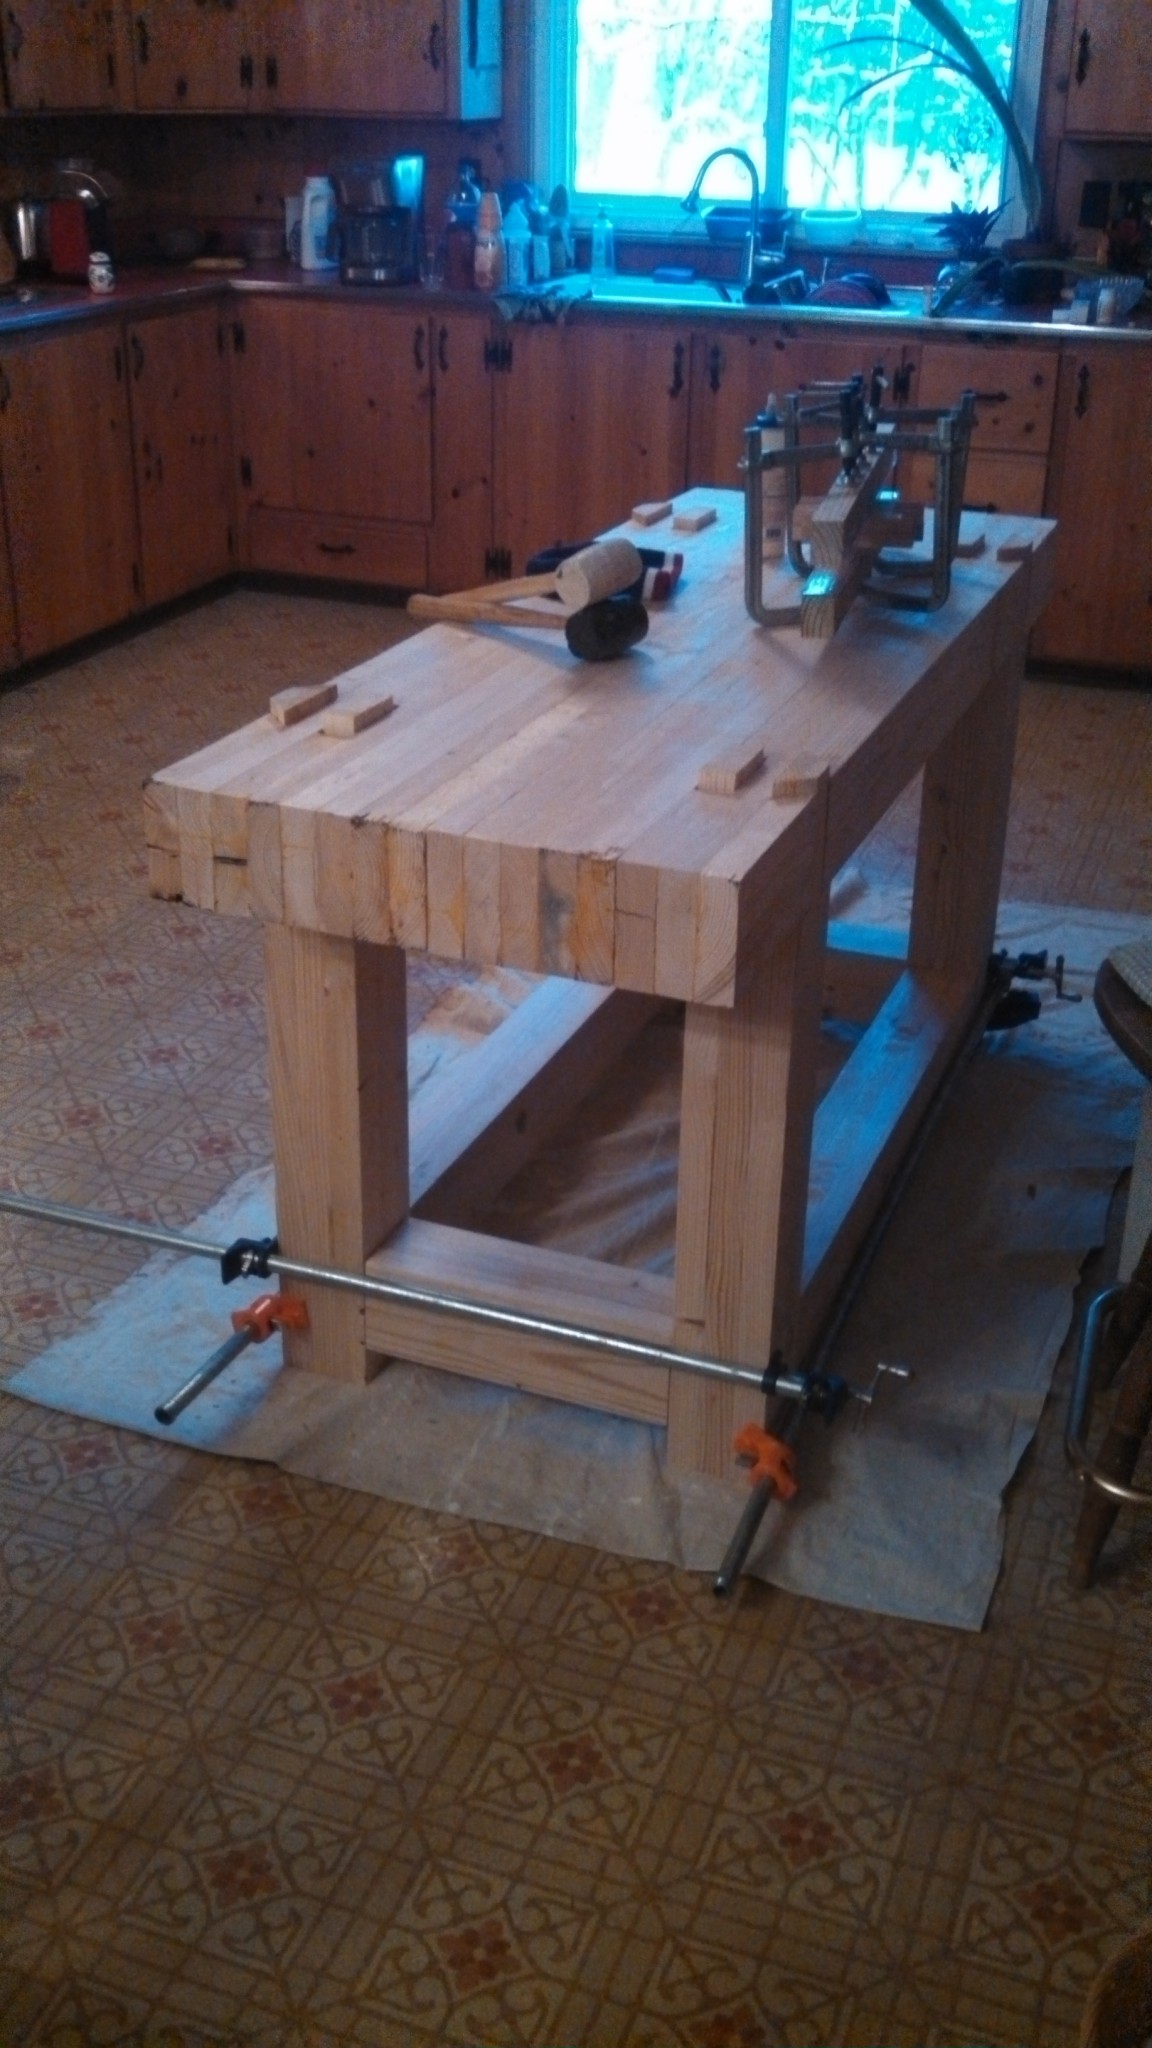
All glued together and clamped up! This part was a bit of a workout as well. Since it was January (glue doesn’t work well below 50 degrees Fahrenheit), I had to carry (and in the case of the bench top, drag) all of the pieces into the kitchen and glue them together right there. My wife was surprisingly okay with this (she wasn’t home). The legs and stretchers went together smoothly, but the bench top was quite a tight fit. I had to hammer it down with a mallet(shown) and scrap pieces of wood. Broke a few. It was very loud. The dog hid for a while.
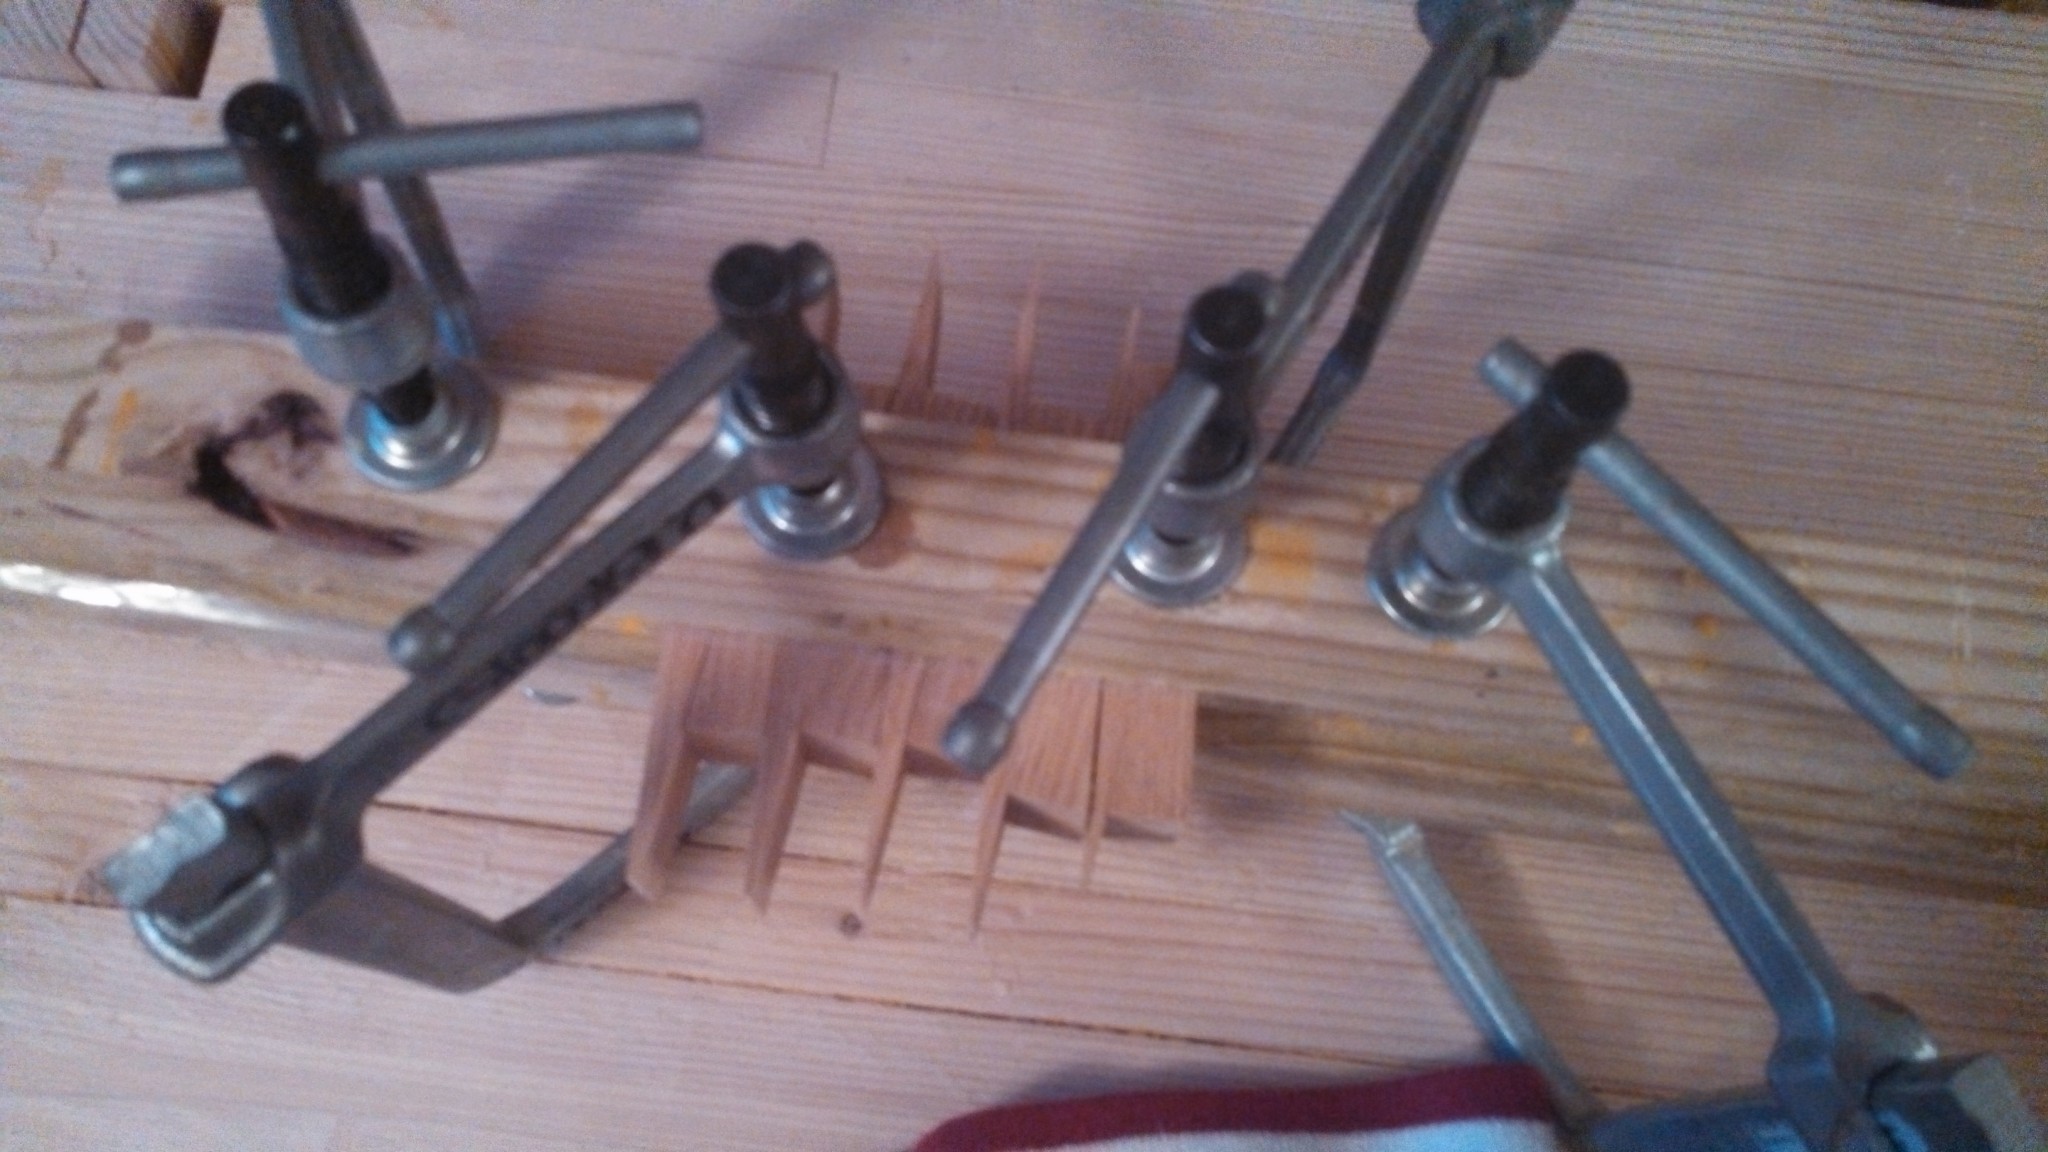
Quick glue up of oak plugs used to spread the through tenons.
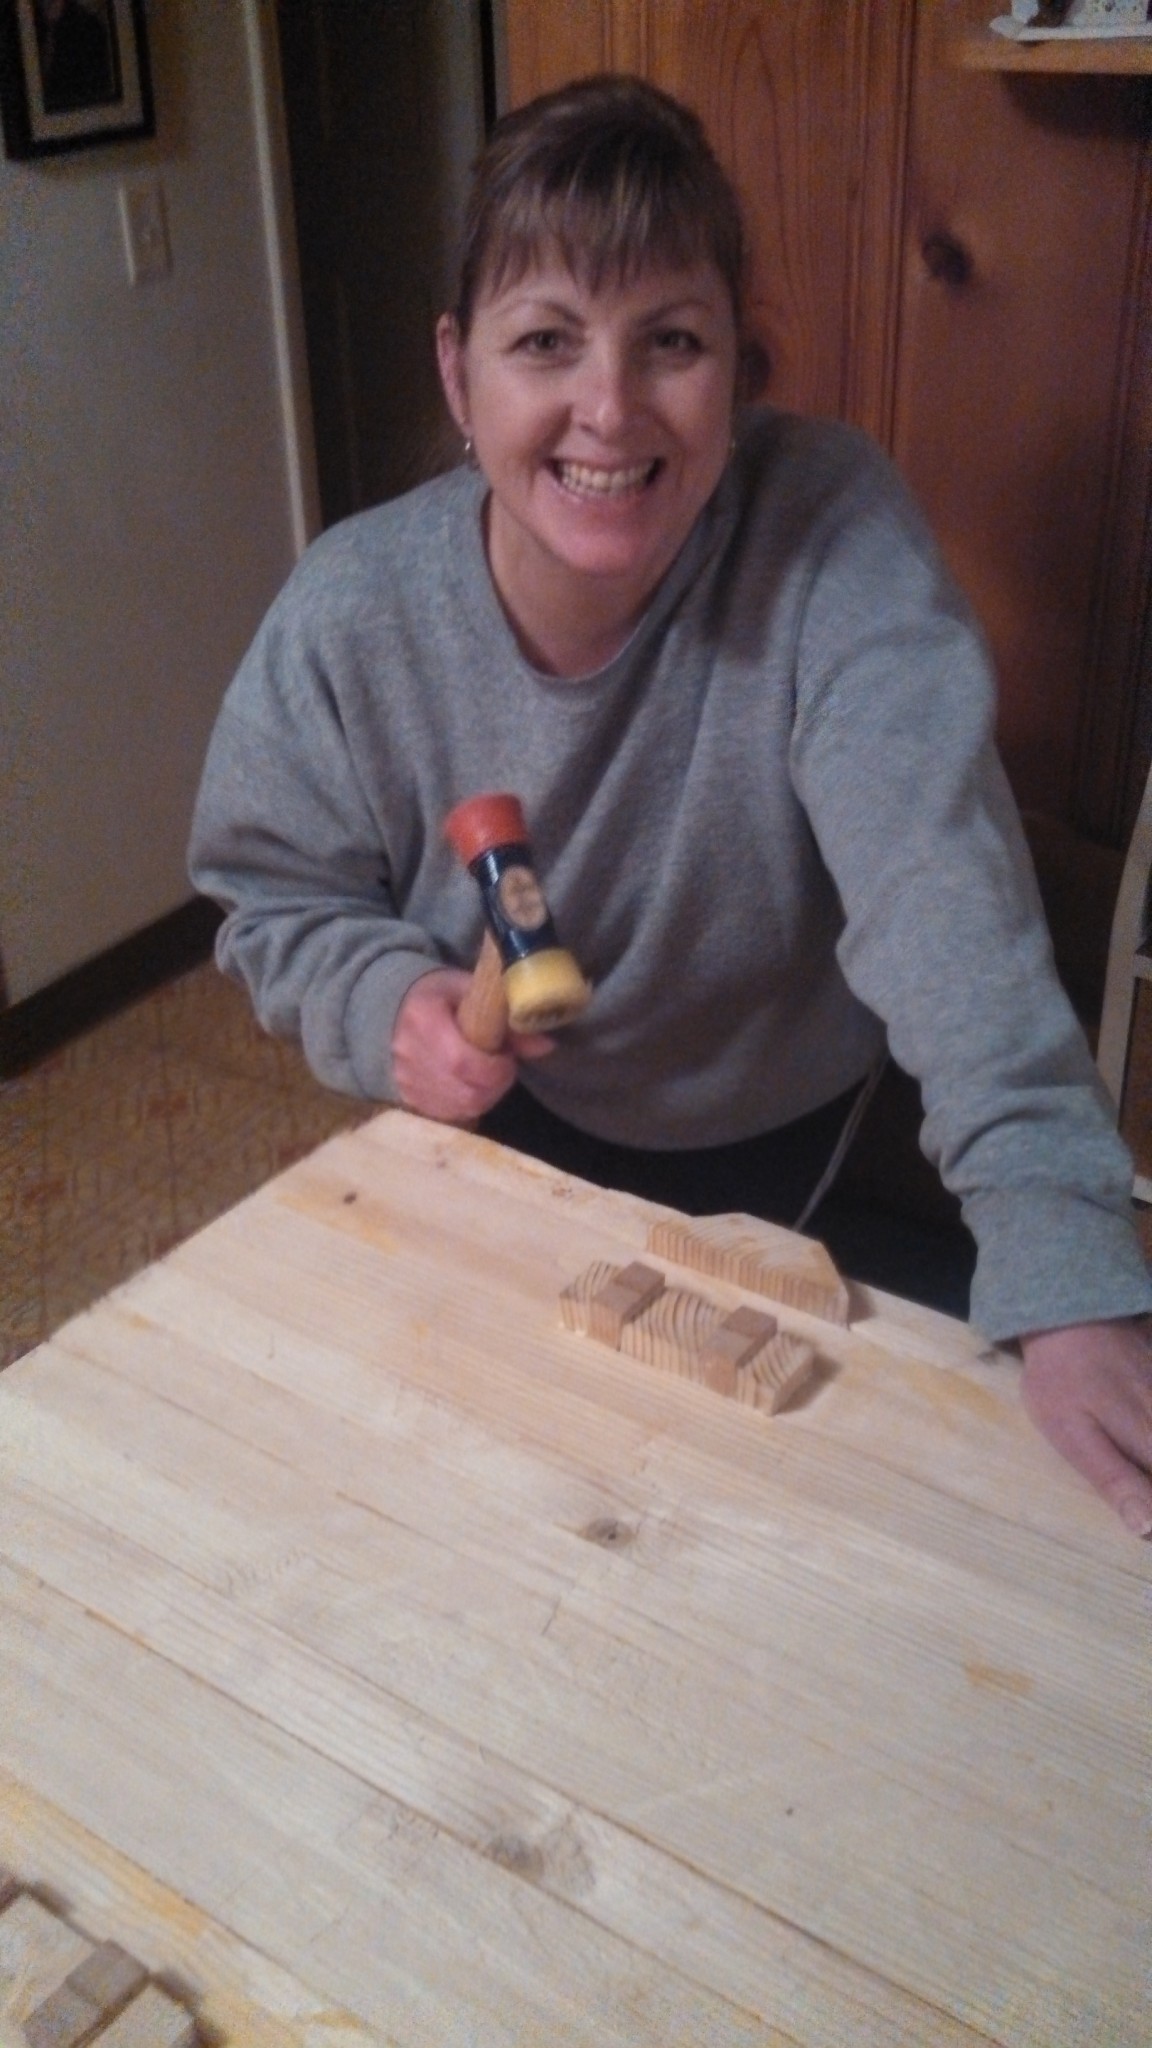
The wife was very unhappy that she only got to hammer some wood and not my skull.
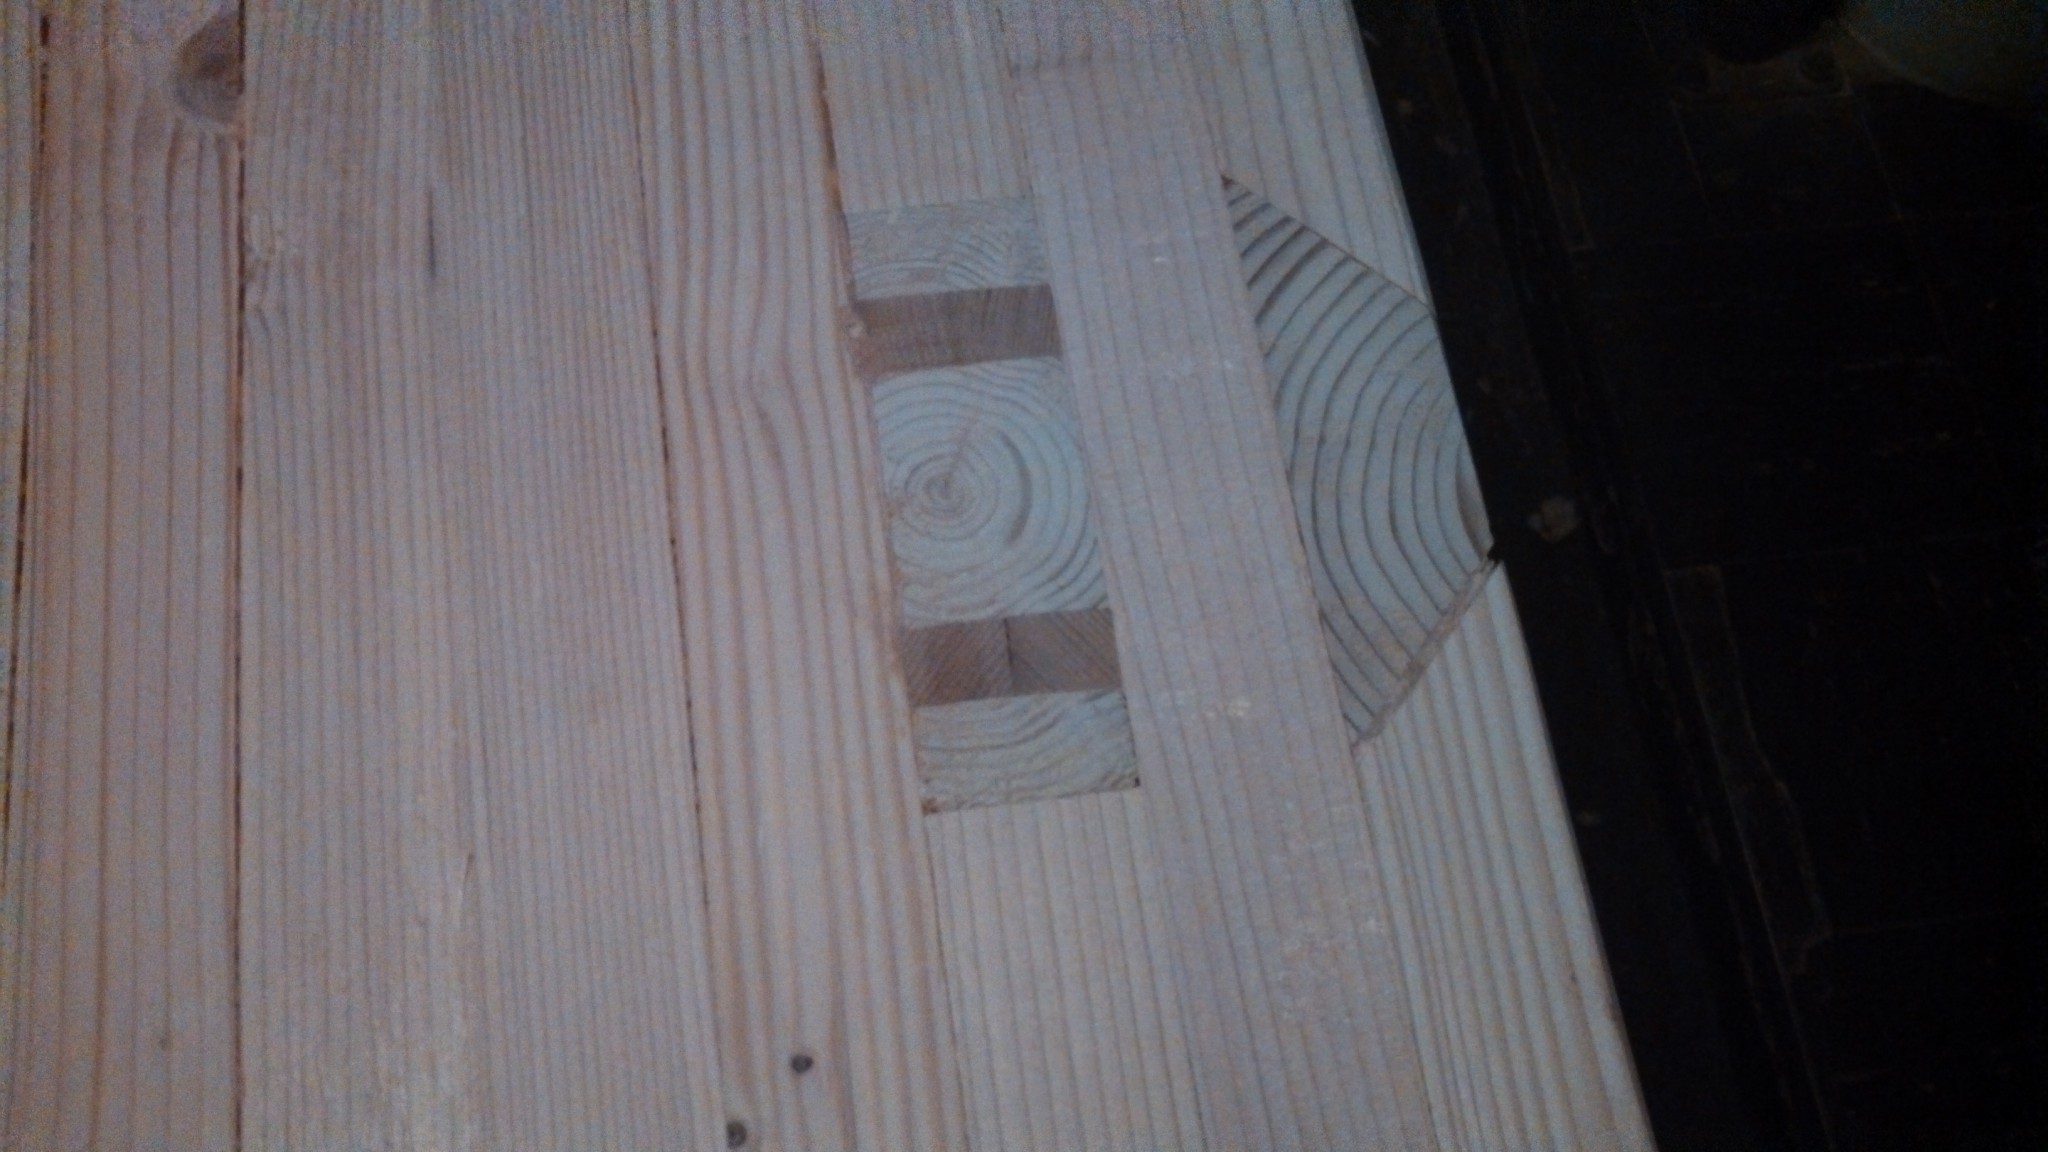
Close up of oak plugs spreading the tenon and creating a tight fit.

Cut down and sanded through tenons and plugs. This is something that needs to be done carefully and slowly. A flexible handsaw works the best. Glued in sawdust to fill any cracks.
Good reference of how to do this:
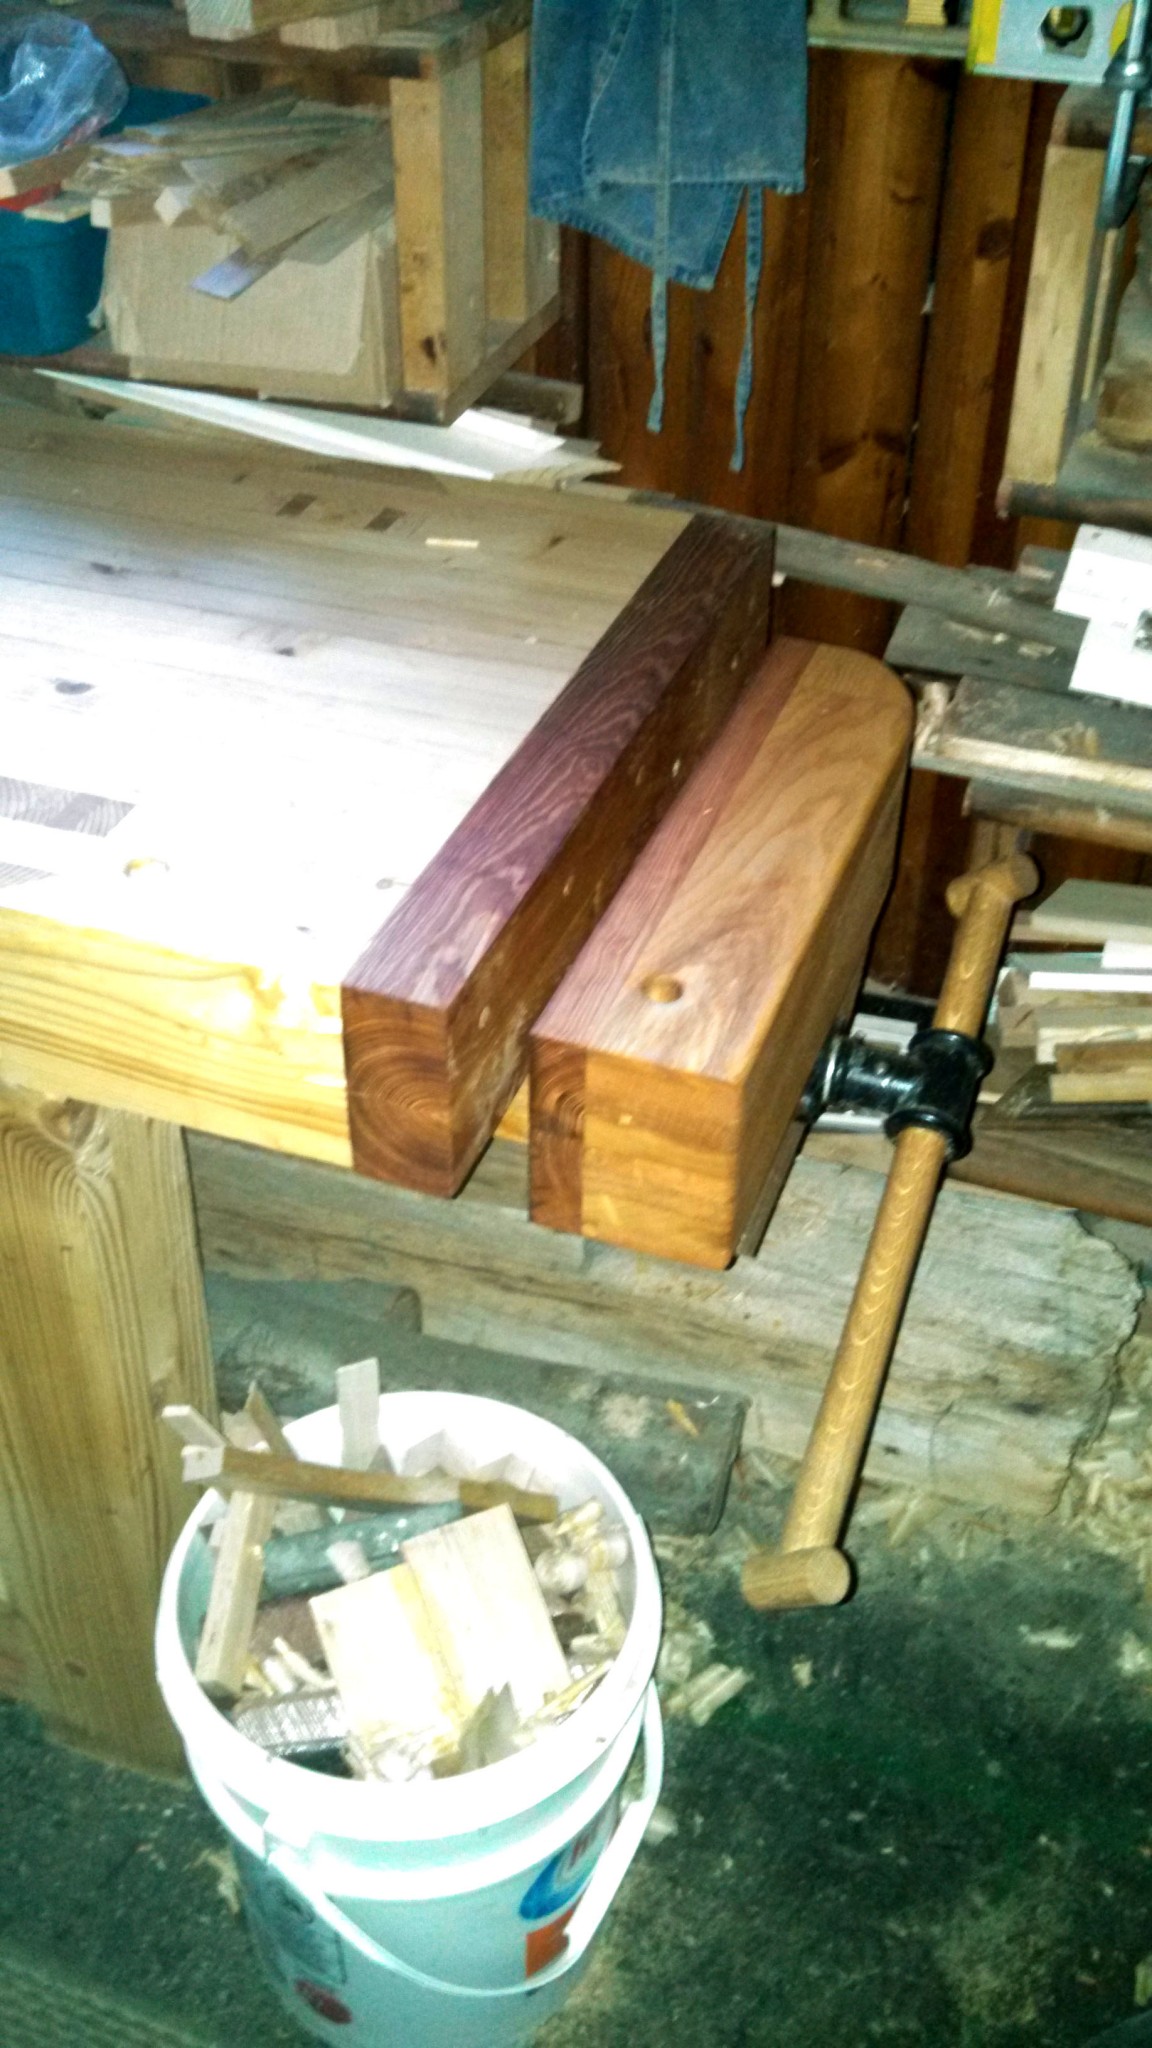
Cut tenon for end cap with a double sided fence(shown) and a circular saw with the blade depth set at 1″ and chiseled out the front with a 2″ wide chisel.
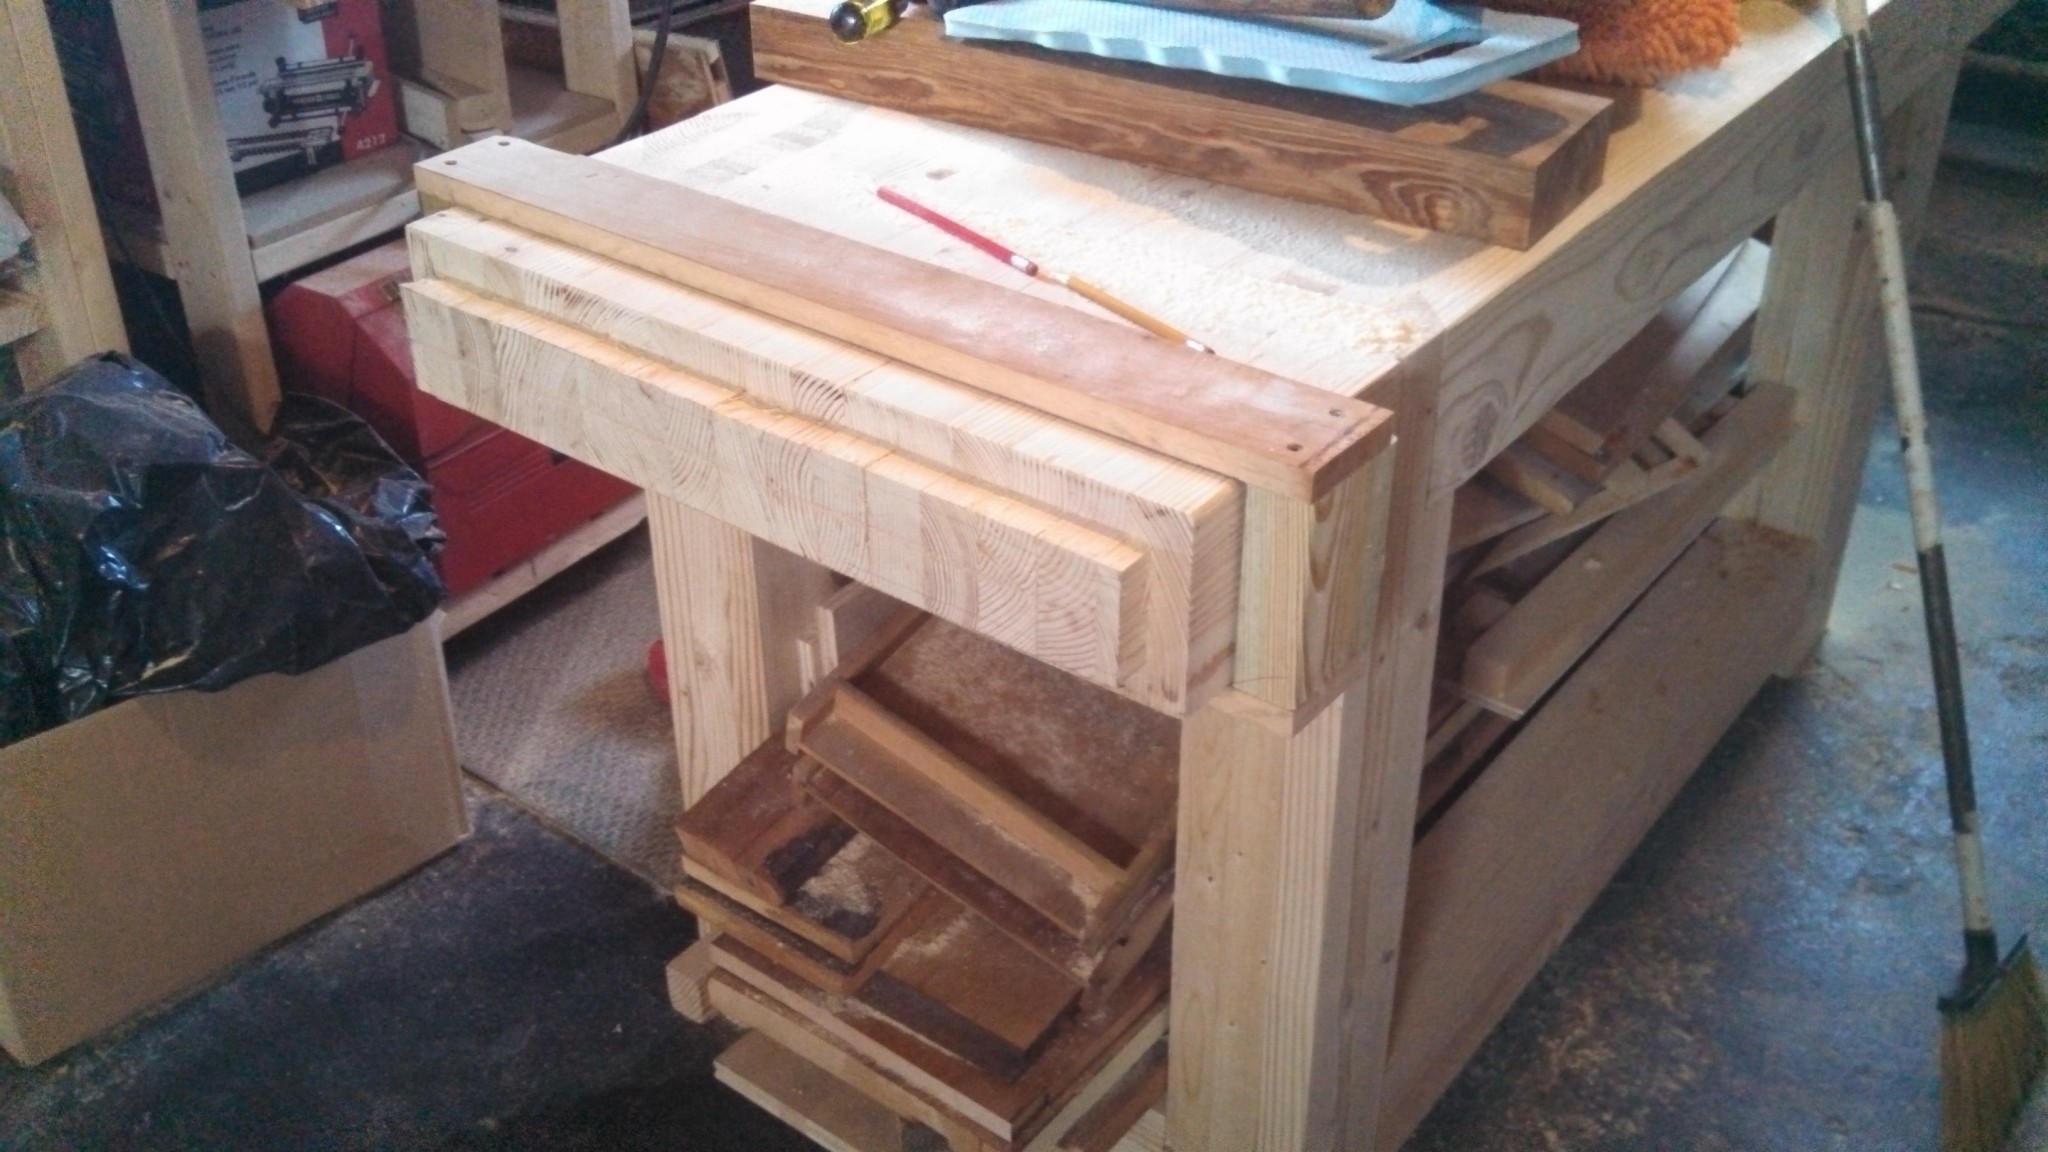
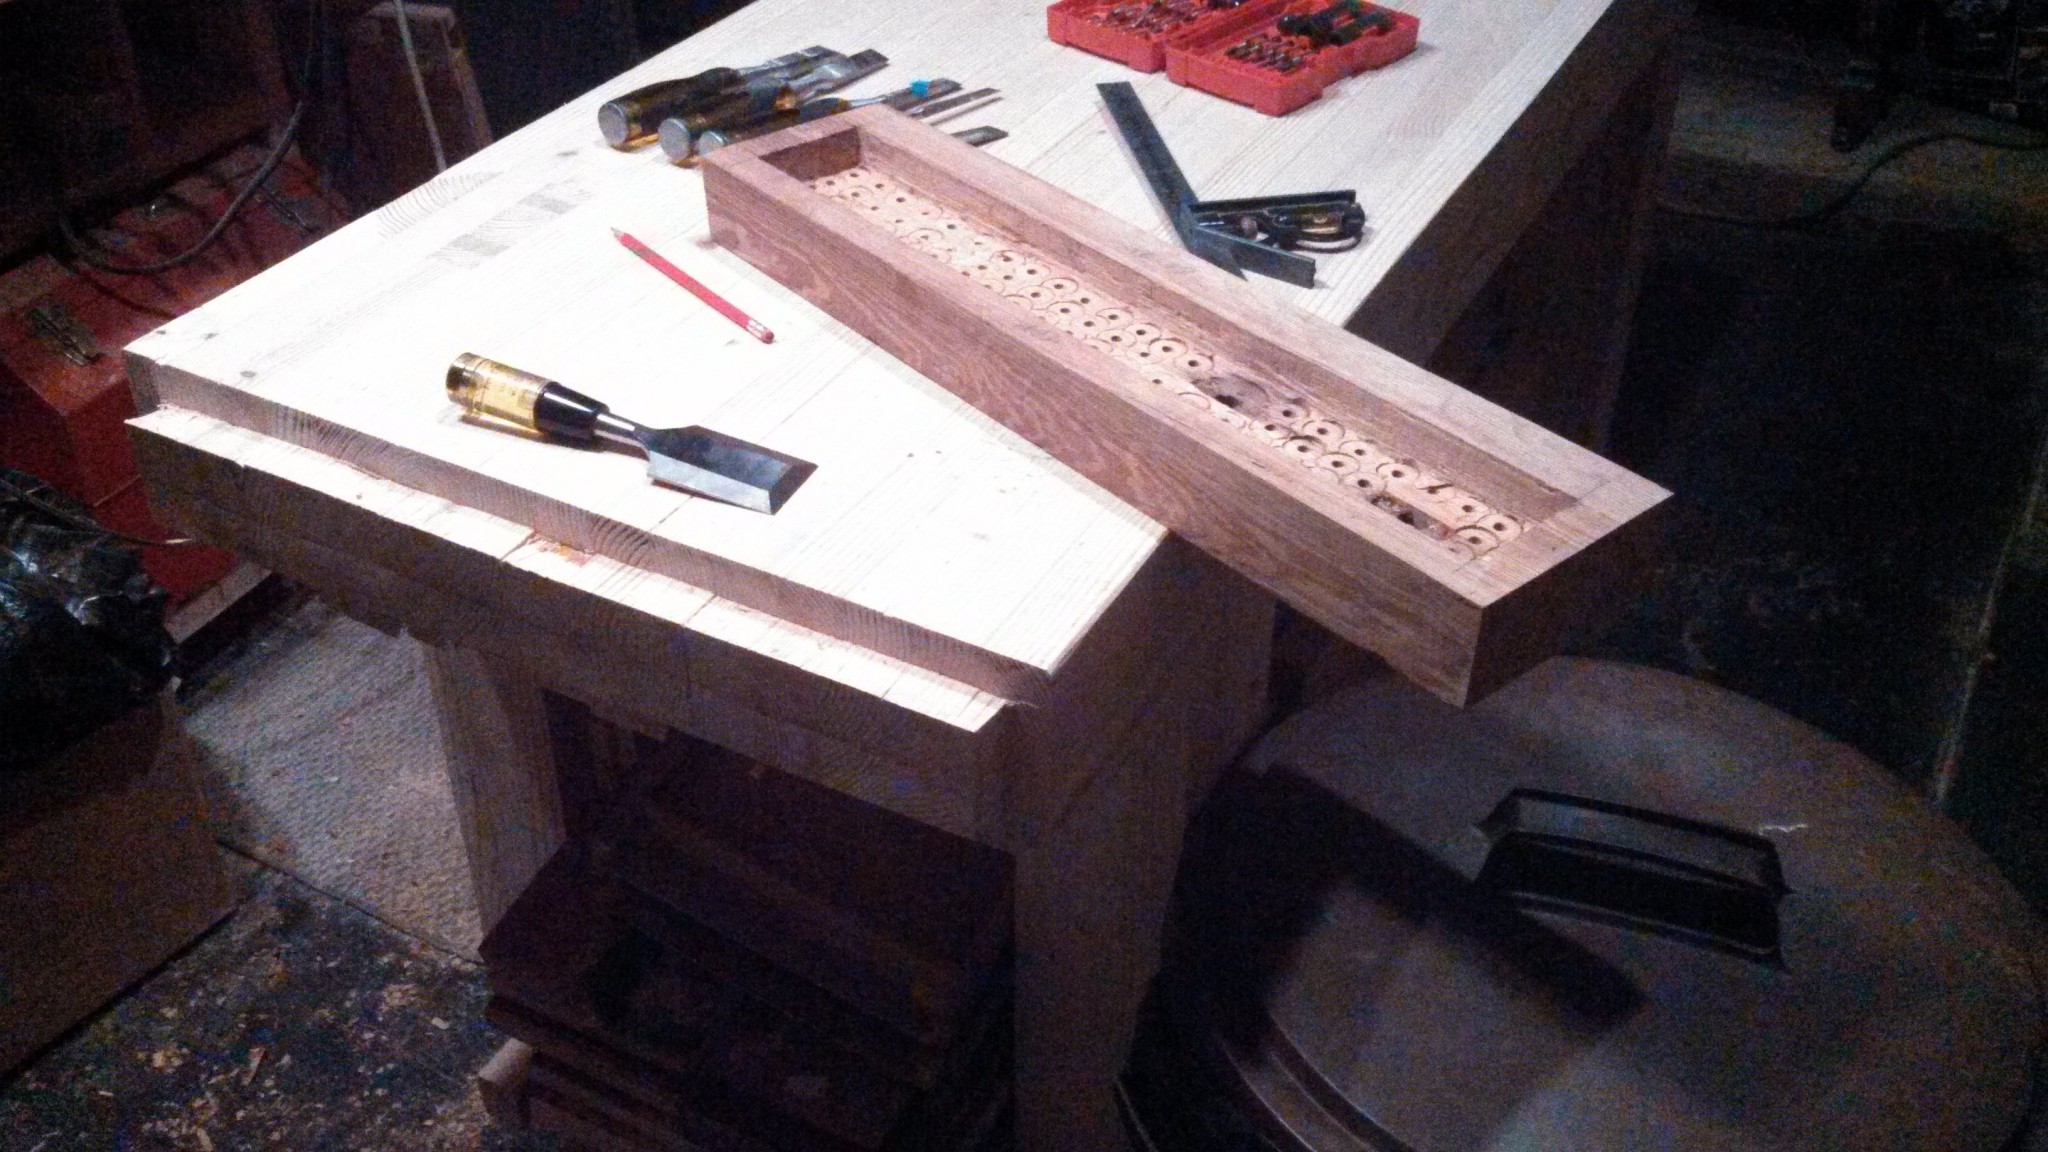
Drilled out end cap mortise with a 1″ spade bit. If at all possible, use a drill press. I don’t own one and it is hell on the hands and wrists to use a hand drill. Also, cordless drills tend to last about 3 holes before the battery dies, so use a corded drill if you own one. Cleaned it up with a 2″ chisel.
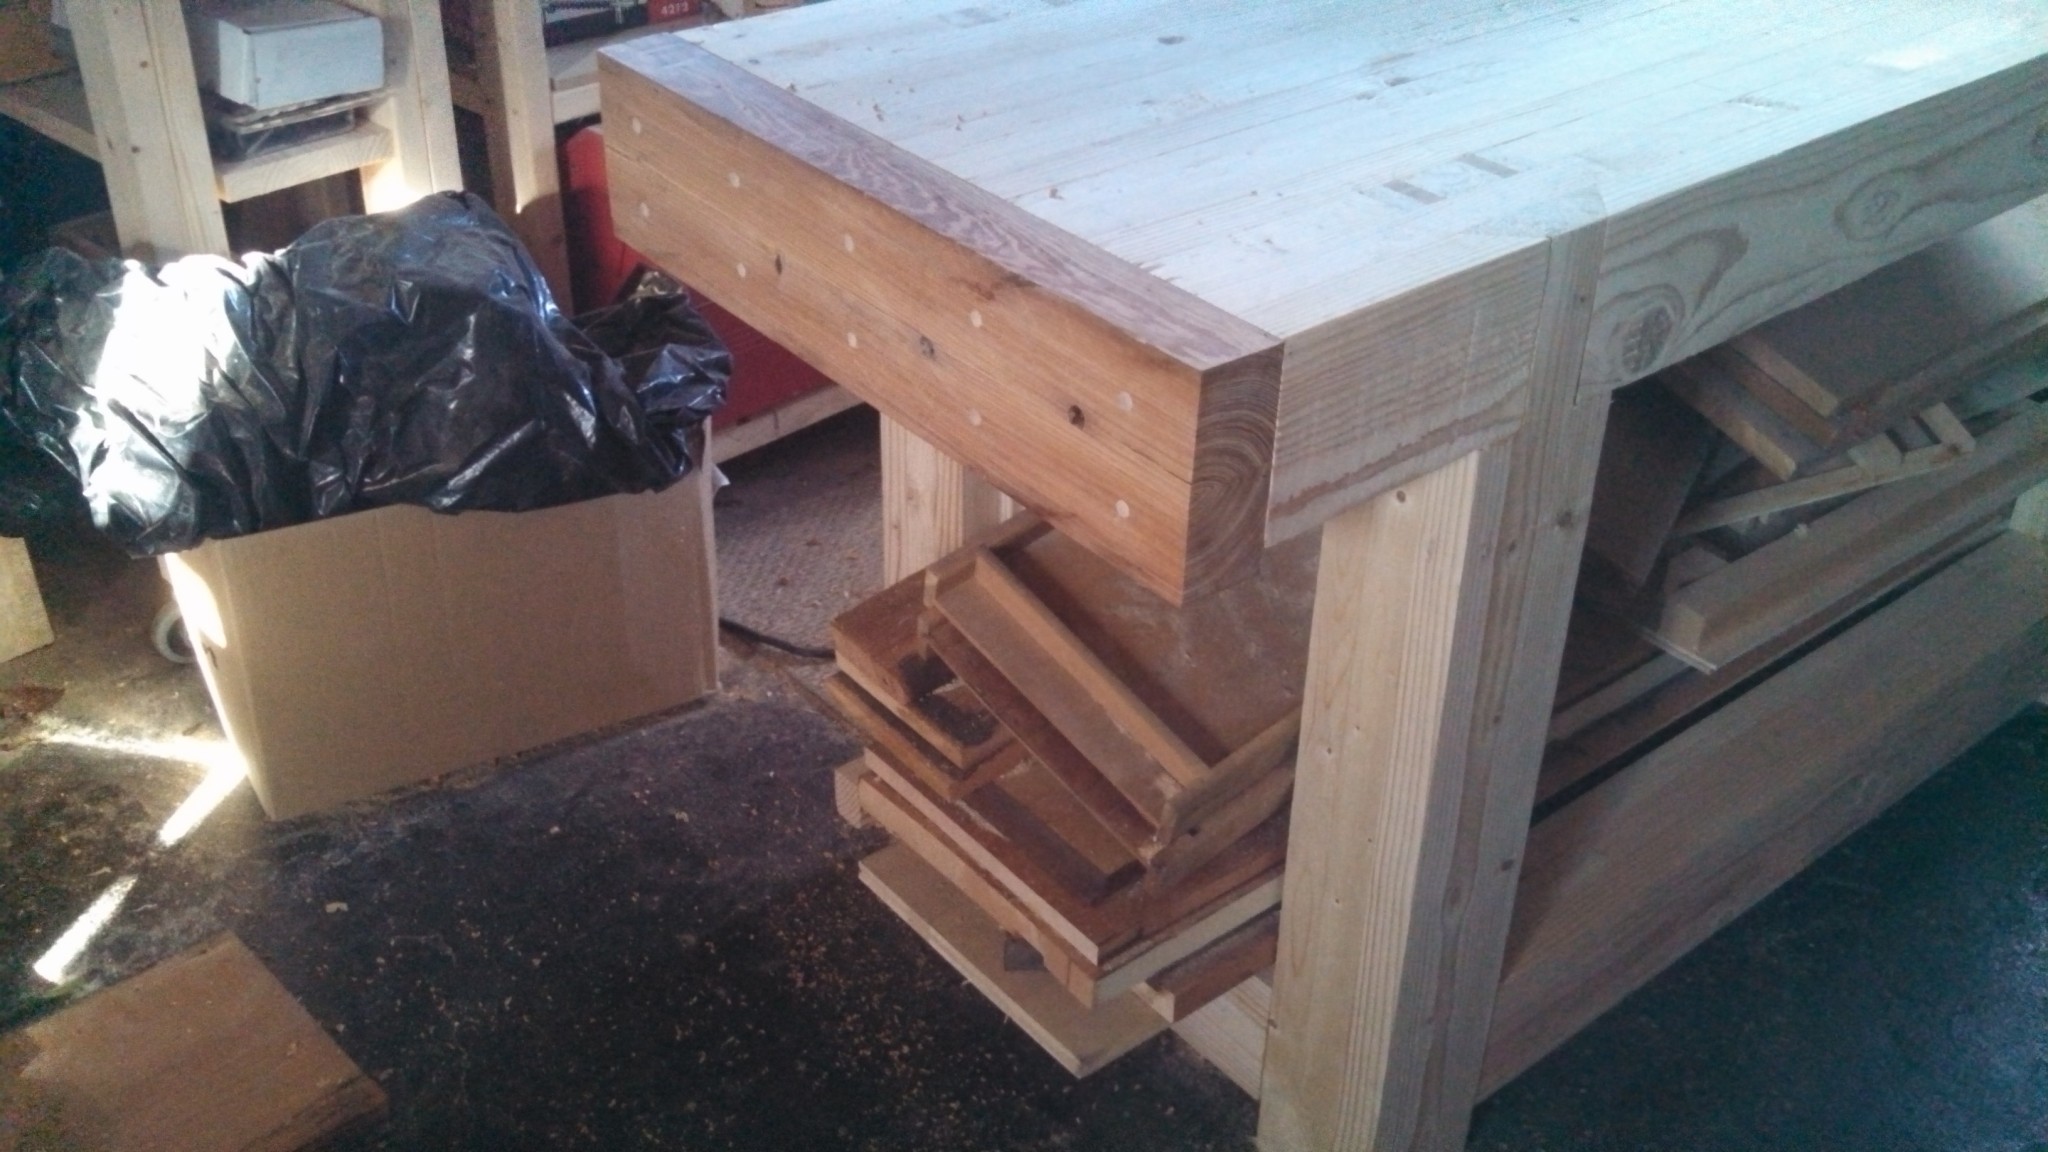
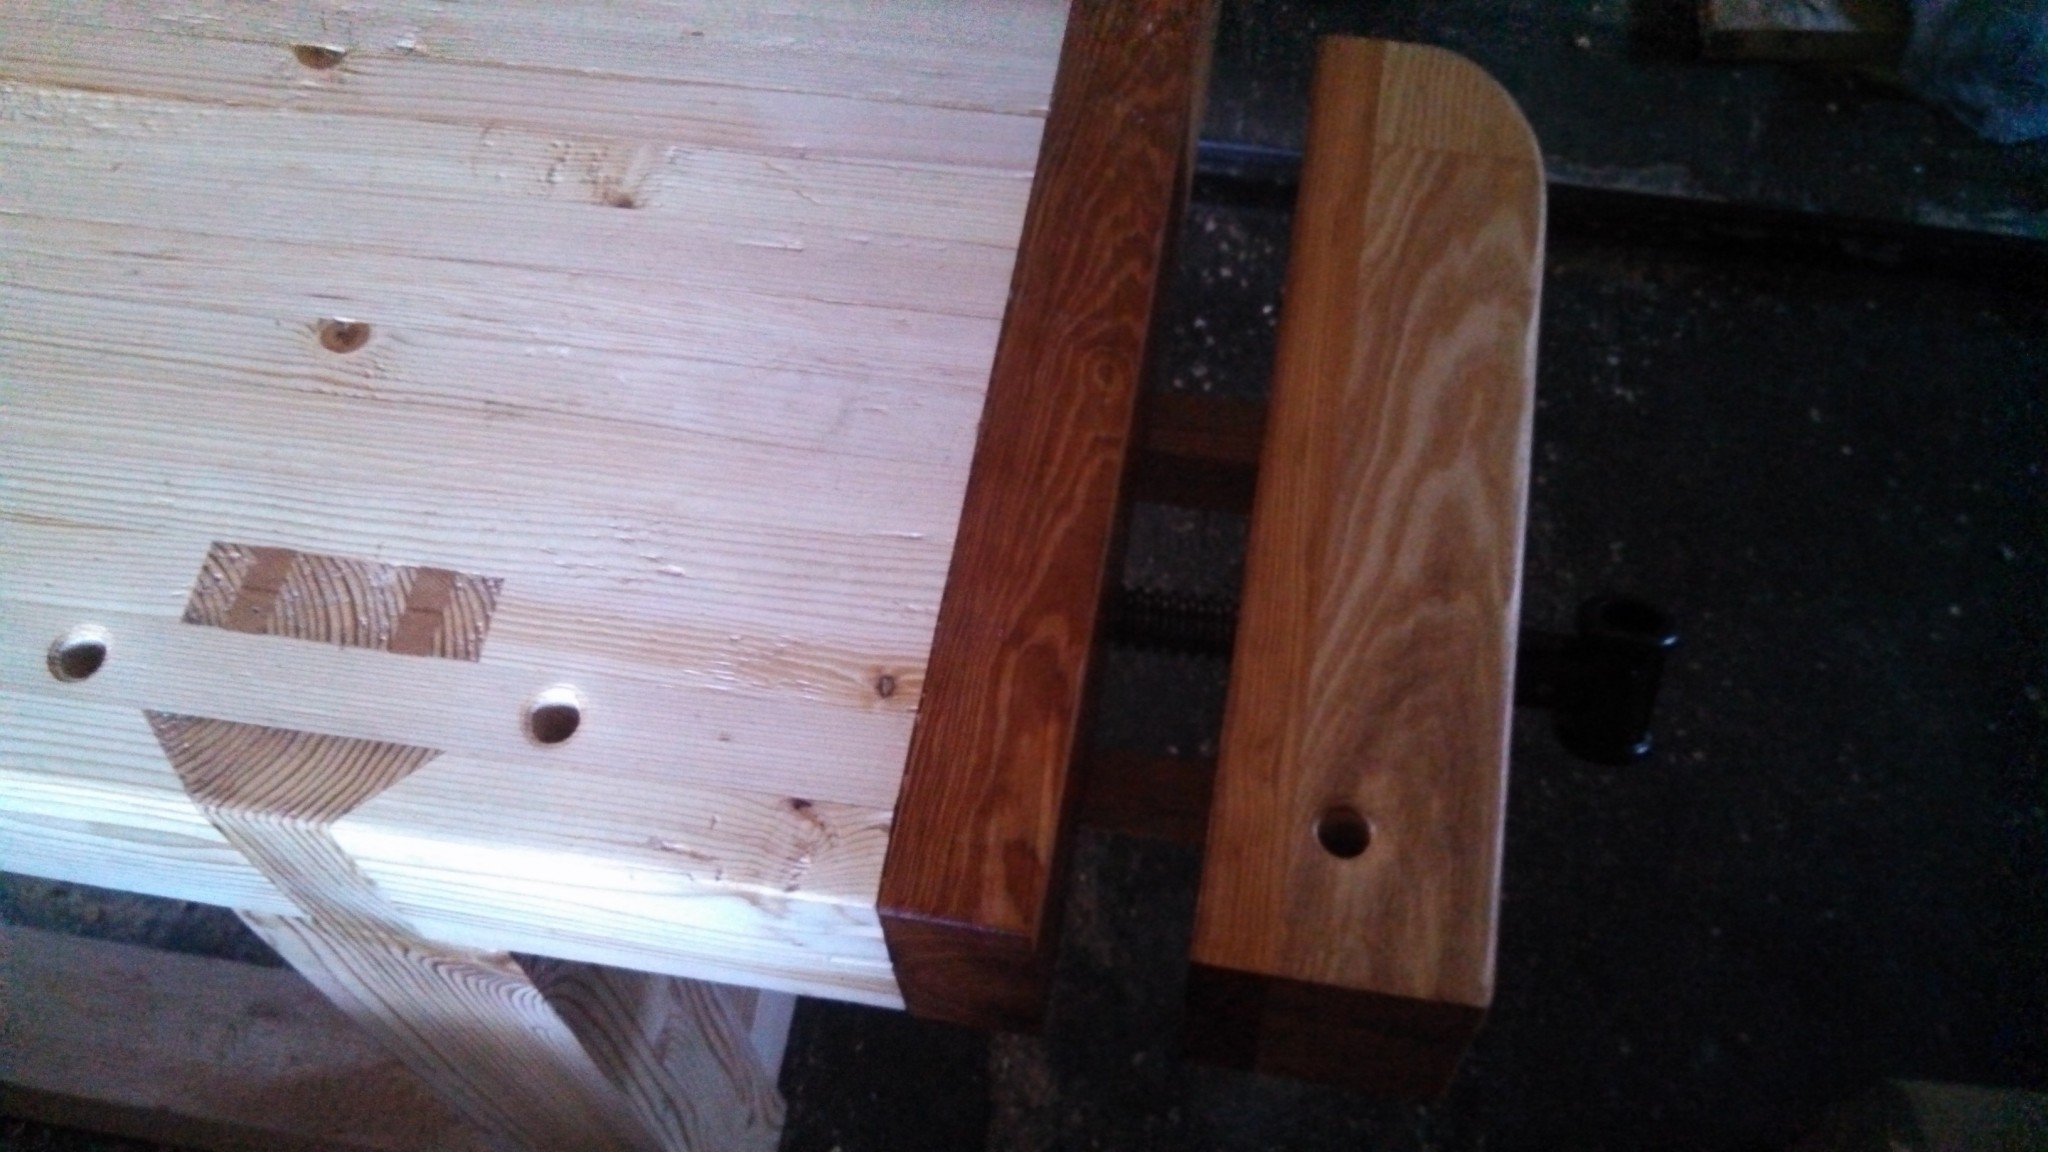
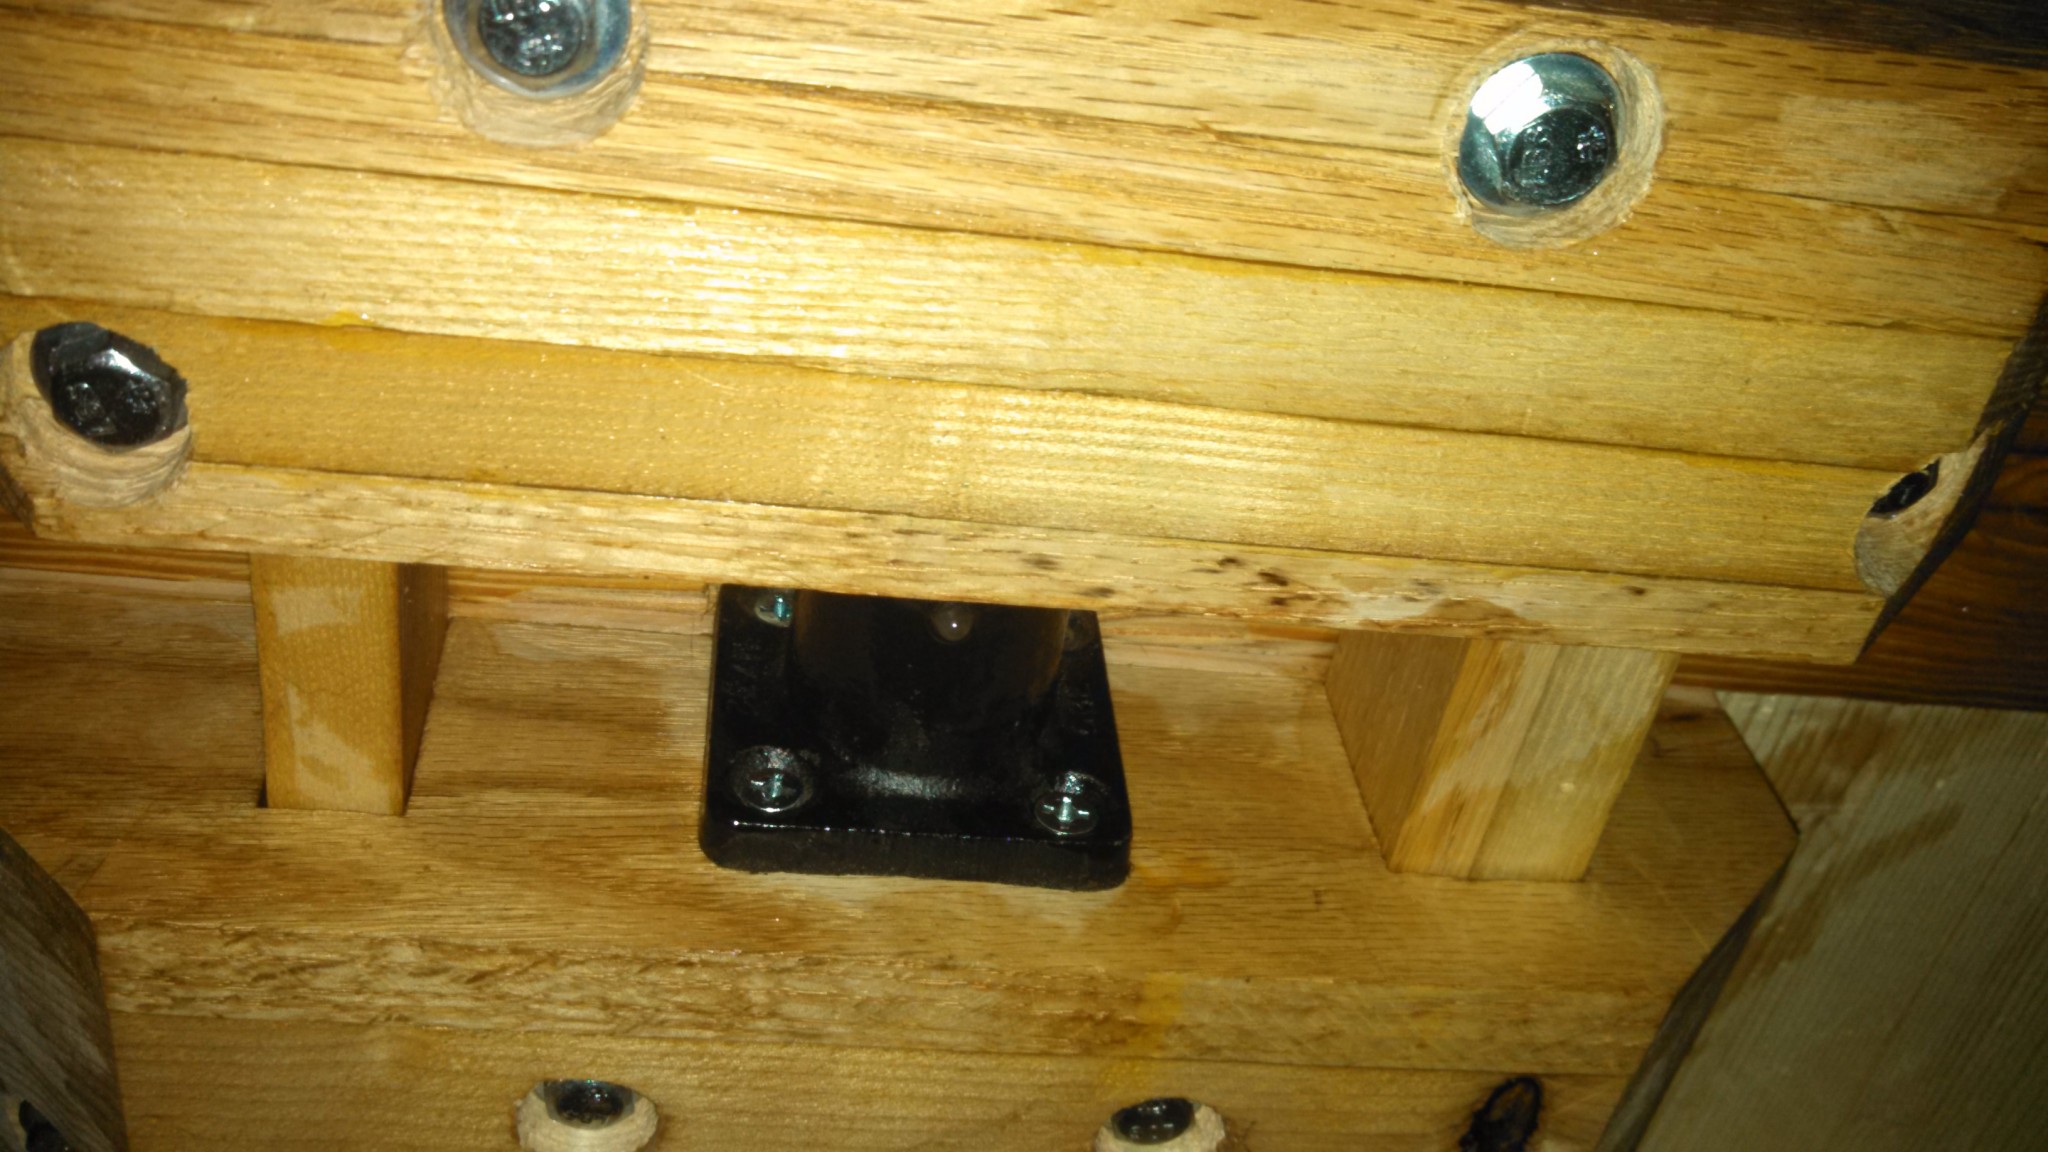
bolted in with 3″ lag bolts and glued in oak plugs.
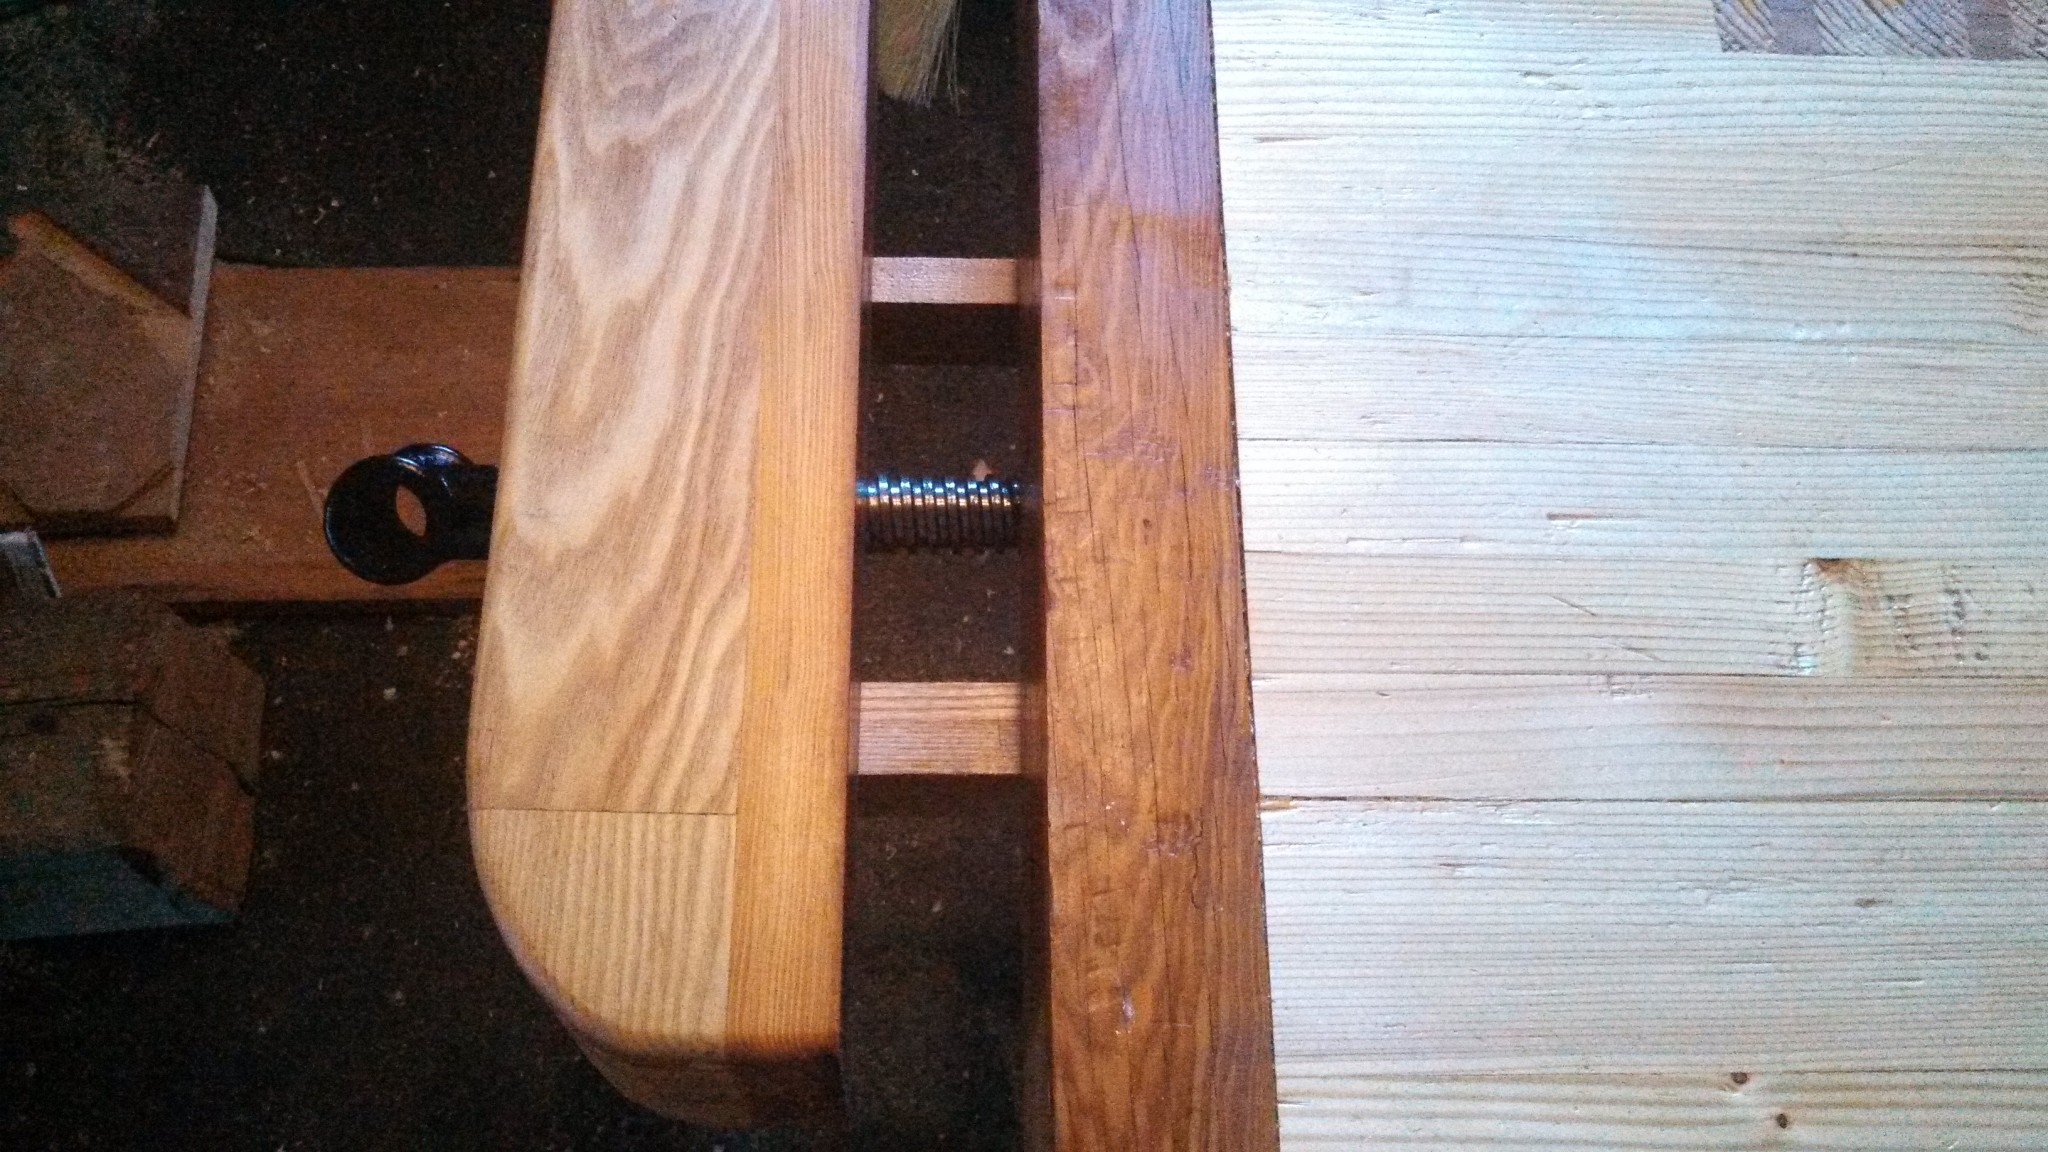
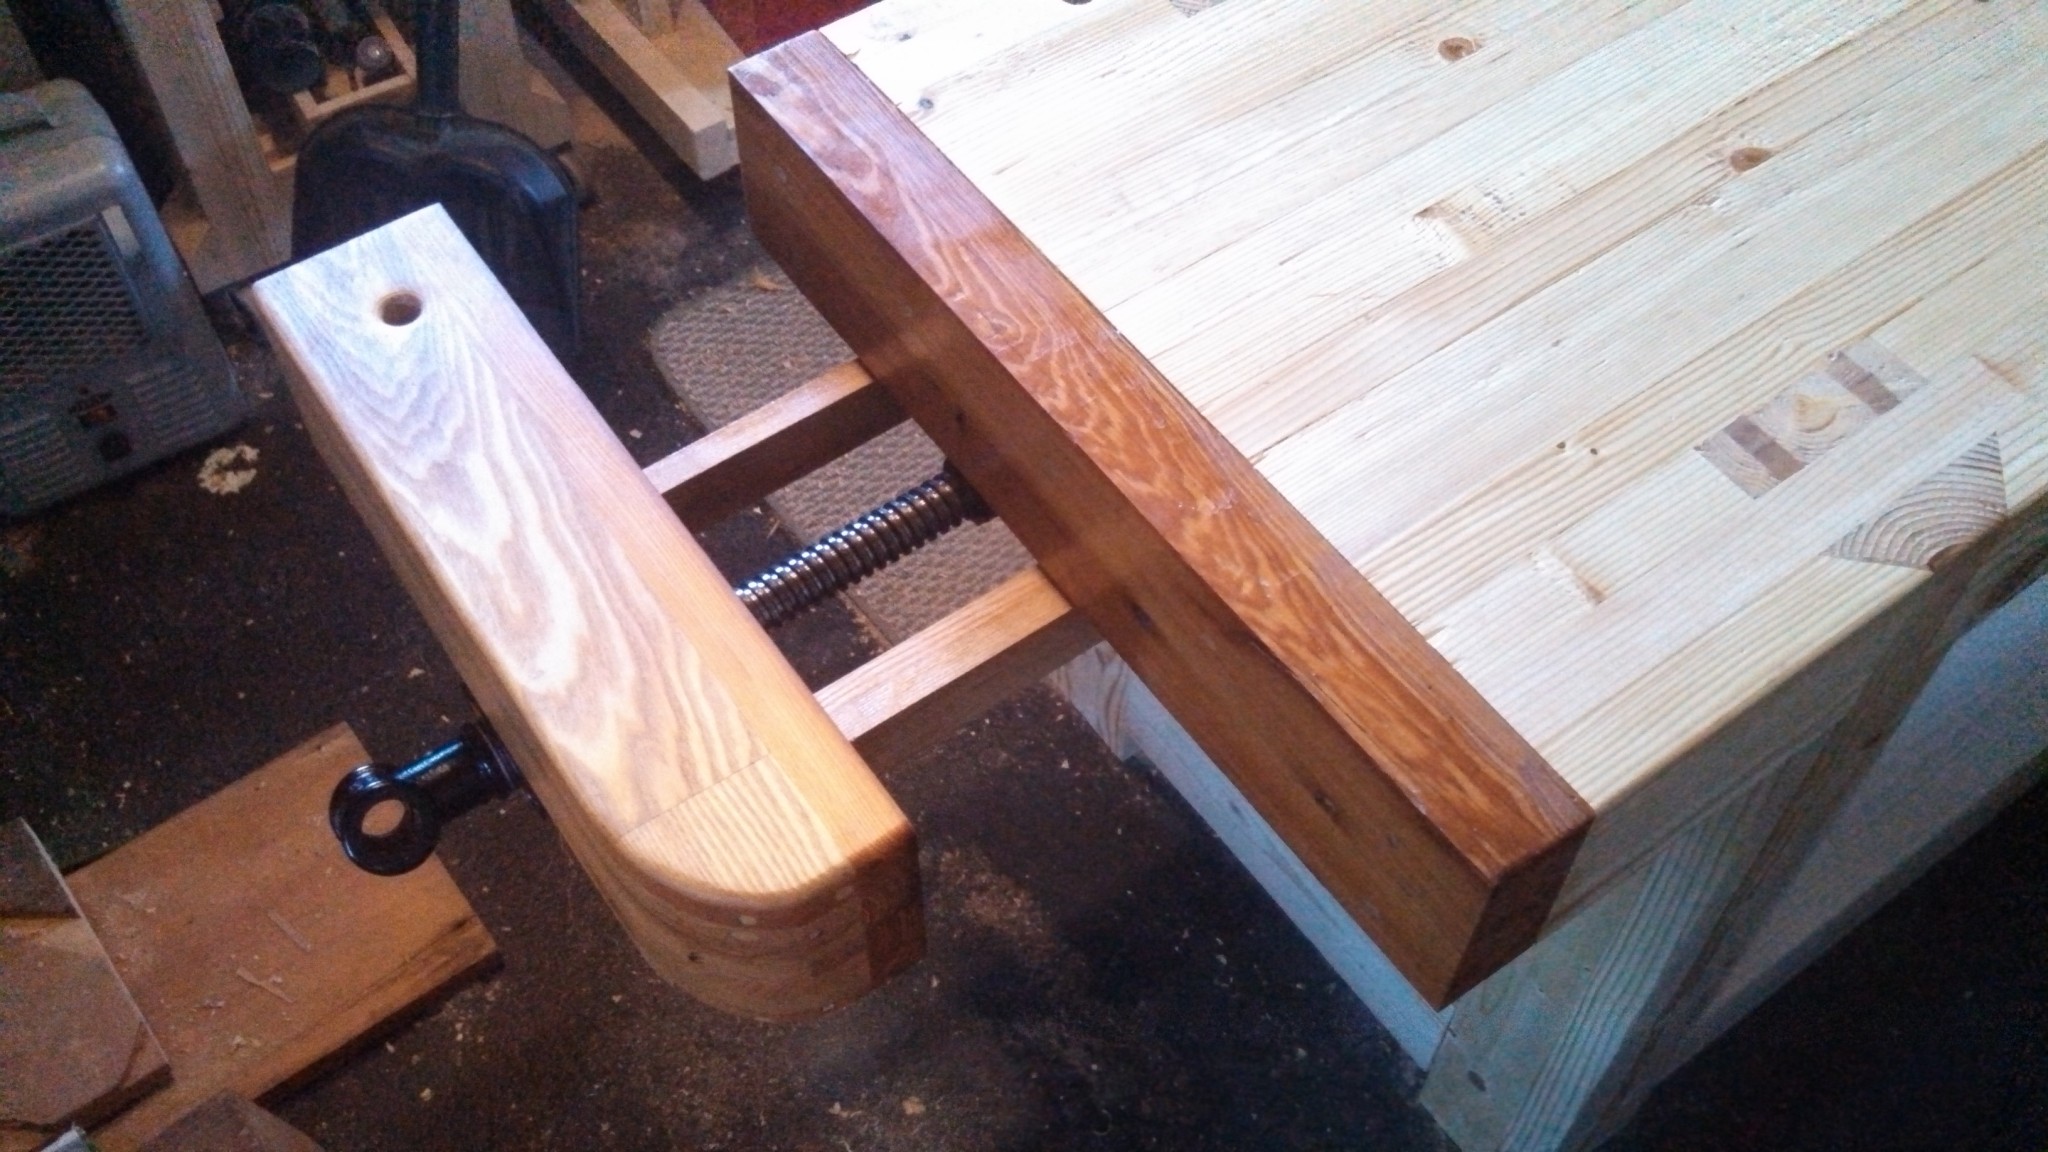
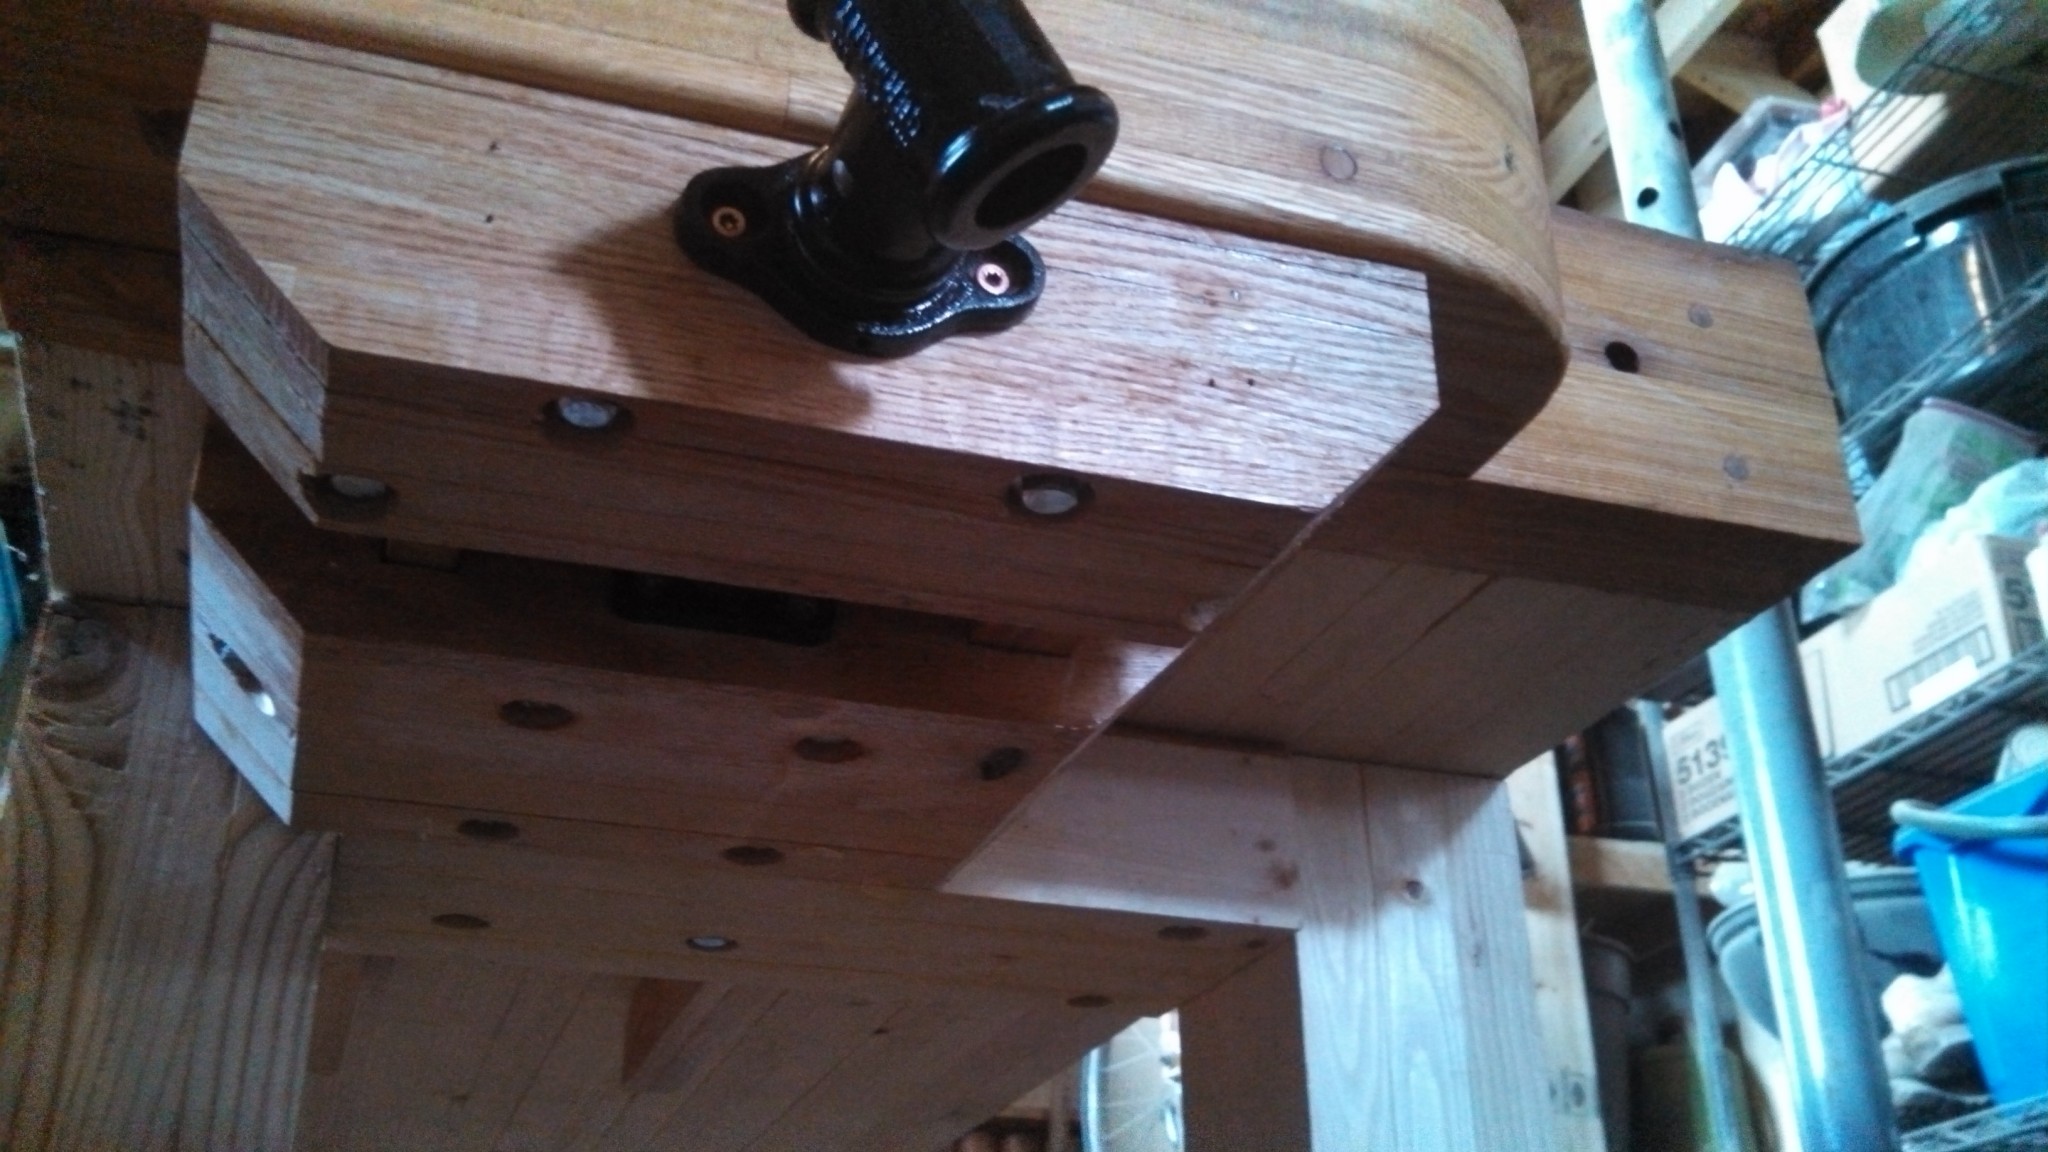
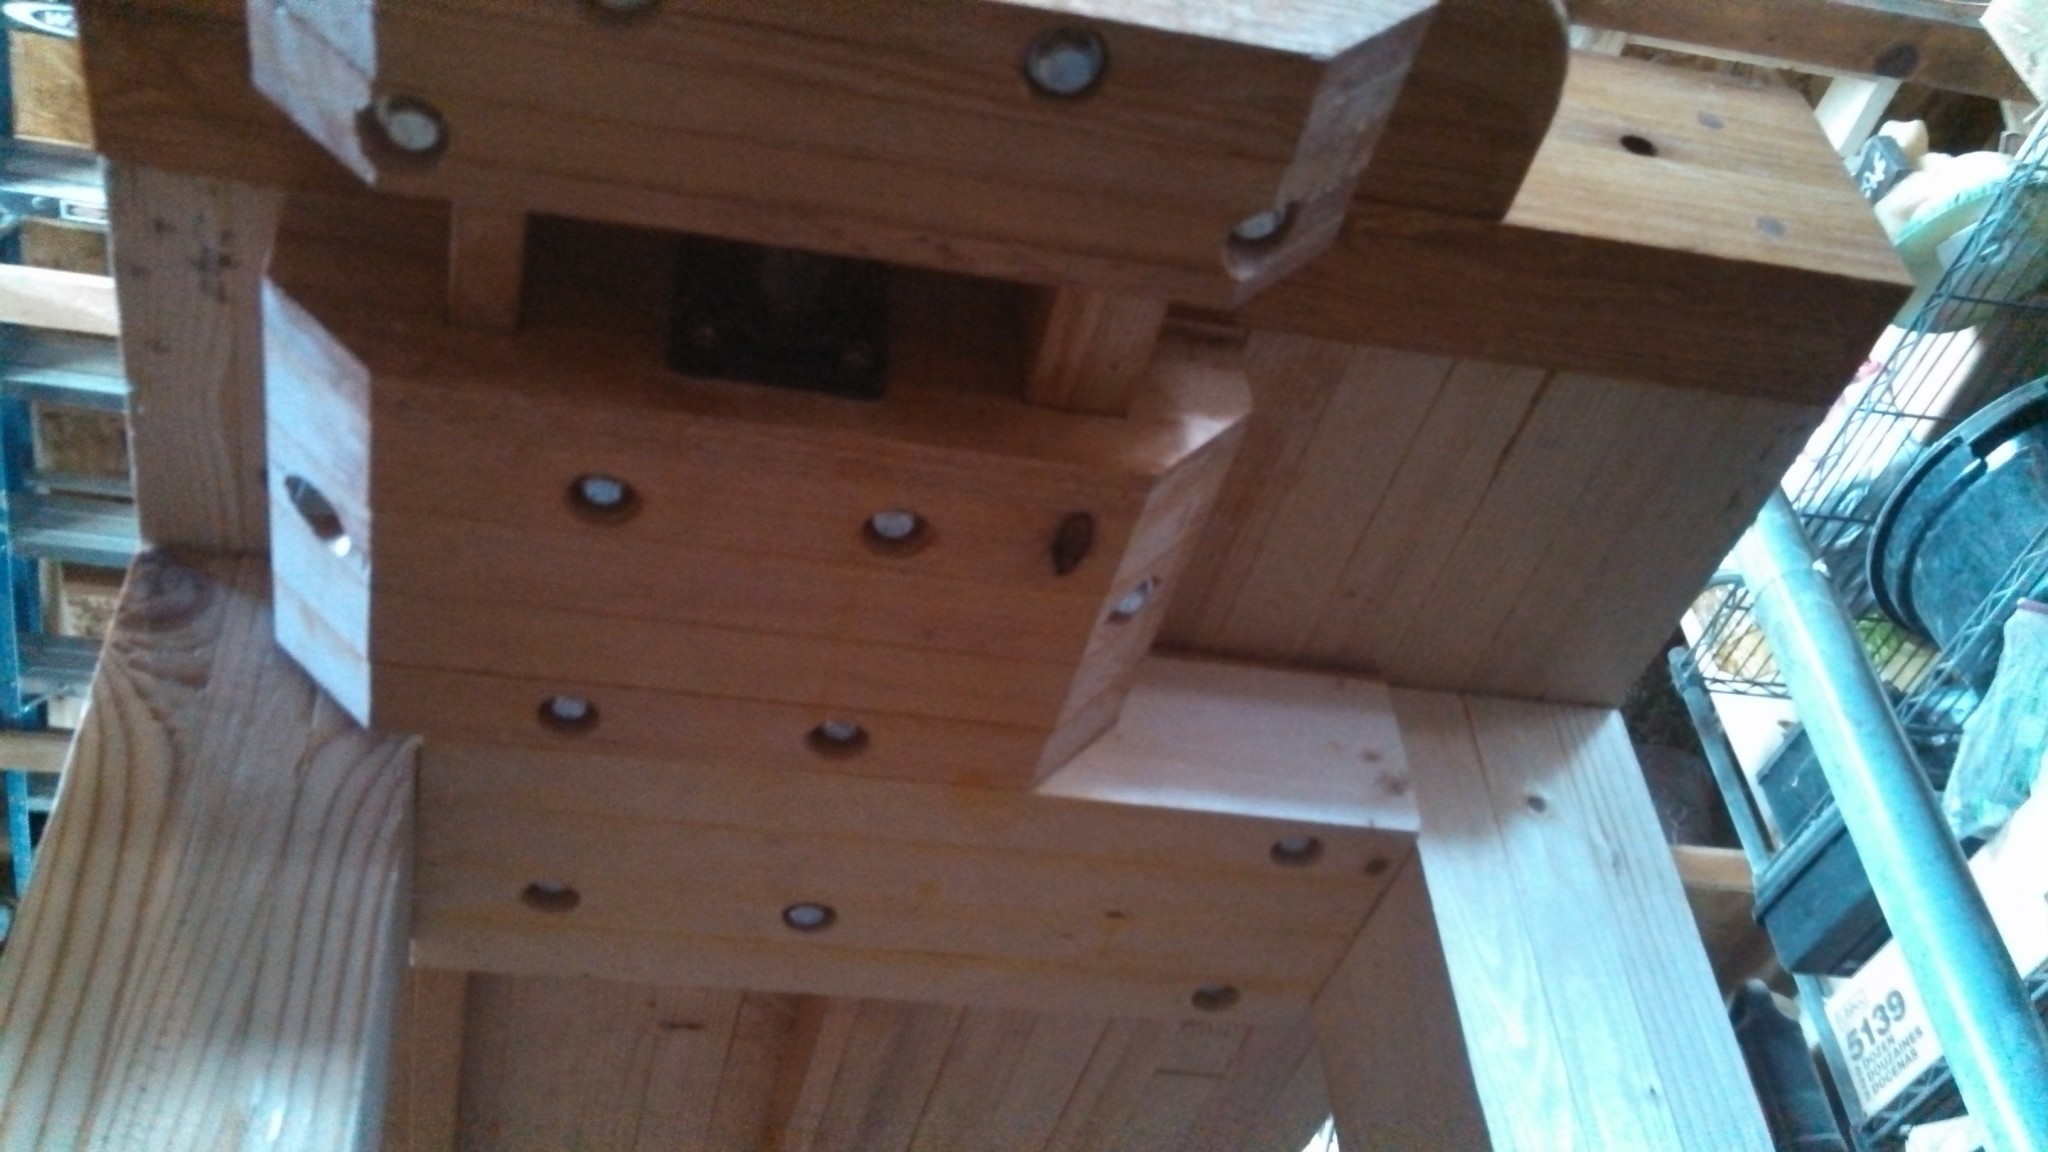
I forgot to take pictures of the vice build. Sorry. Basically, I bought a giant screw, glued a bunch of oak together(after much measuring, cutting, drilling, and planing) and manipulated stuff until I got it right.
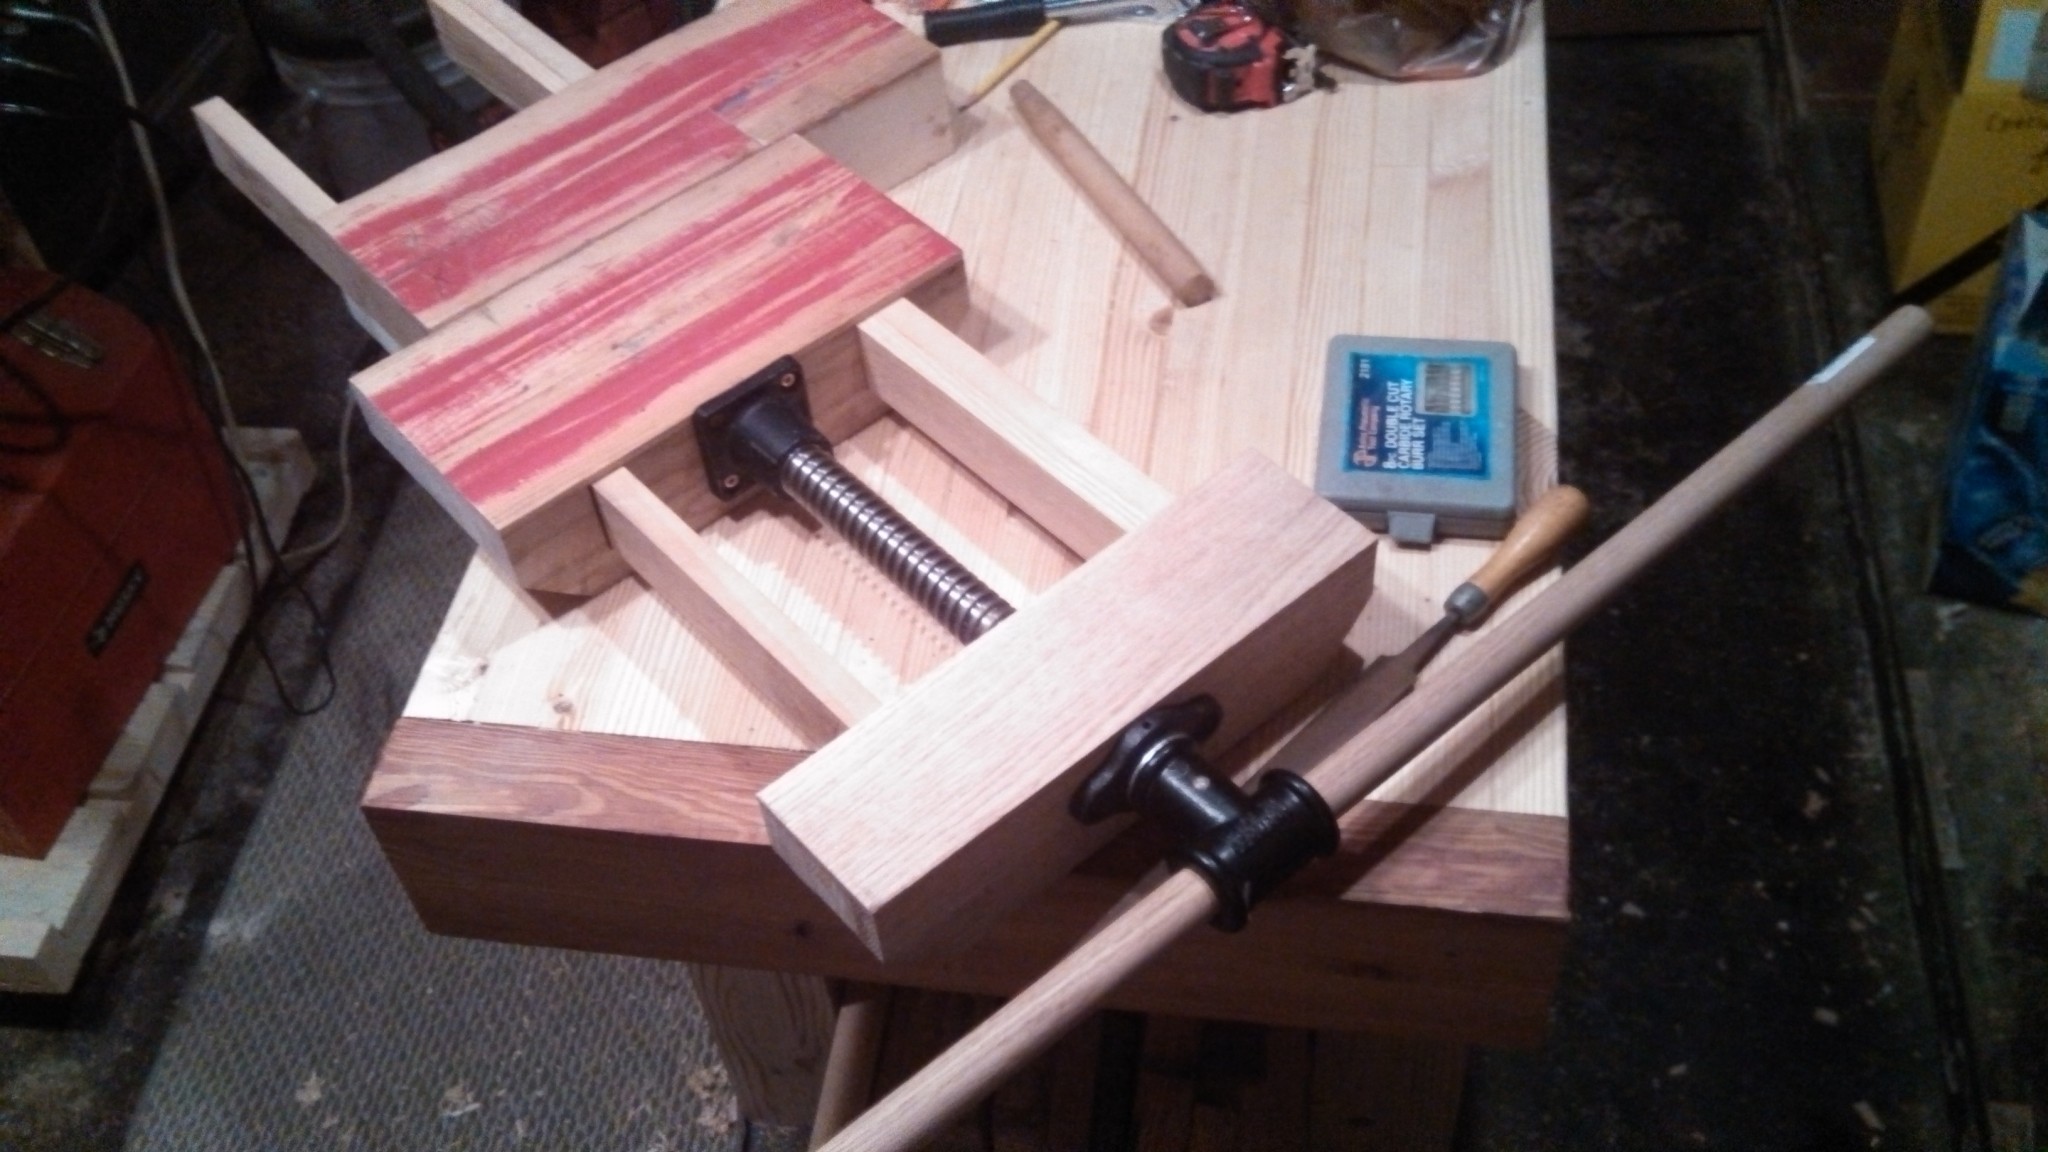
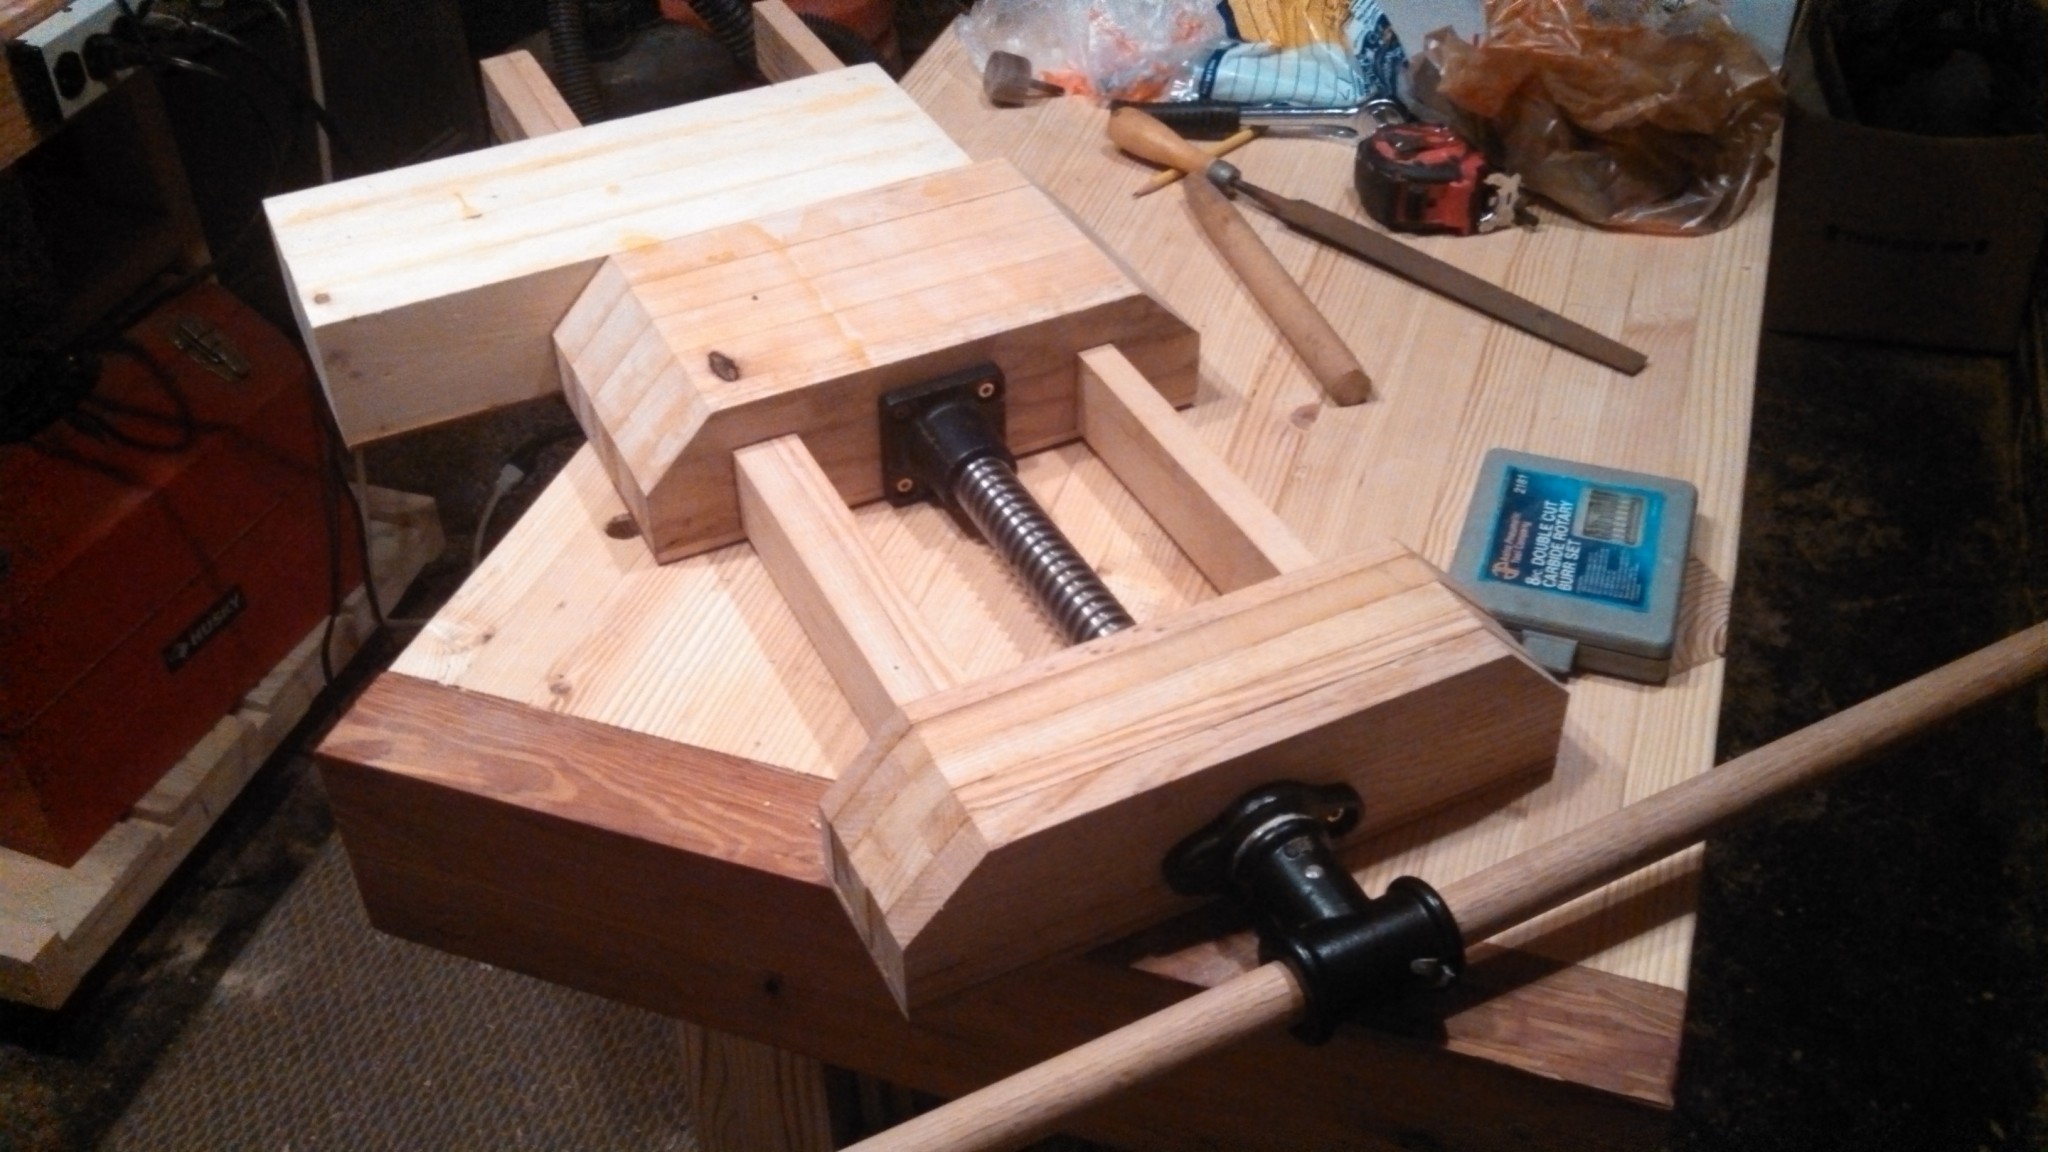
Here is a rough idea of how it is built; although I changed it a bit to adapt to my design. His is a tail vise. Mine is an end vise, but the concept is the same. This guy knows his stuff.
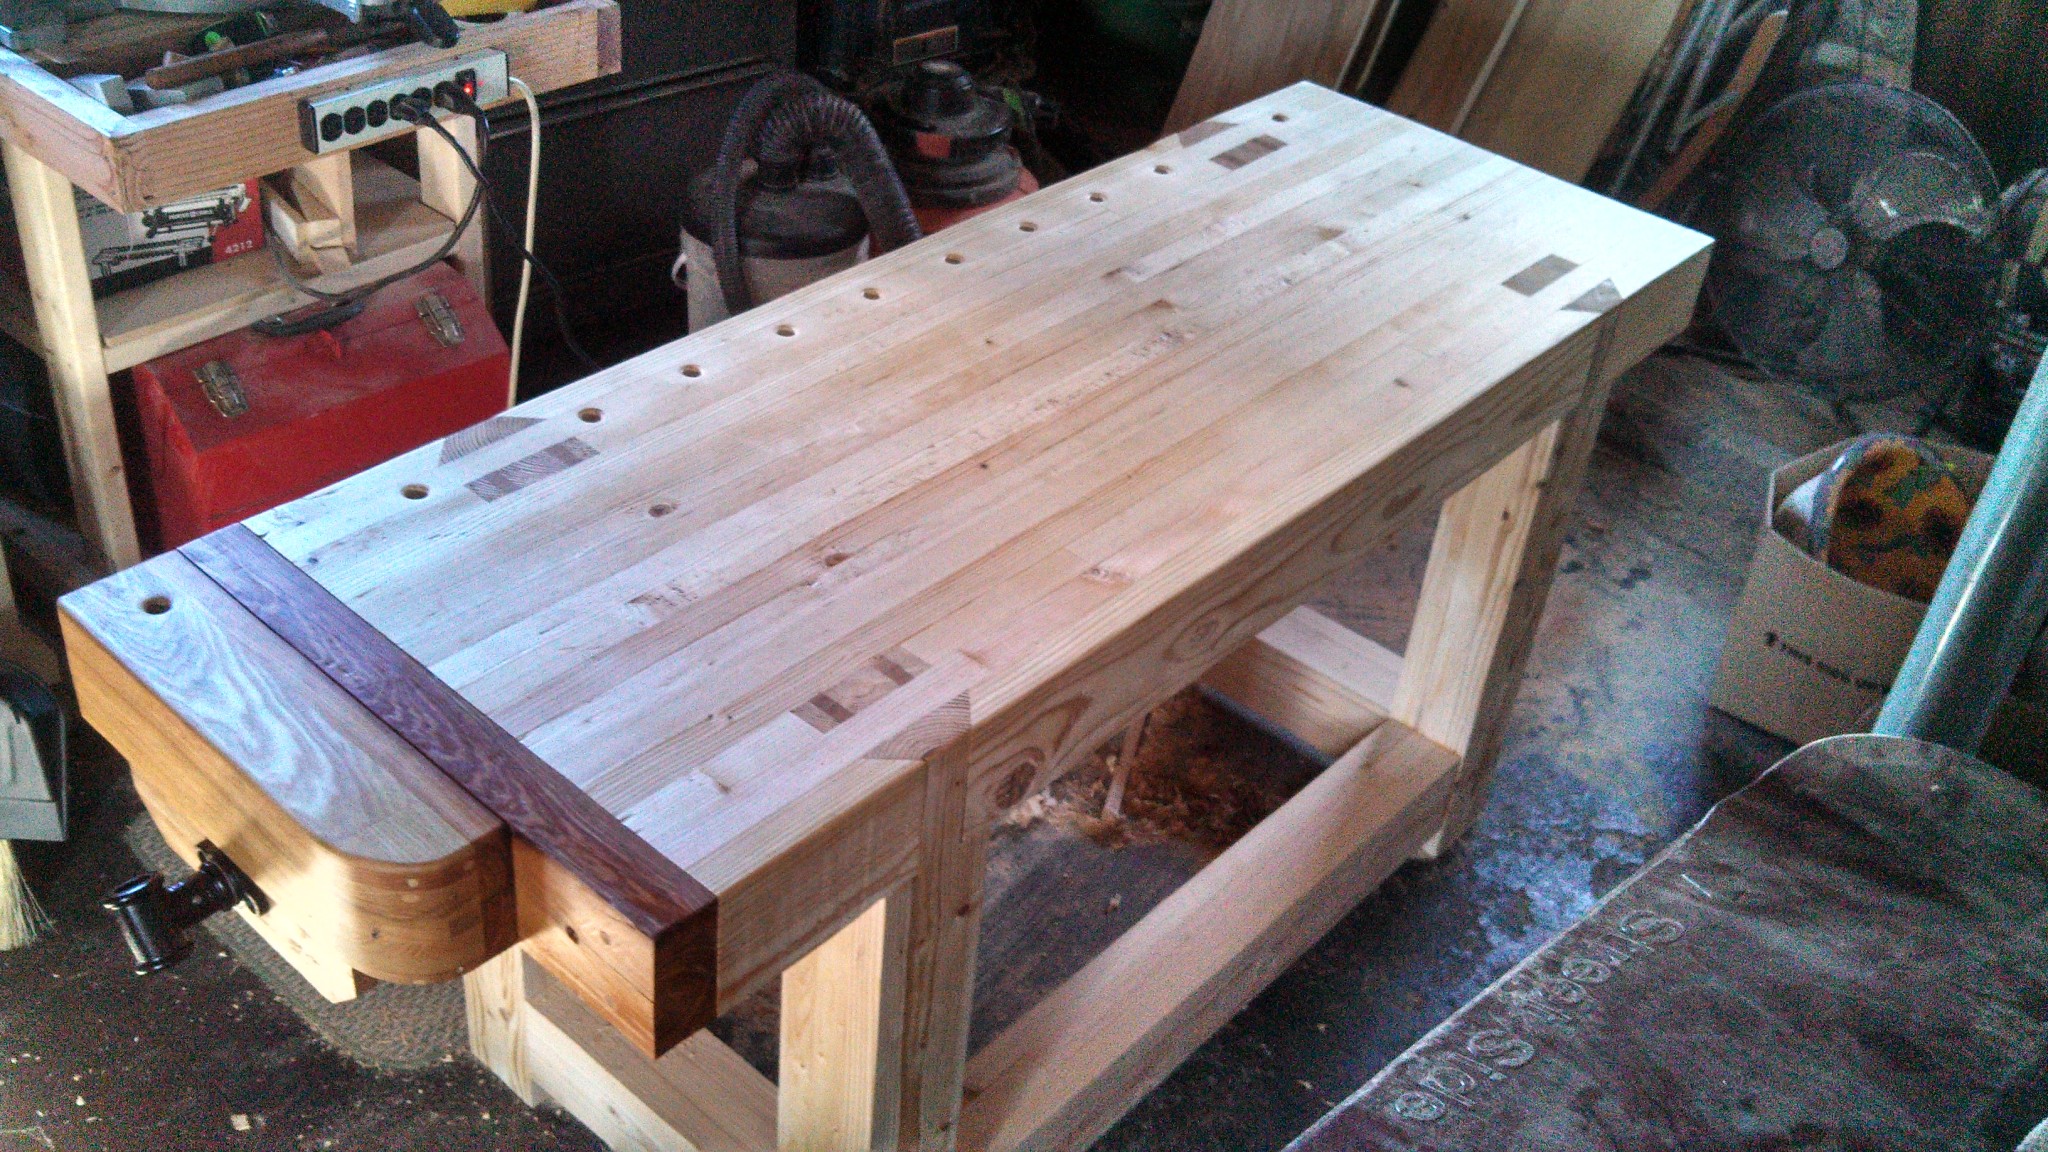
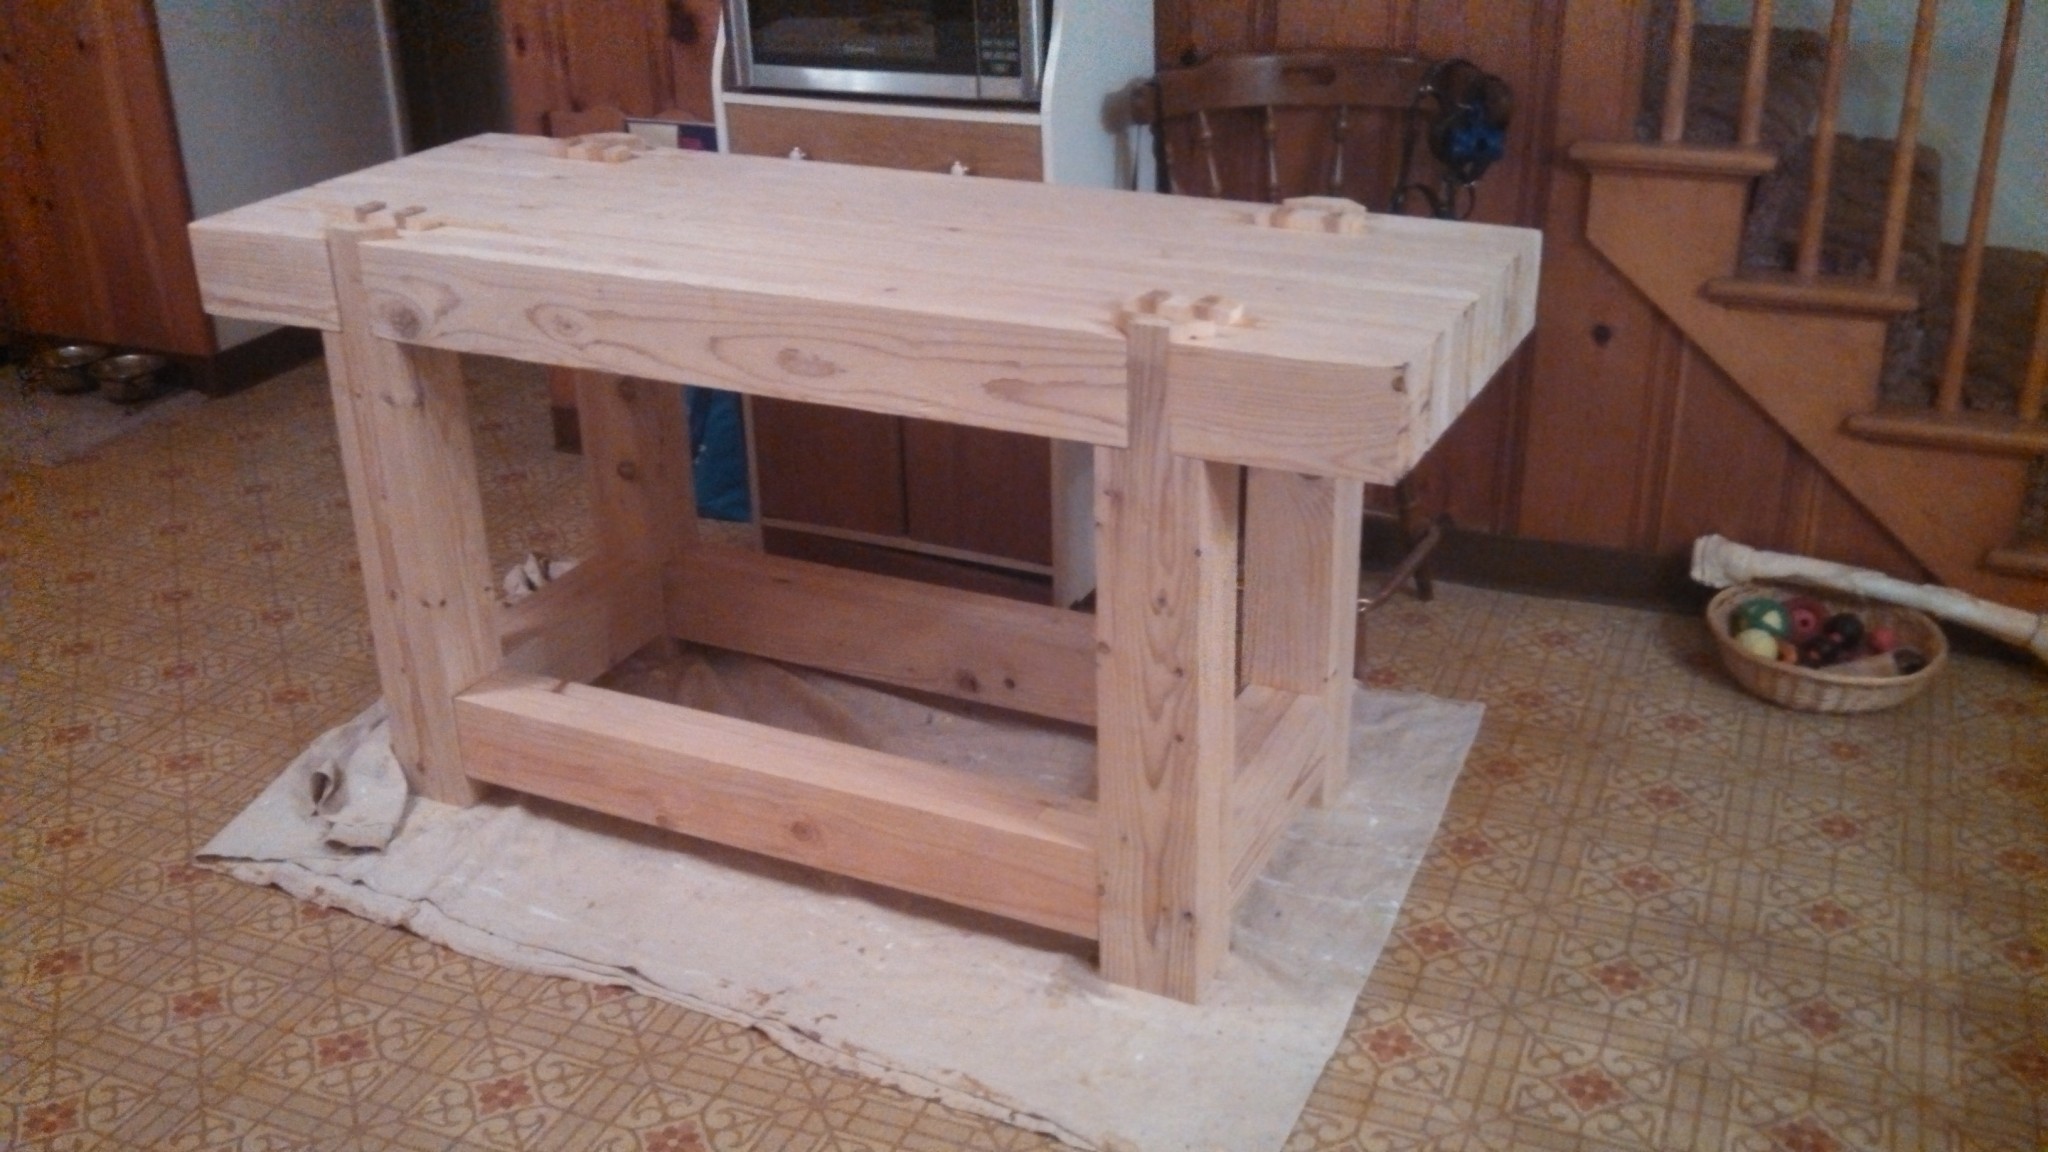
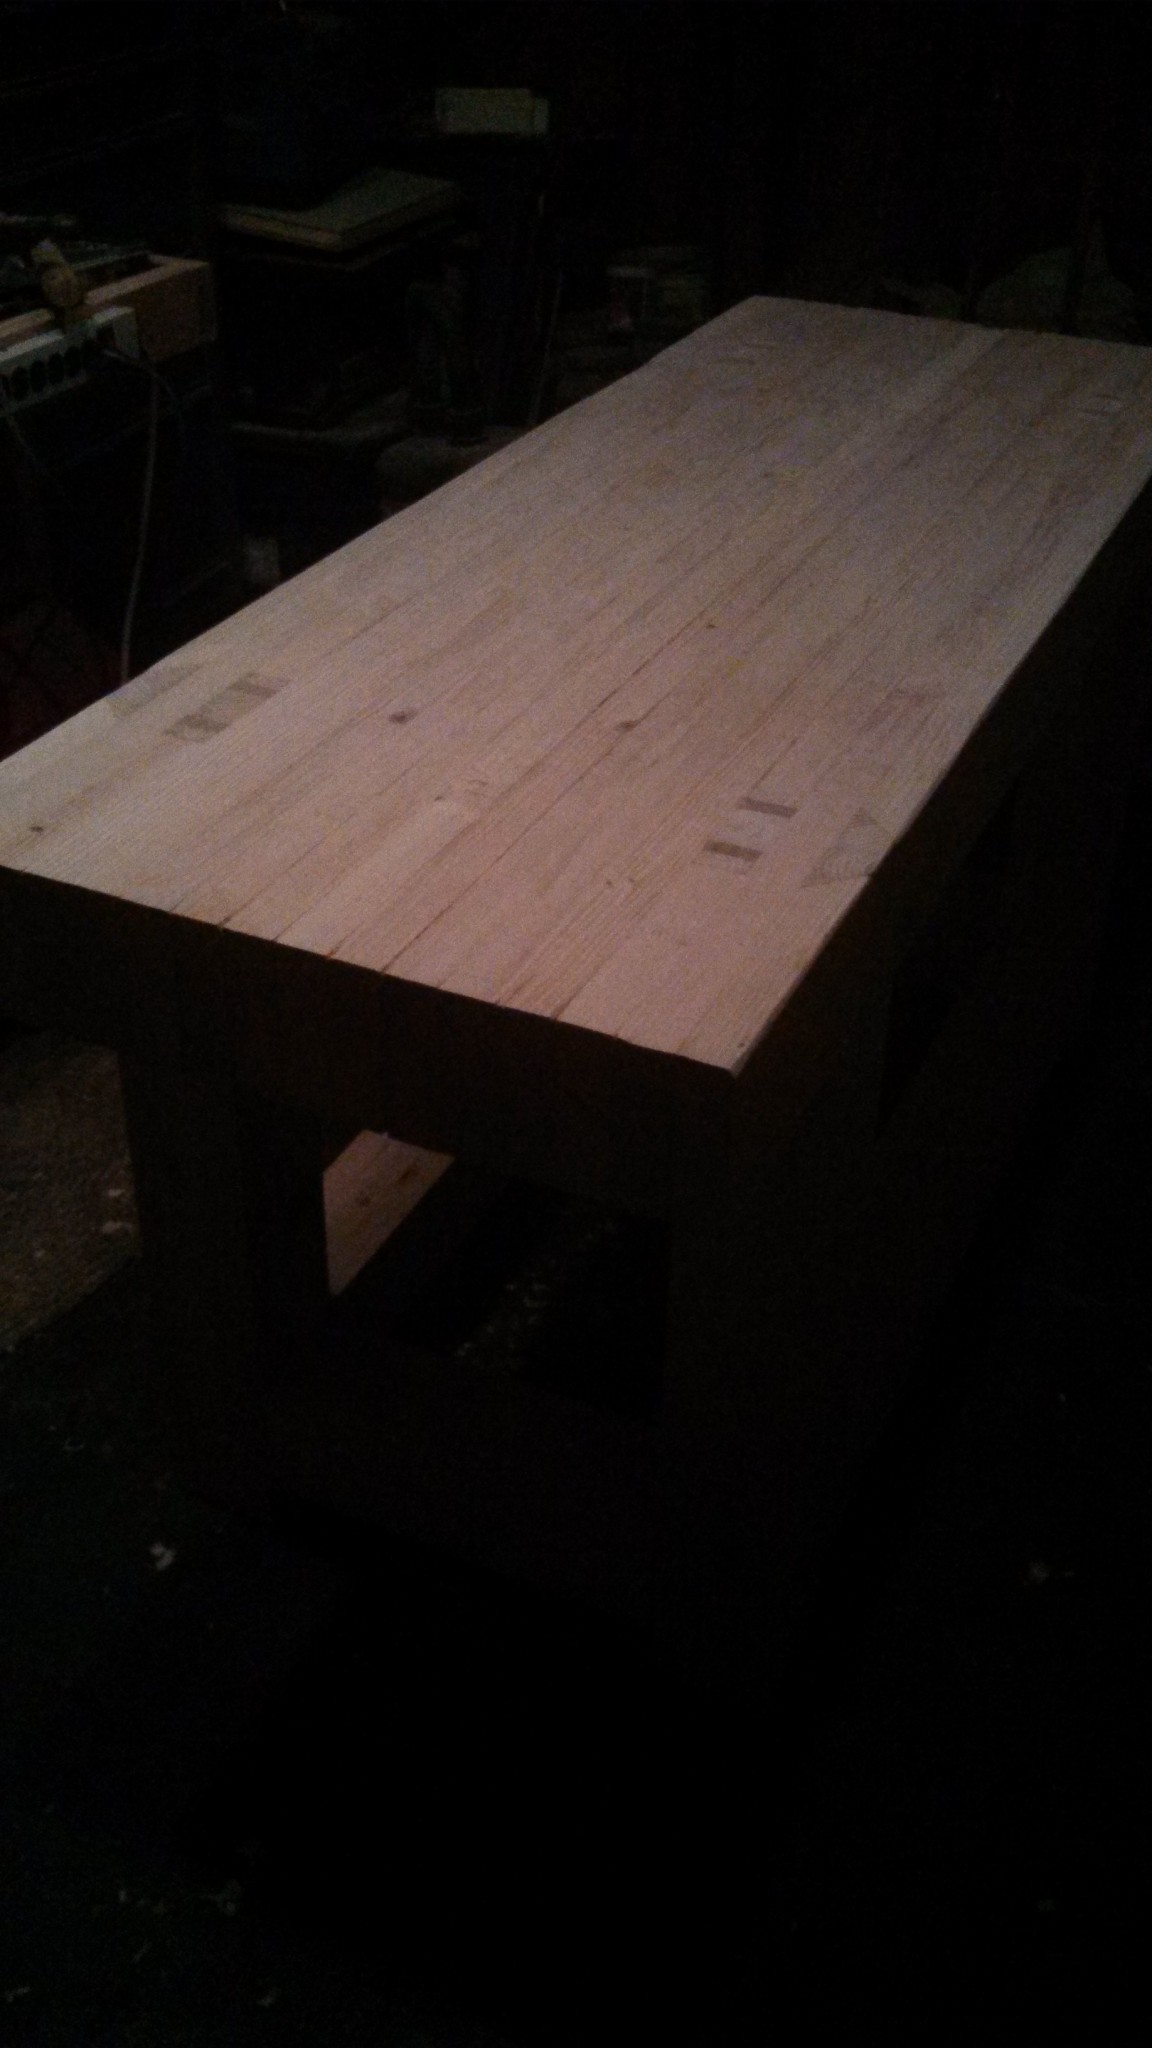
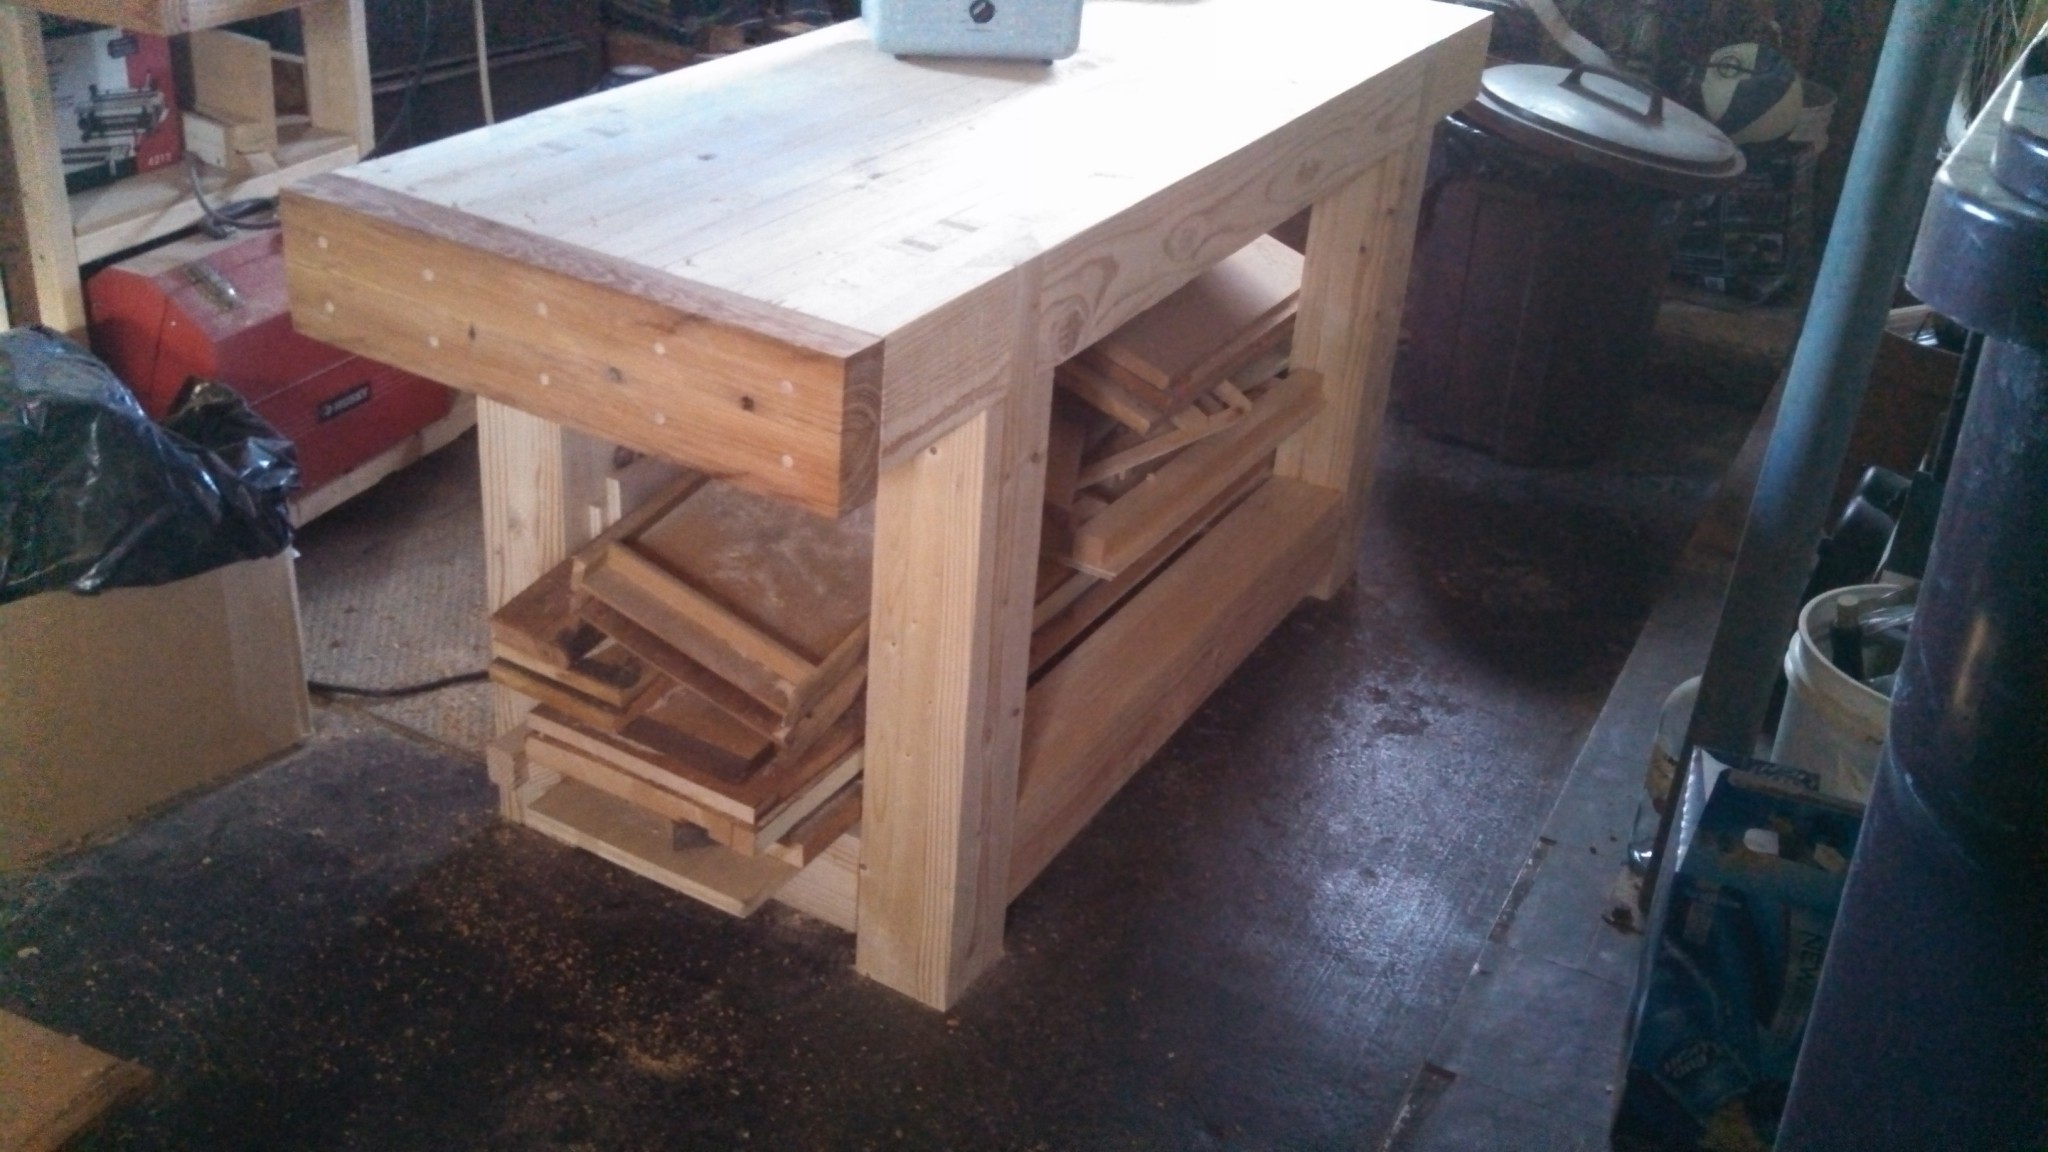
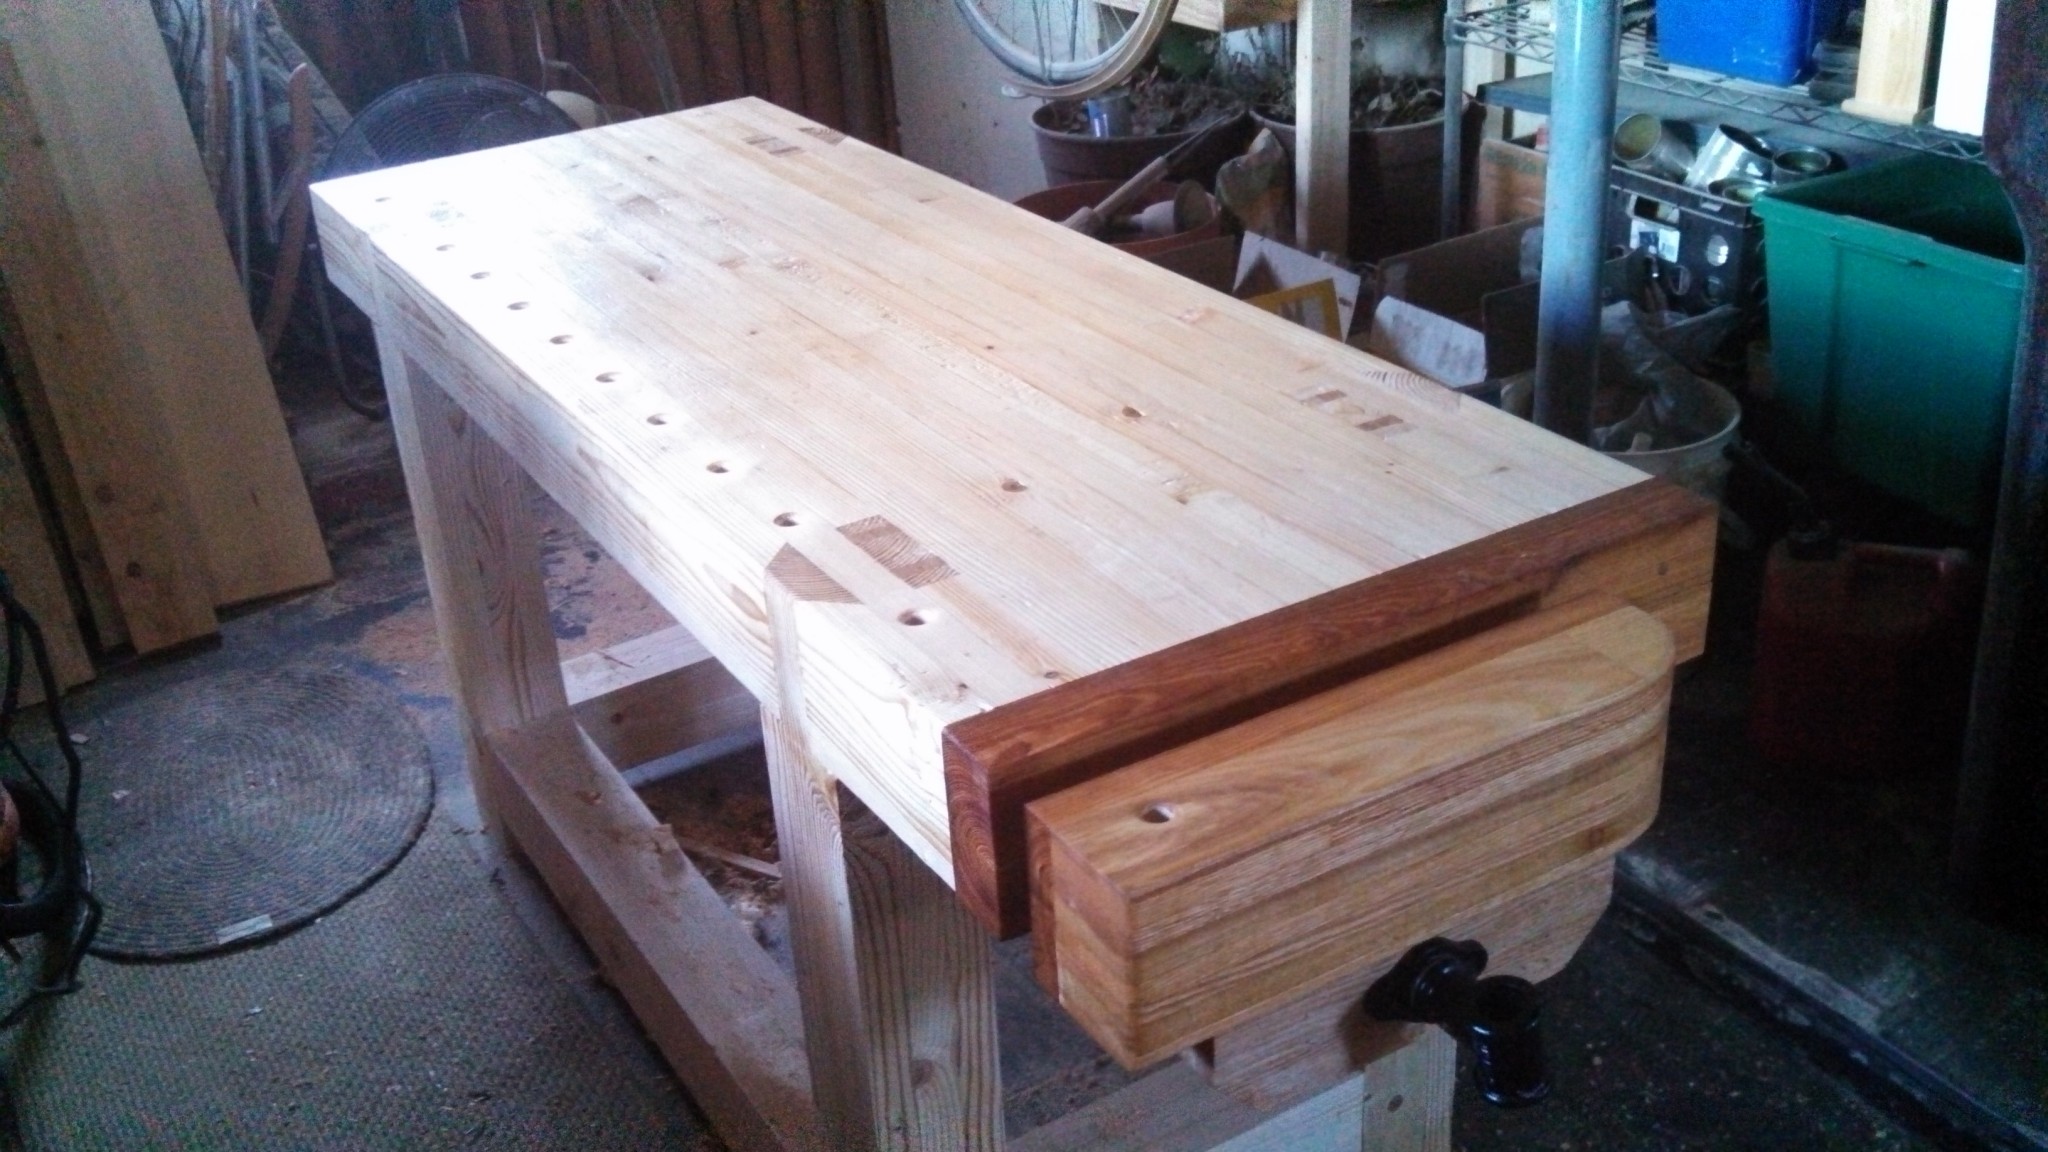
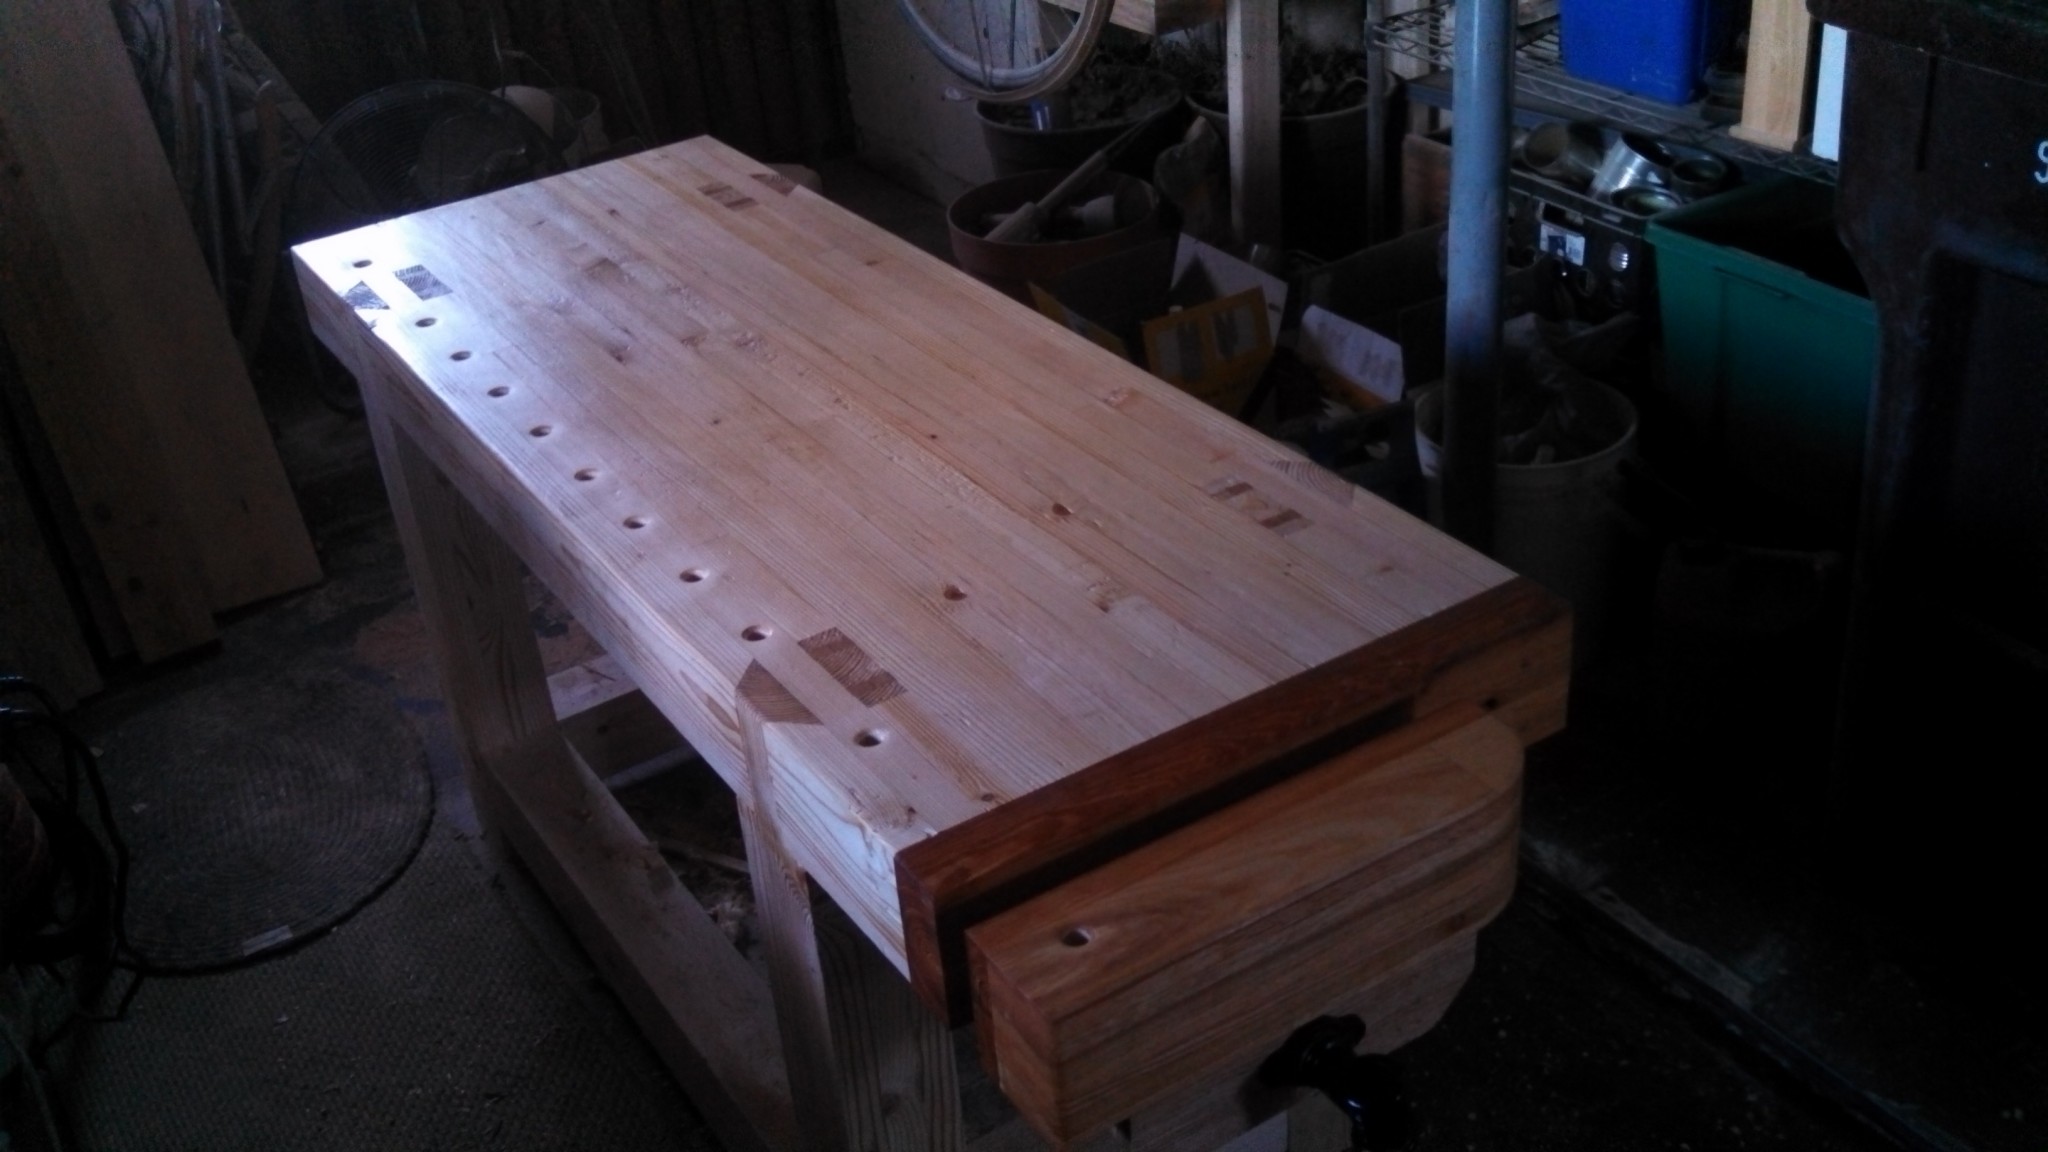
All done! I drilled out the dog holes, did a final flattening of the bench top, installed the vise with many bolts, and coated the whole mess with a mix of paint thinner and linseed oil. Isn’t she pretty? I named her Babs.
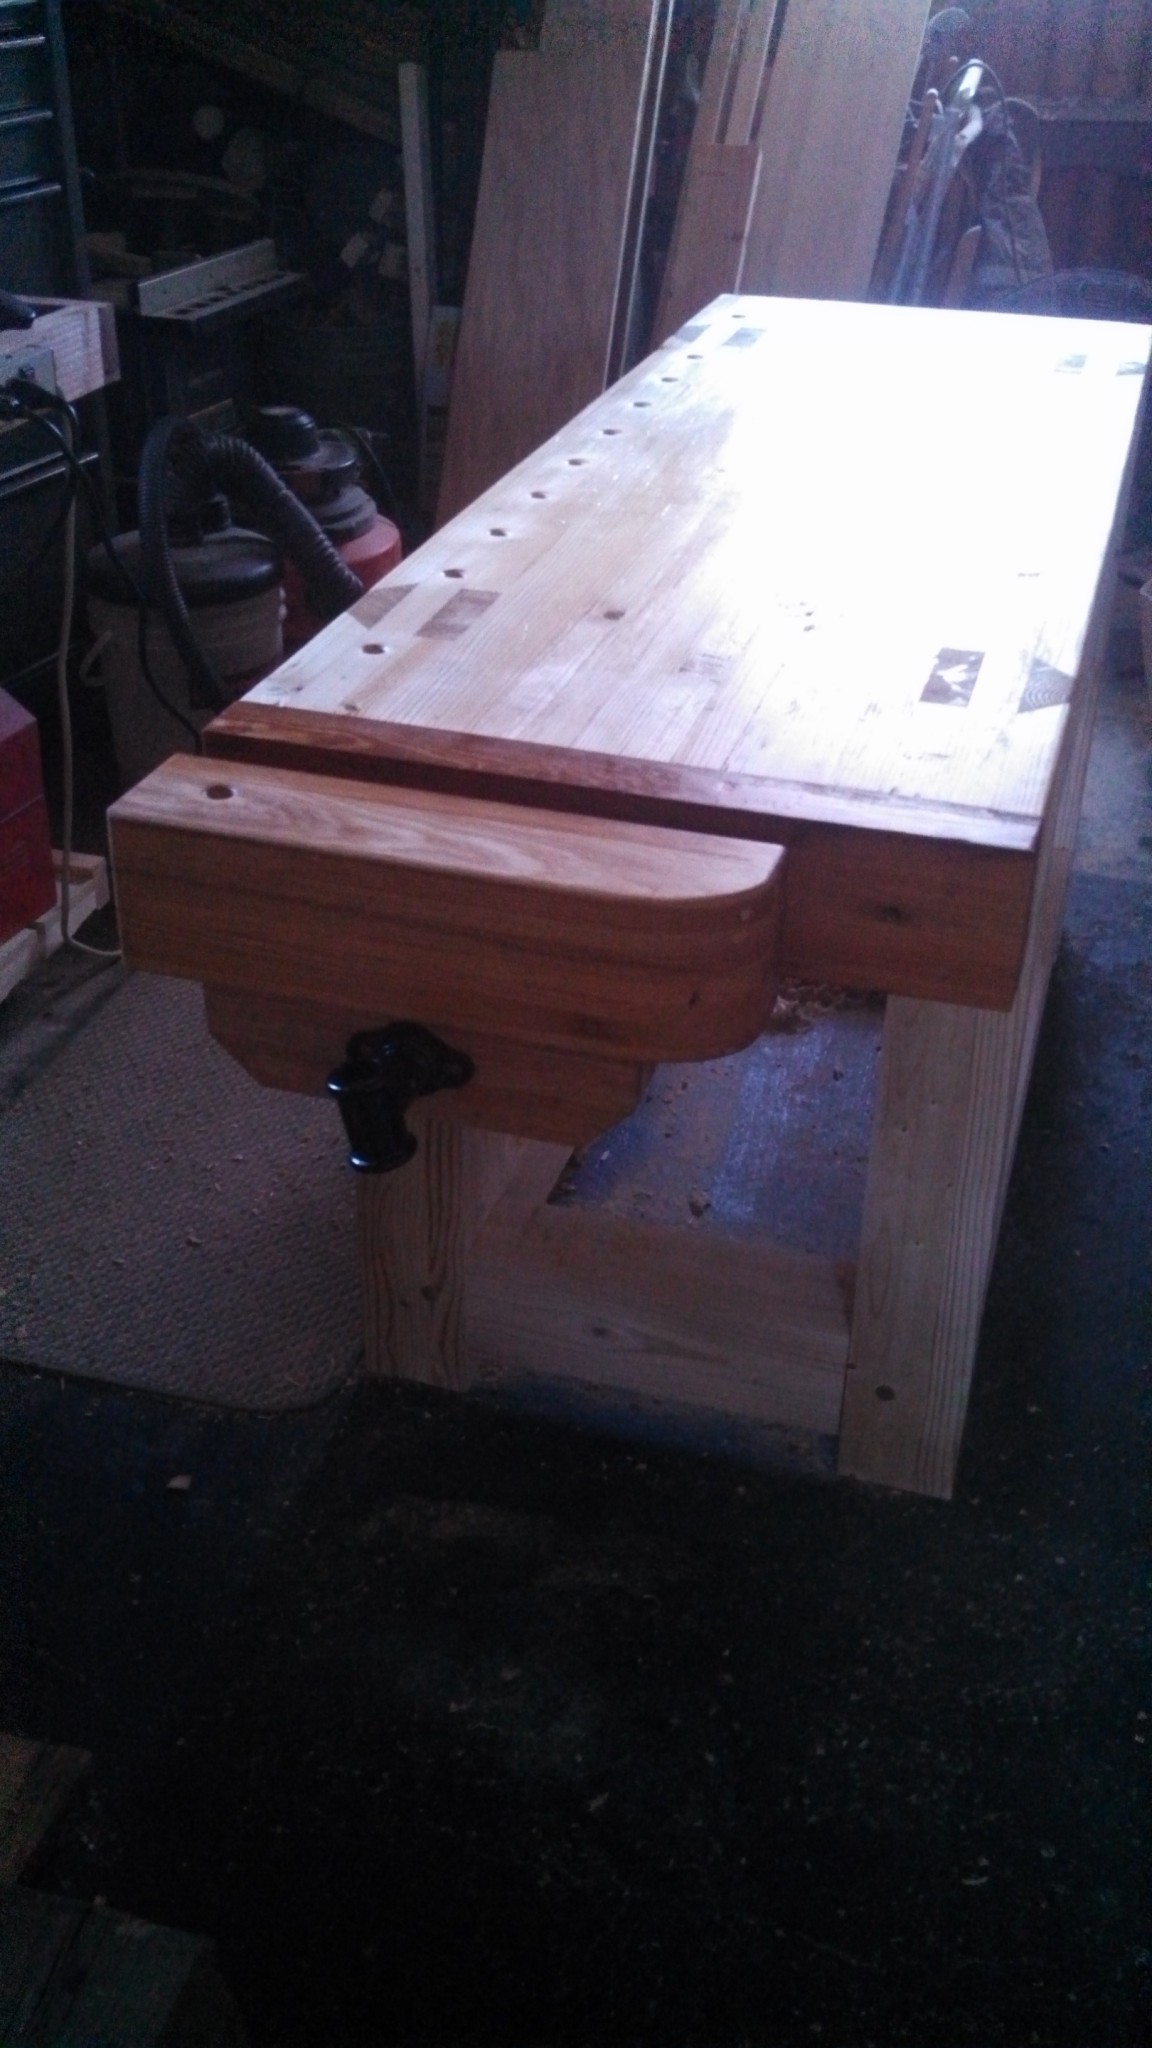
Final touch. Built a vise handle with a 1 1/8″ oak dowel.